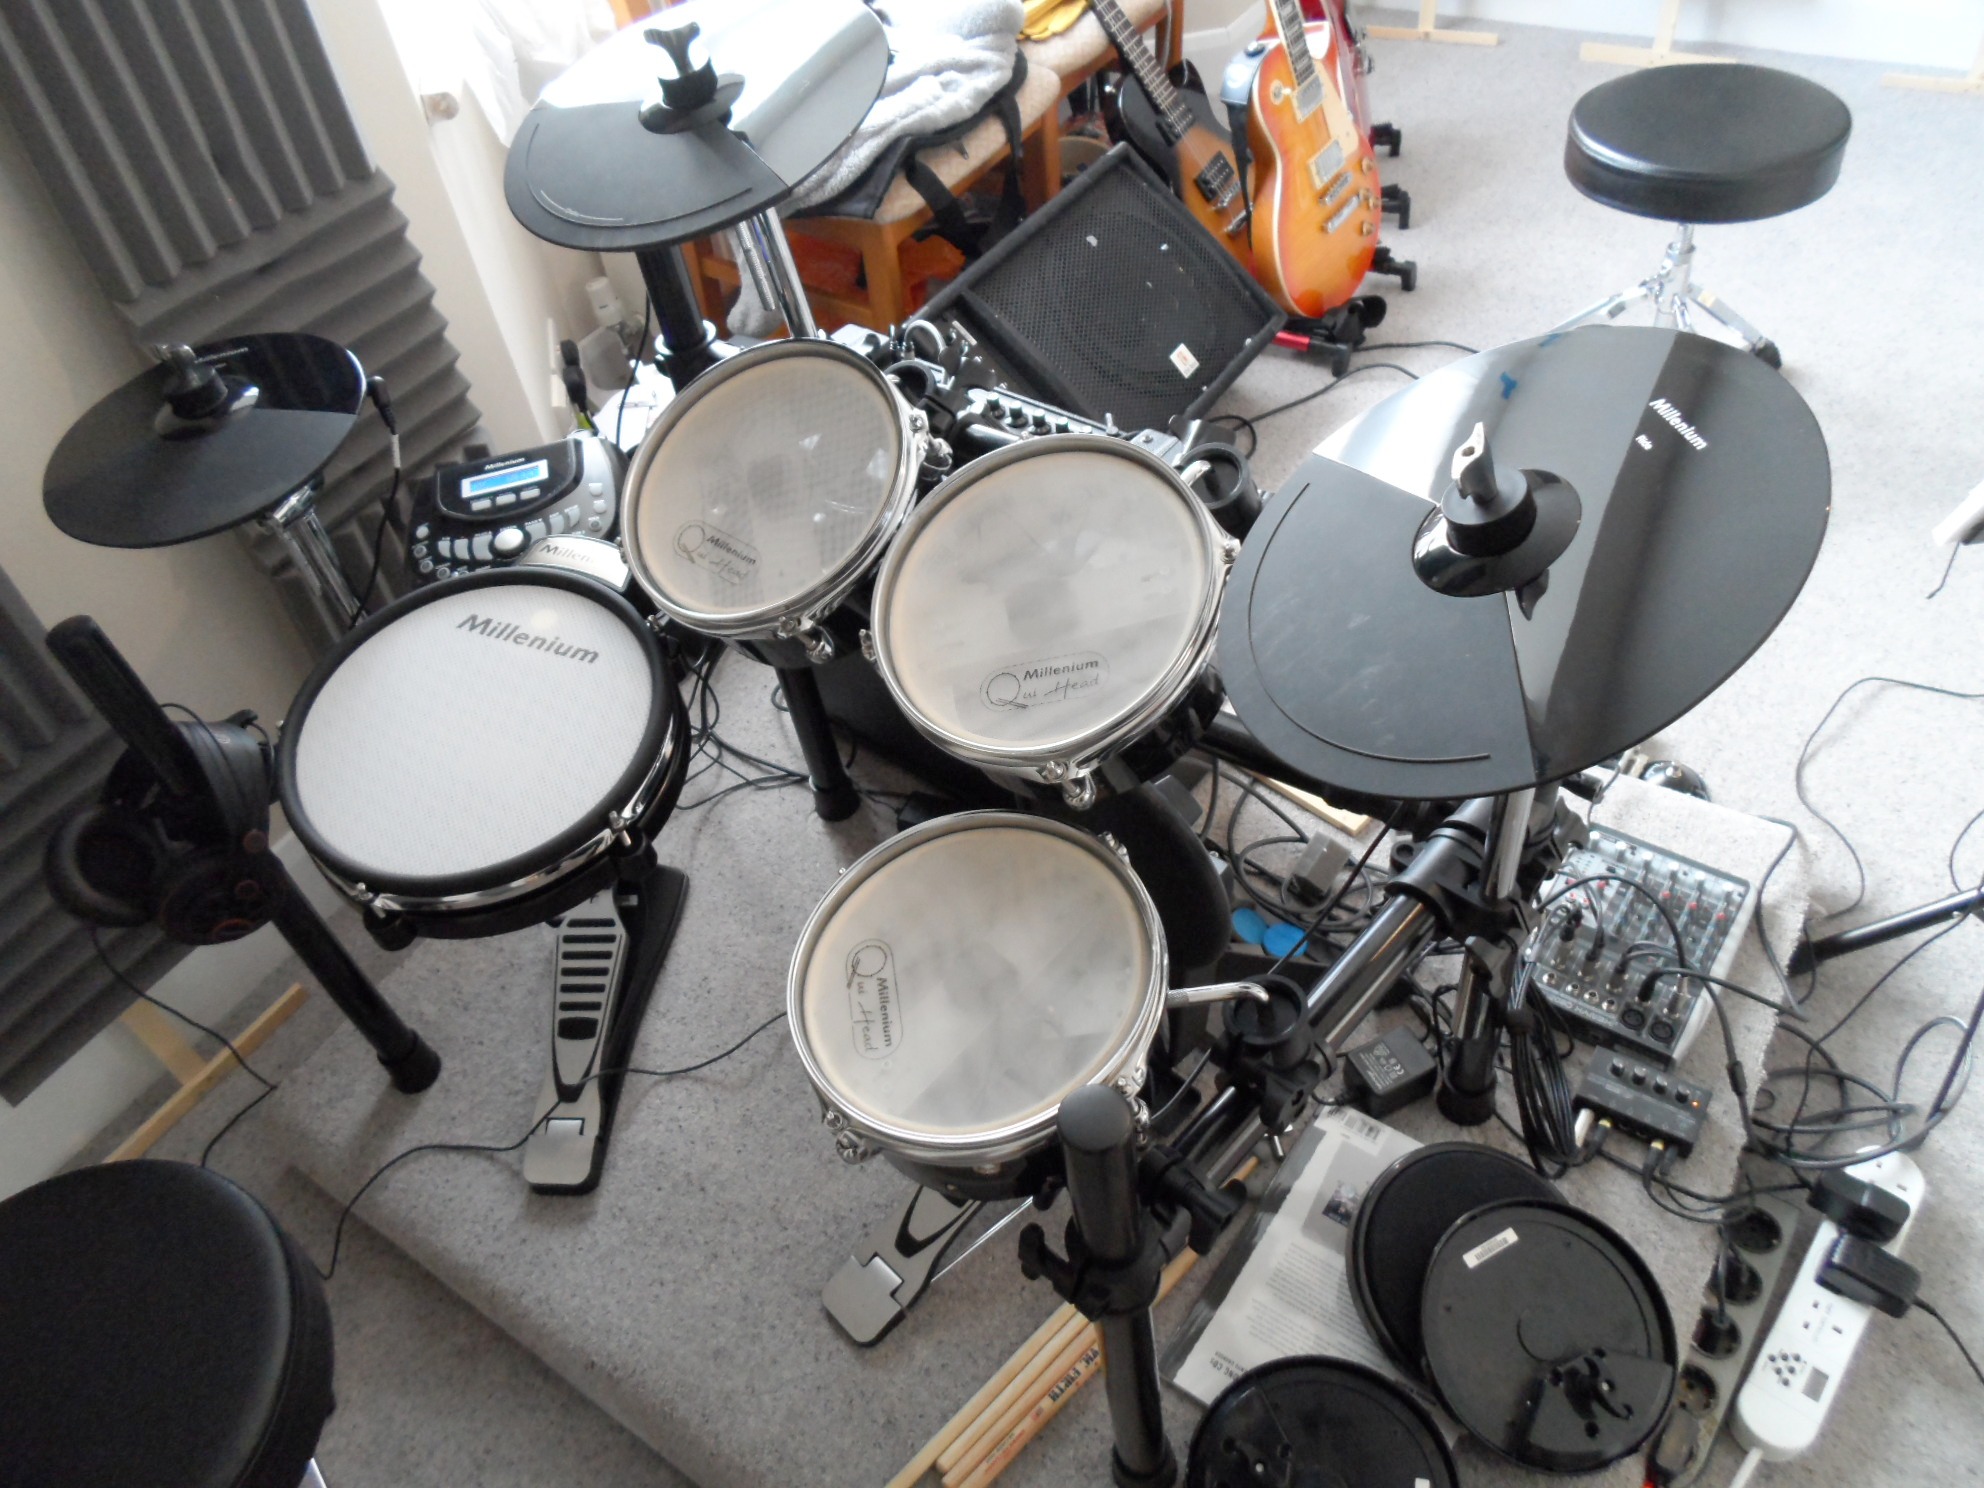
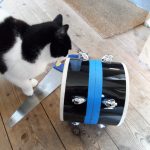
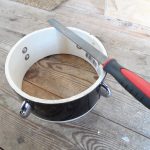
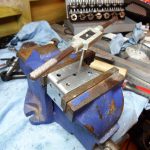
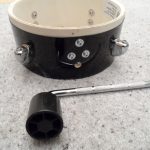
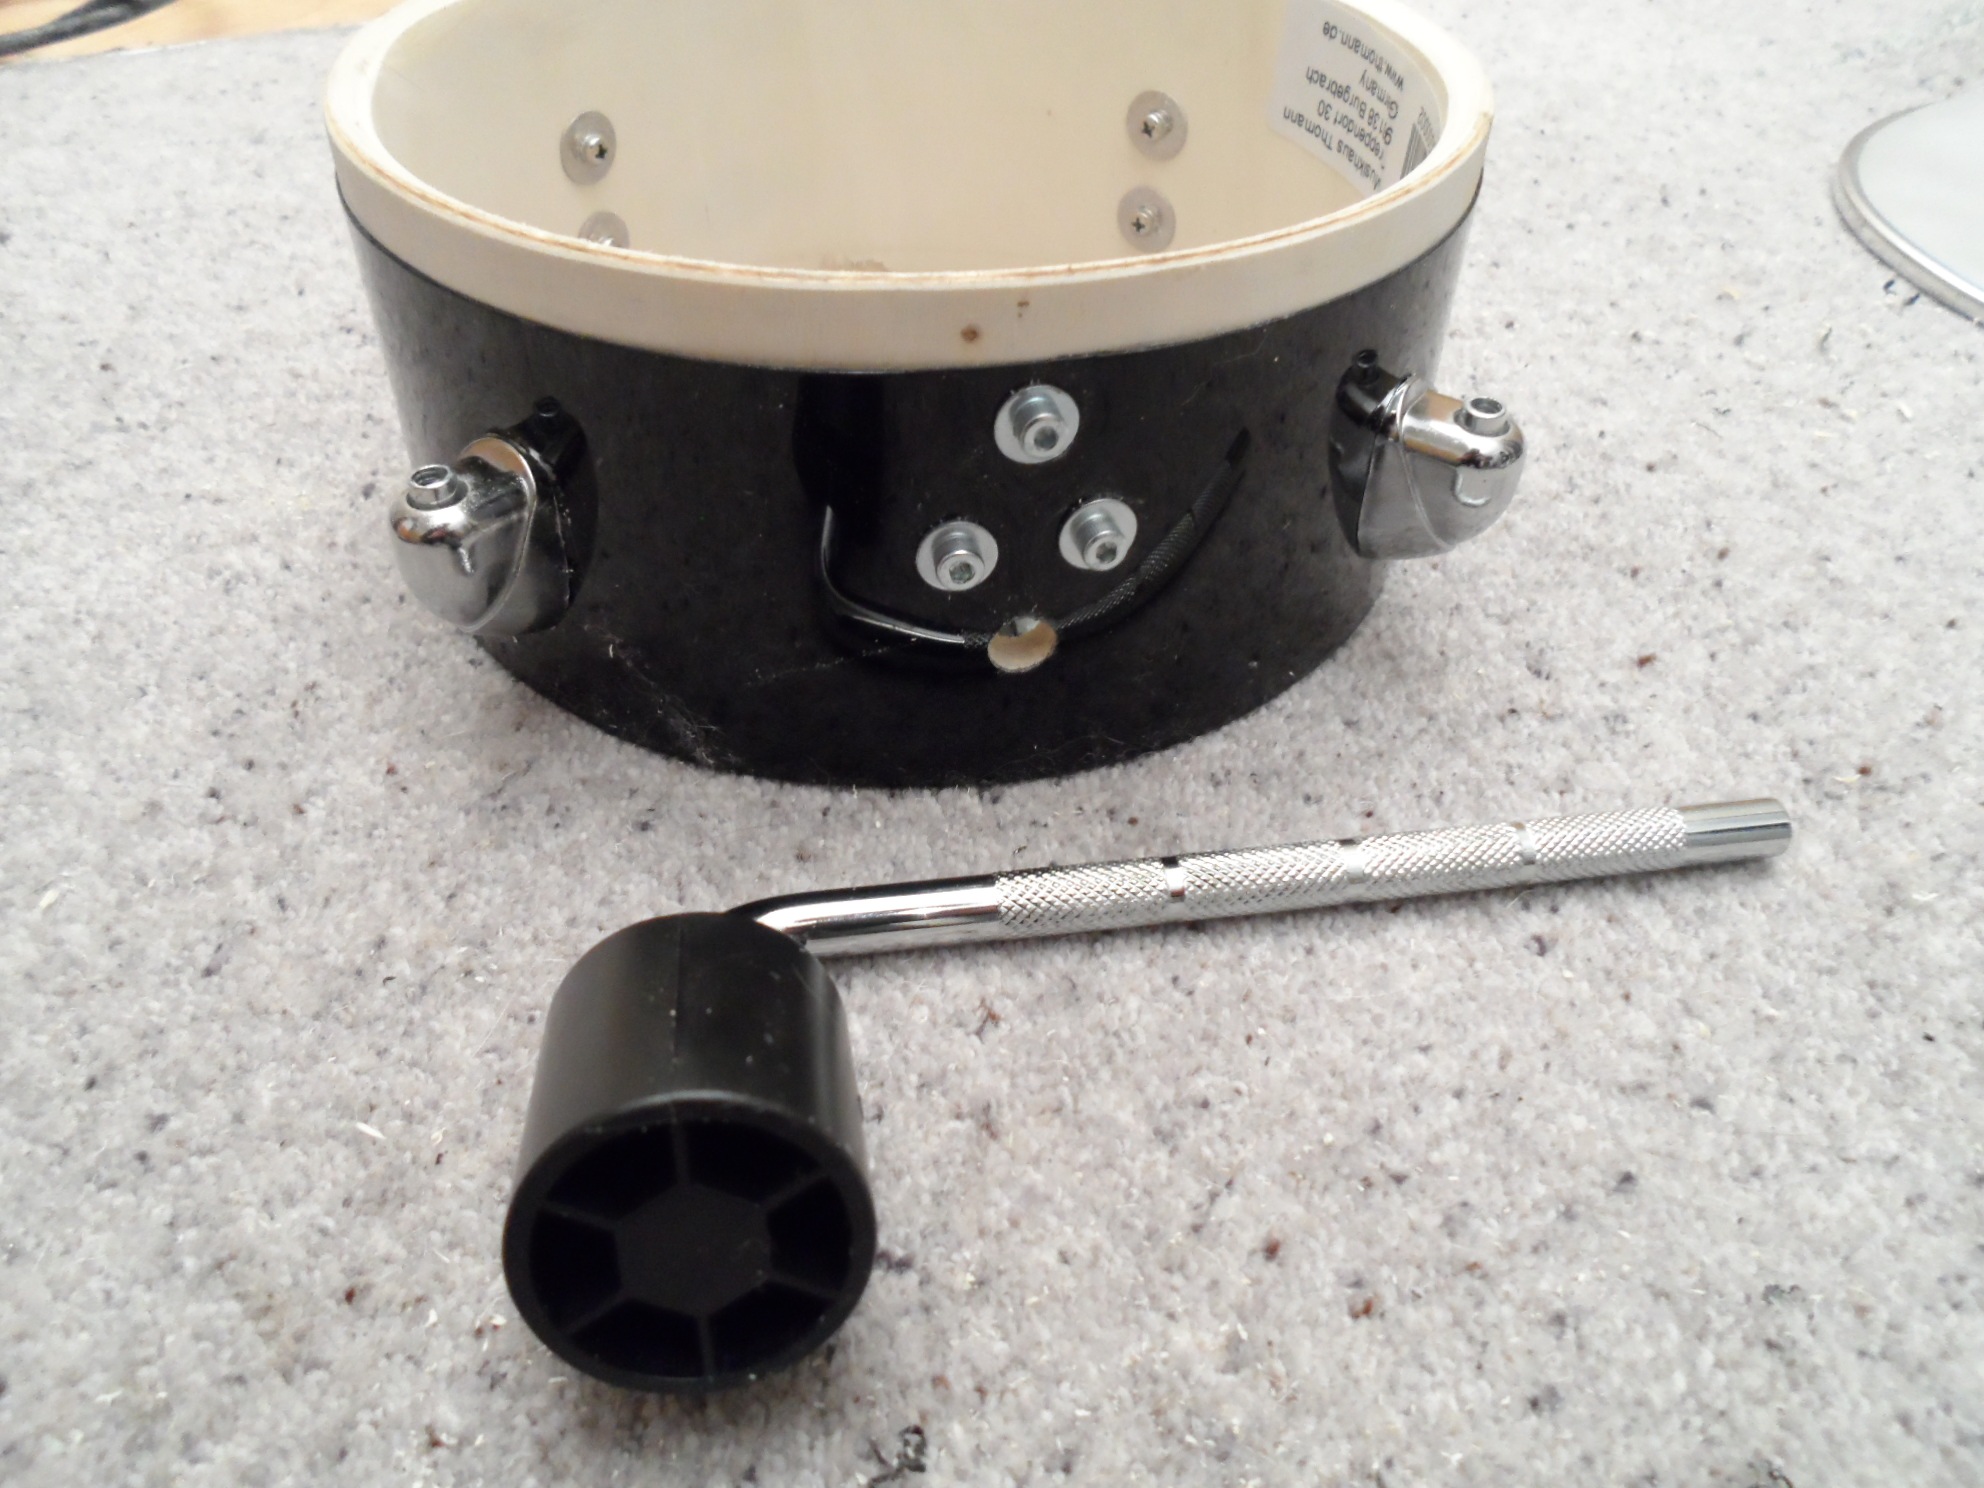
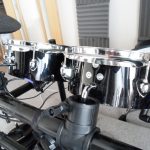
One of the reasons that I’ve not posted anything new recently is that I’ve been learning to play the guitar, and now that I’ve got to the point where I can play some almost recognisable songs, I wanted some accompaniment and bought a cheap electronic drum kit. I took the cheaper option and got a kit that had a mesh snare and rubber toms, but then instantly regretted not getting the full mesh kit as the rubber pads make a lot more noise.
I thought I could just buy mesh replacements but the cheap ones aren’t sold separately and the easily available Roland ones are very expensive. Luckily it turns out that it’s really easy to make them at home. The actual sensor is just a simple piezo element, there’s no active electronics in the pads at all.
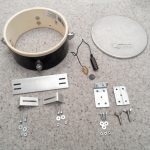
The Parts
-
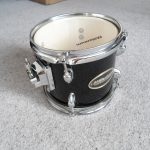
- 8 Inch Tom
-

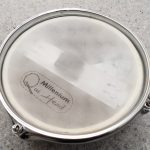
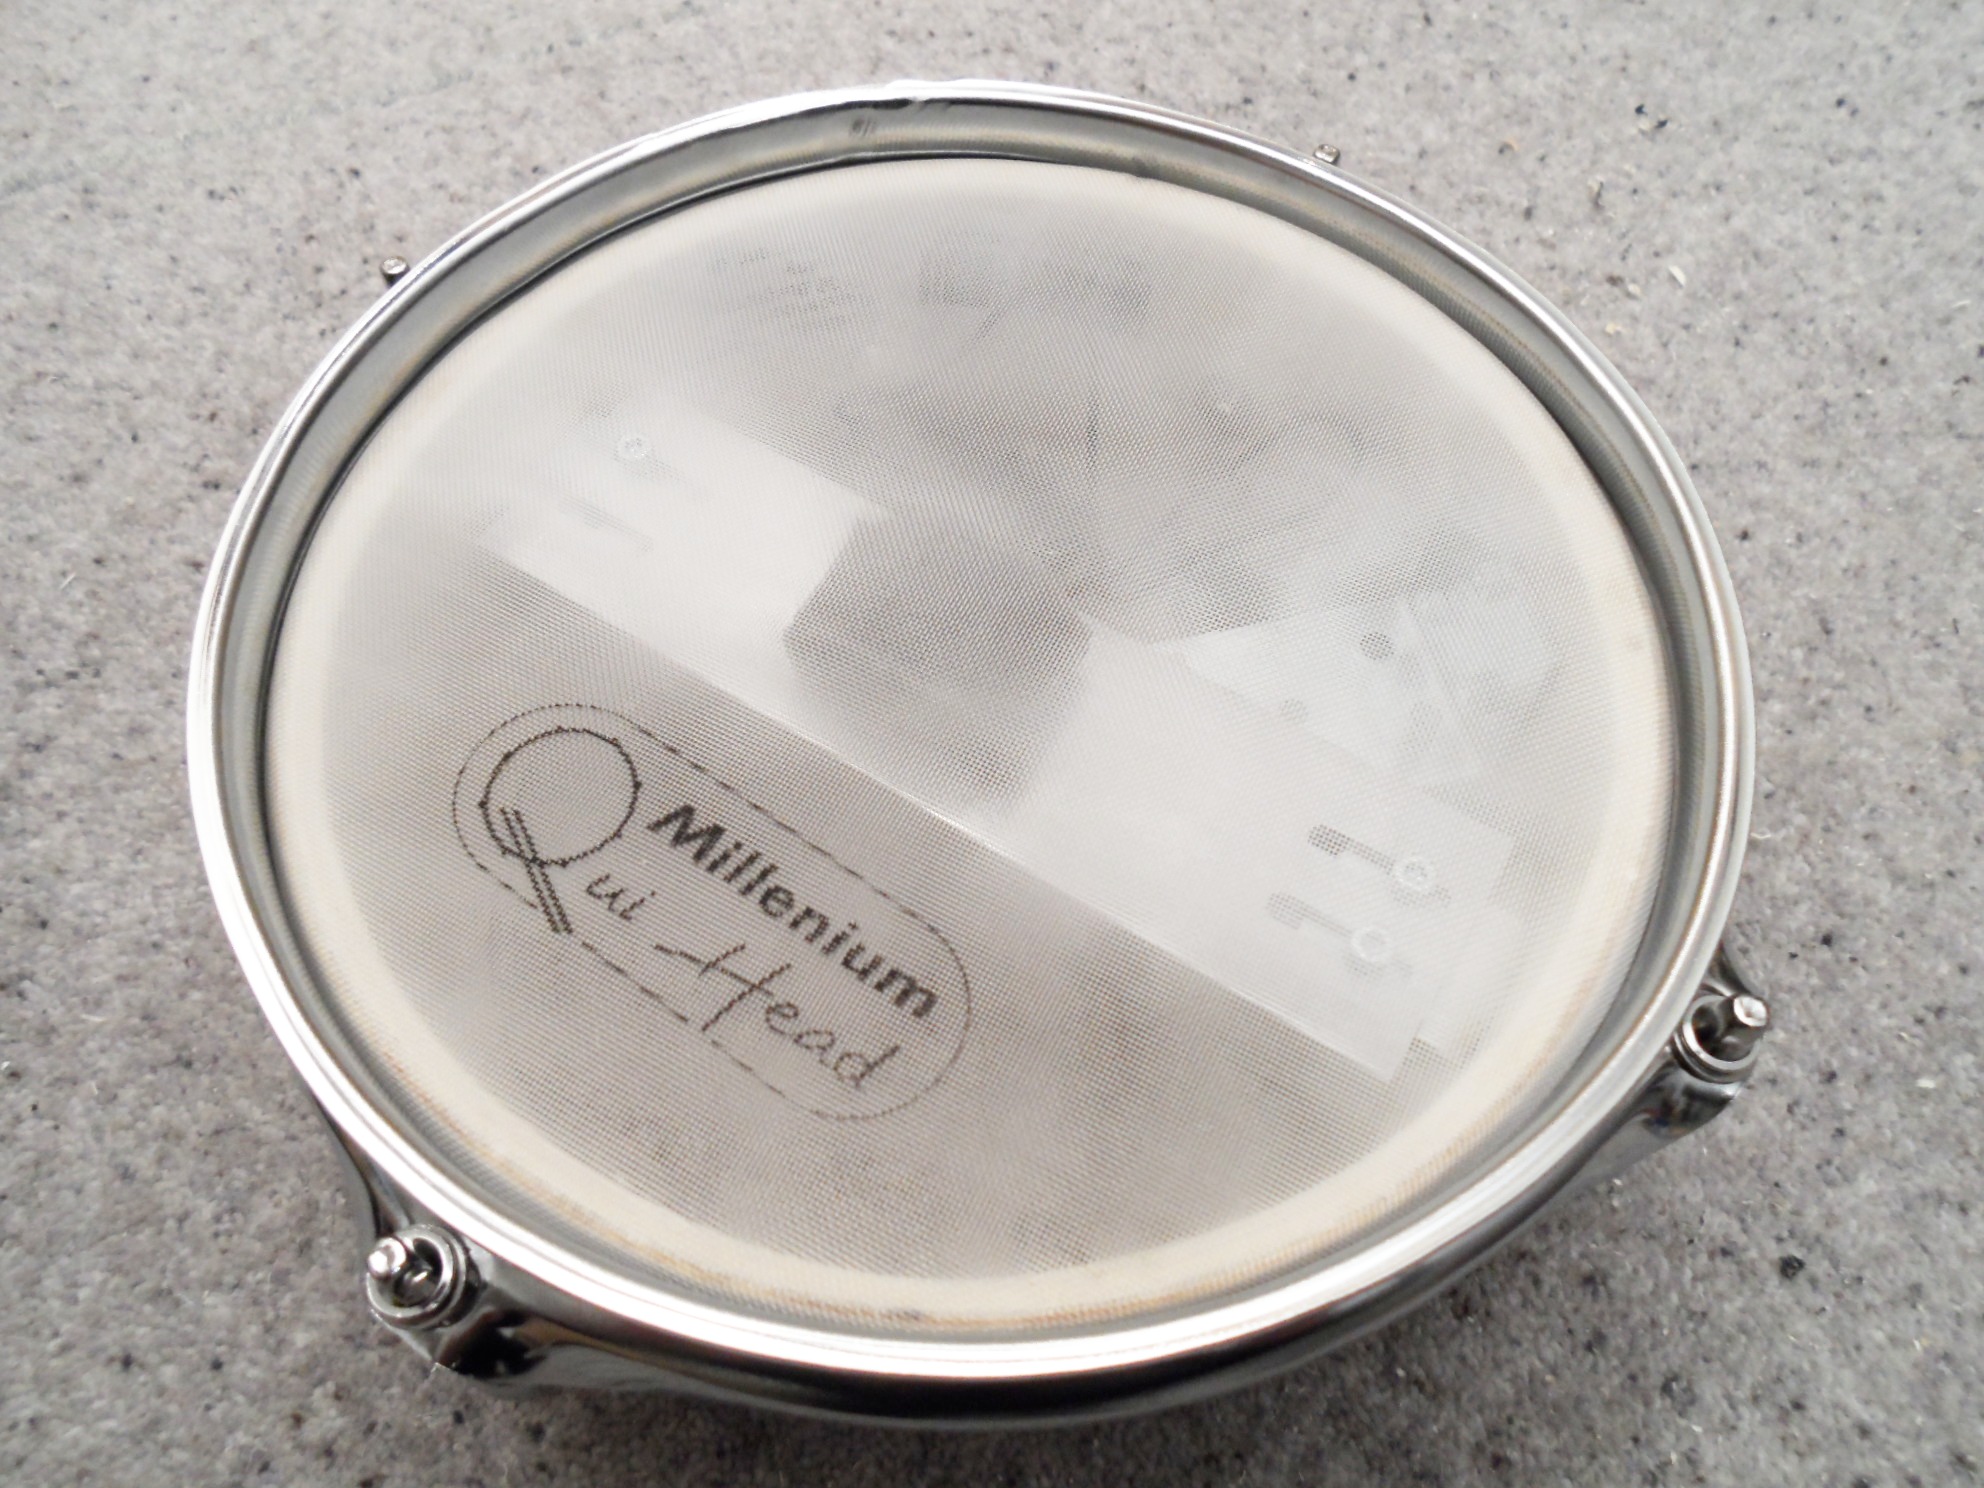
- Mesh Head
-
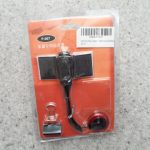
- Piezo Pickup

| Qty. | Item | Total Cost | Cost Per Pad |
|---|---|---|---|
| 2 | 8 Inch TomTom | £40 | £10 |
| 4 | 8 Inch Mesh Head | £25 | £6.25 |
| 1 | 5 Pack of Piezo Pickups | £7 | £1.75 |
| 1 | 25 Pack of 40x60x2.5mm Angle Brackets (need 6) | £11 | £2.75 |
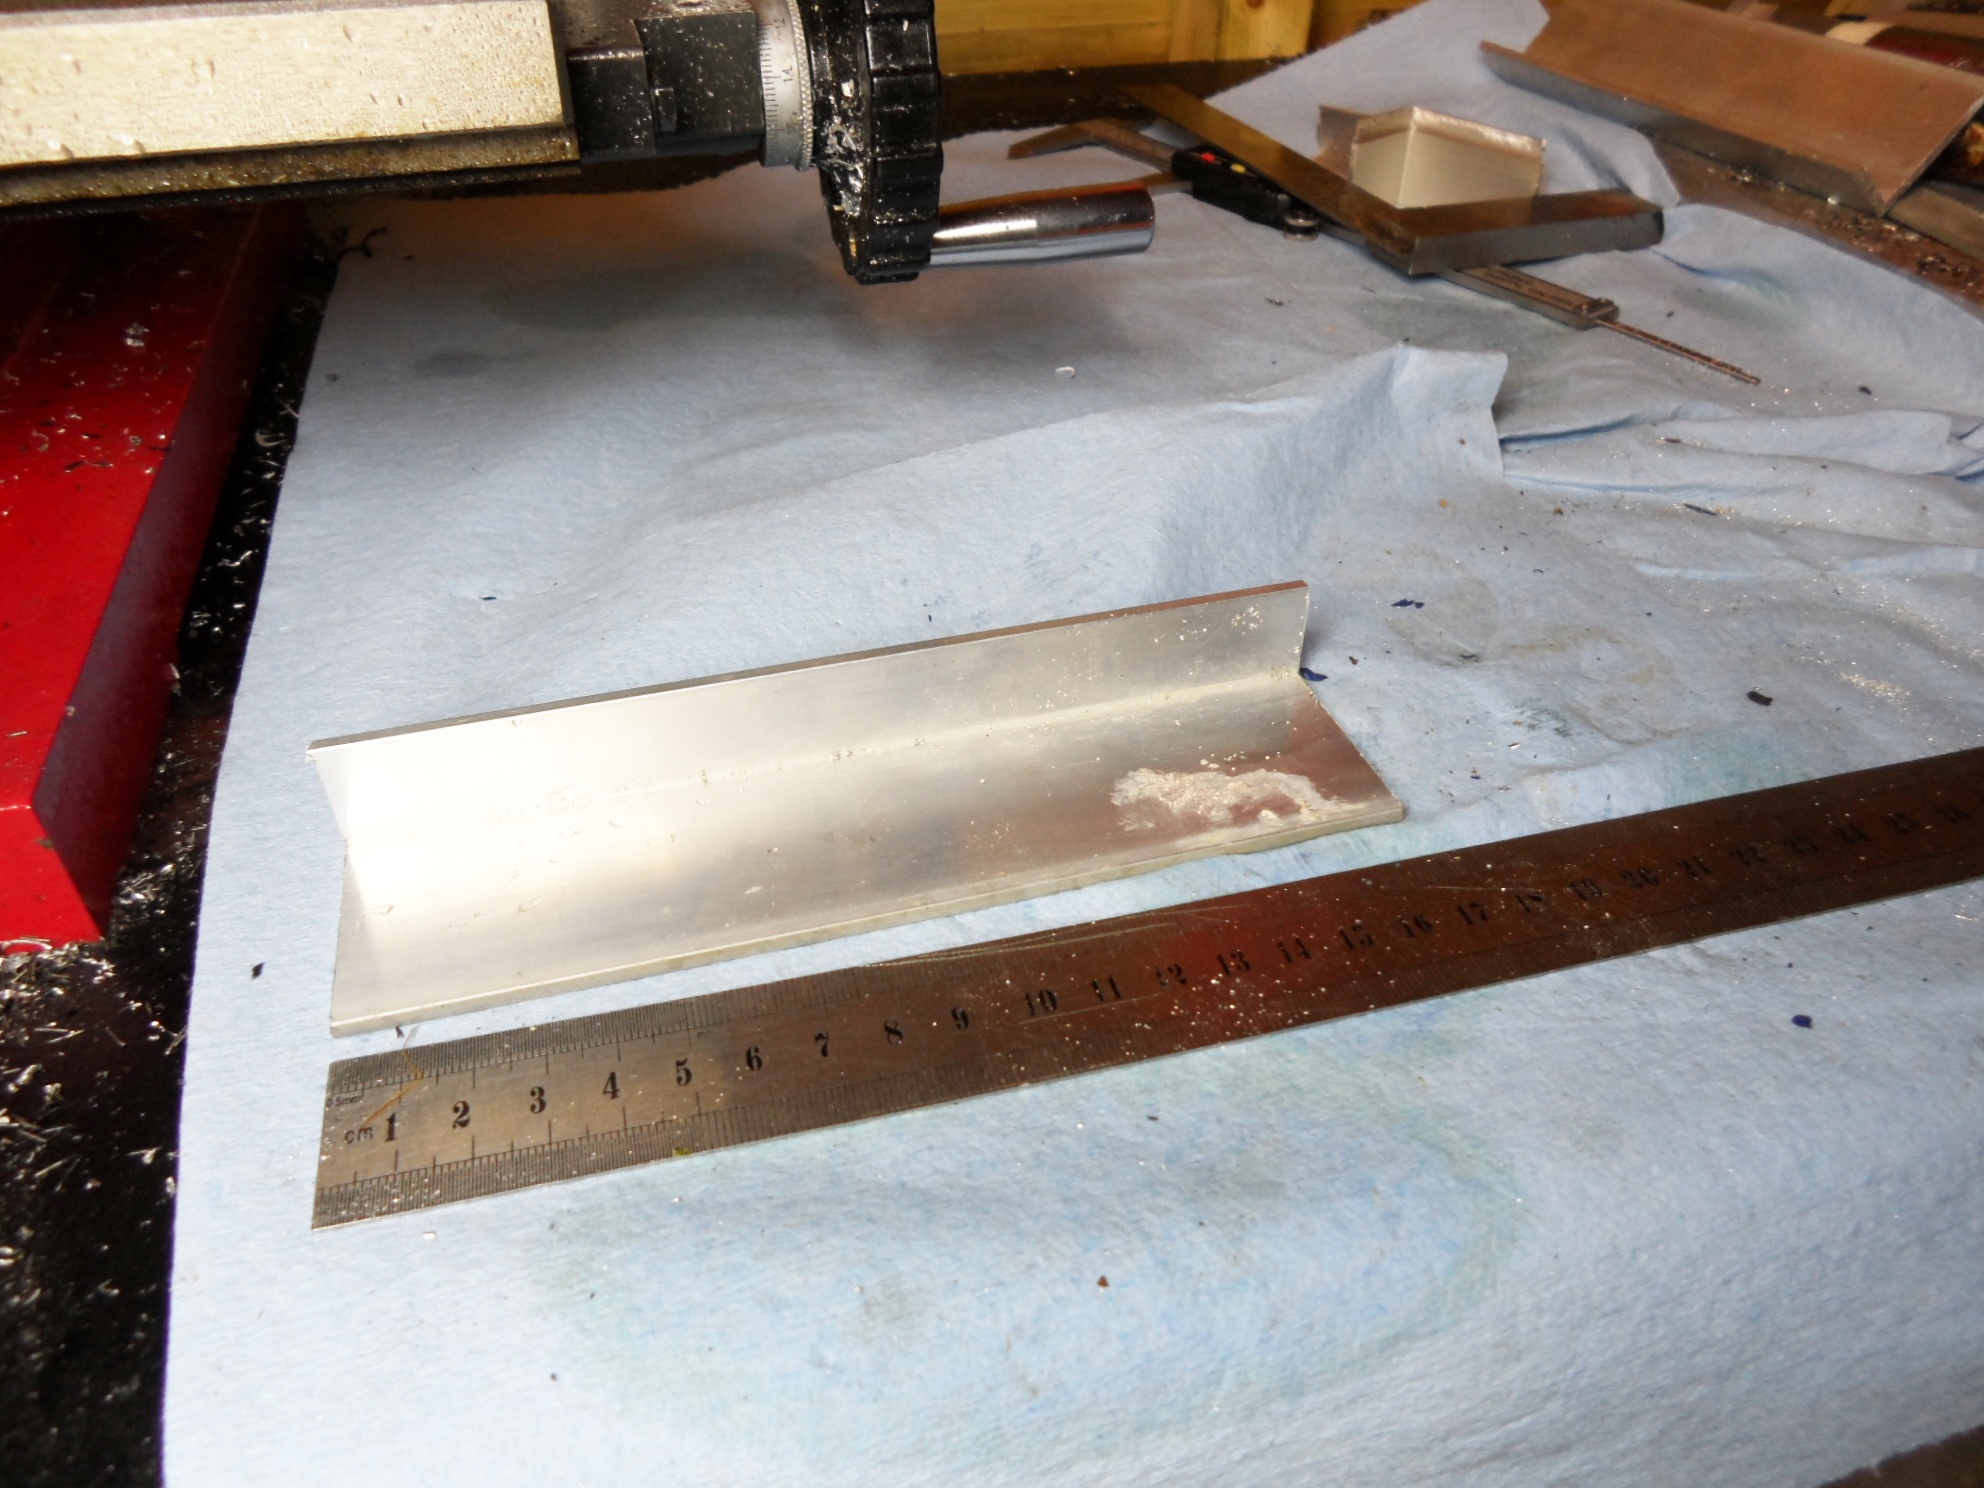
| 1 | 2x20x1000mm Aluminium Bar | £5 | £1.25 |
| 1 | 20x35x1000mm Aluminium Angle | £7.50 | £1.88 |
| 8 | M6 Wing Nuts | ? | ? |
| 28 | M4 Bolts, Nuts and Washers | ? | ? |
| Some scraps of open cell foam (acoustic tile, packing material, etc.) | ? | ? | |
| some scraps of rubber sheet (hard mouse pad?) | ? | ? | |
| Total | £95.5 | £24 | |
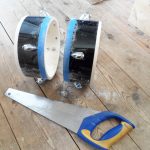
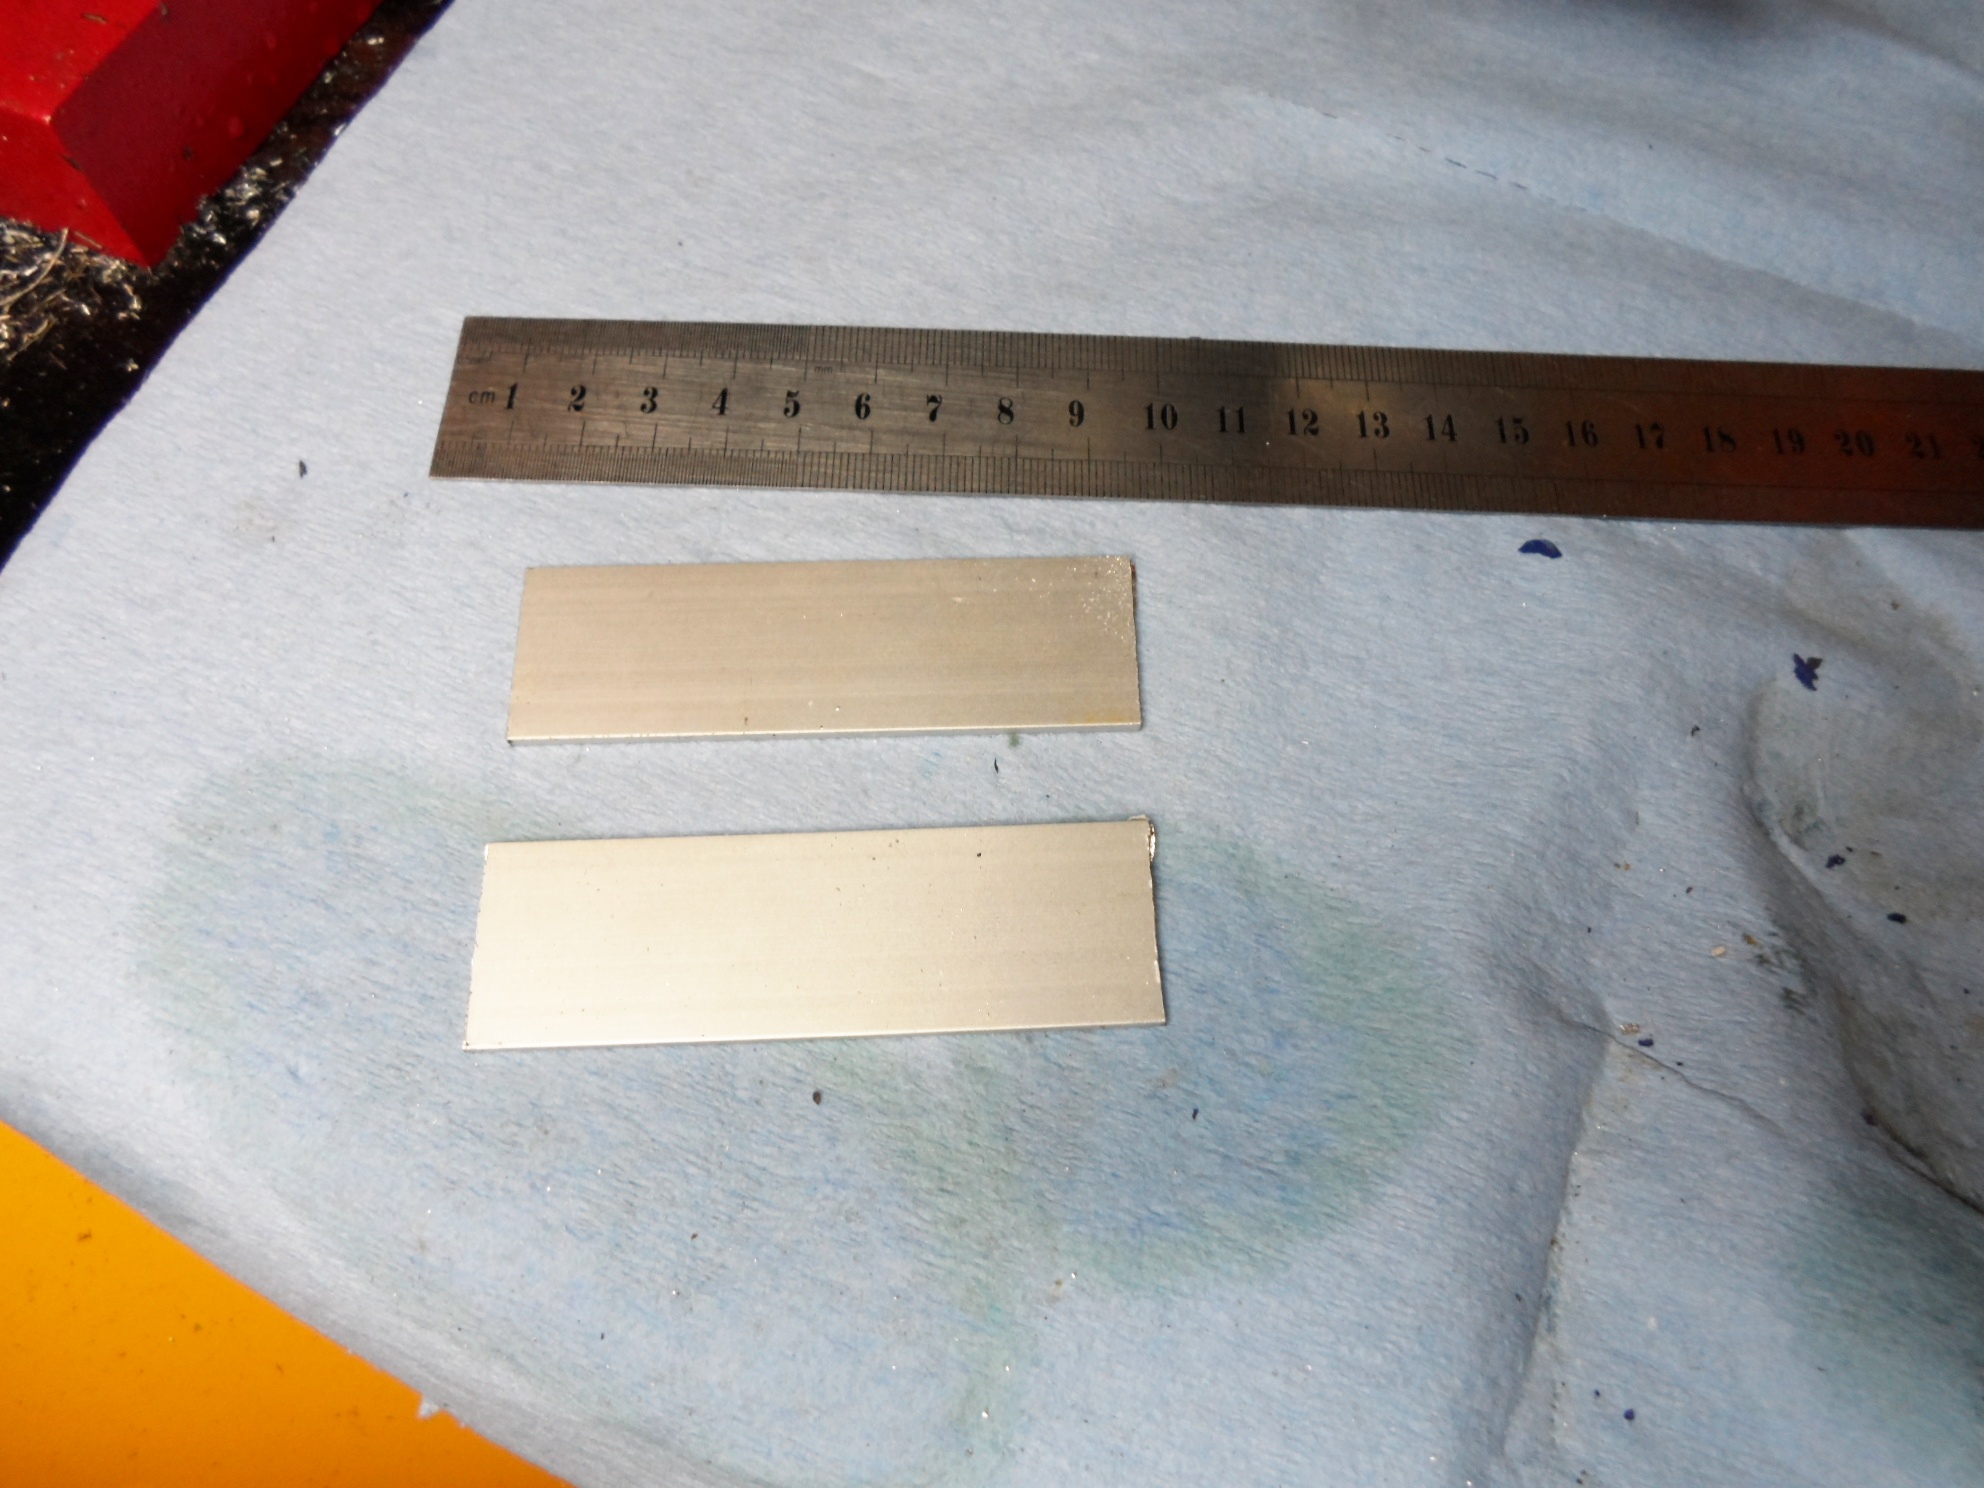
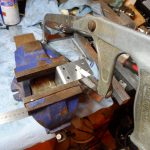
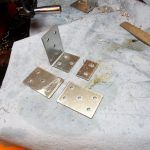
Two For One
-
- Marked
-
- Cut
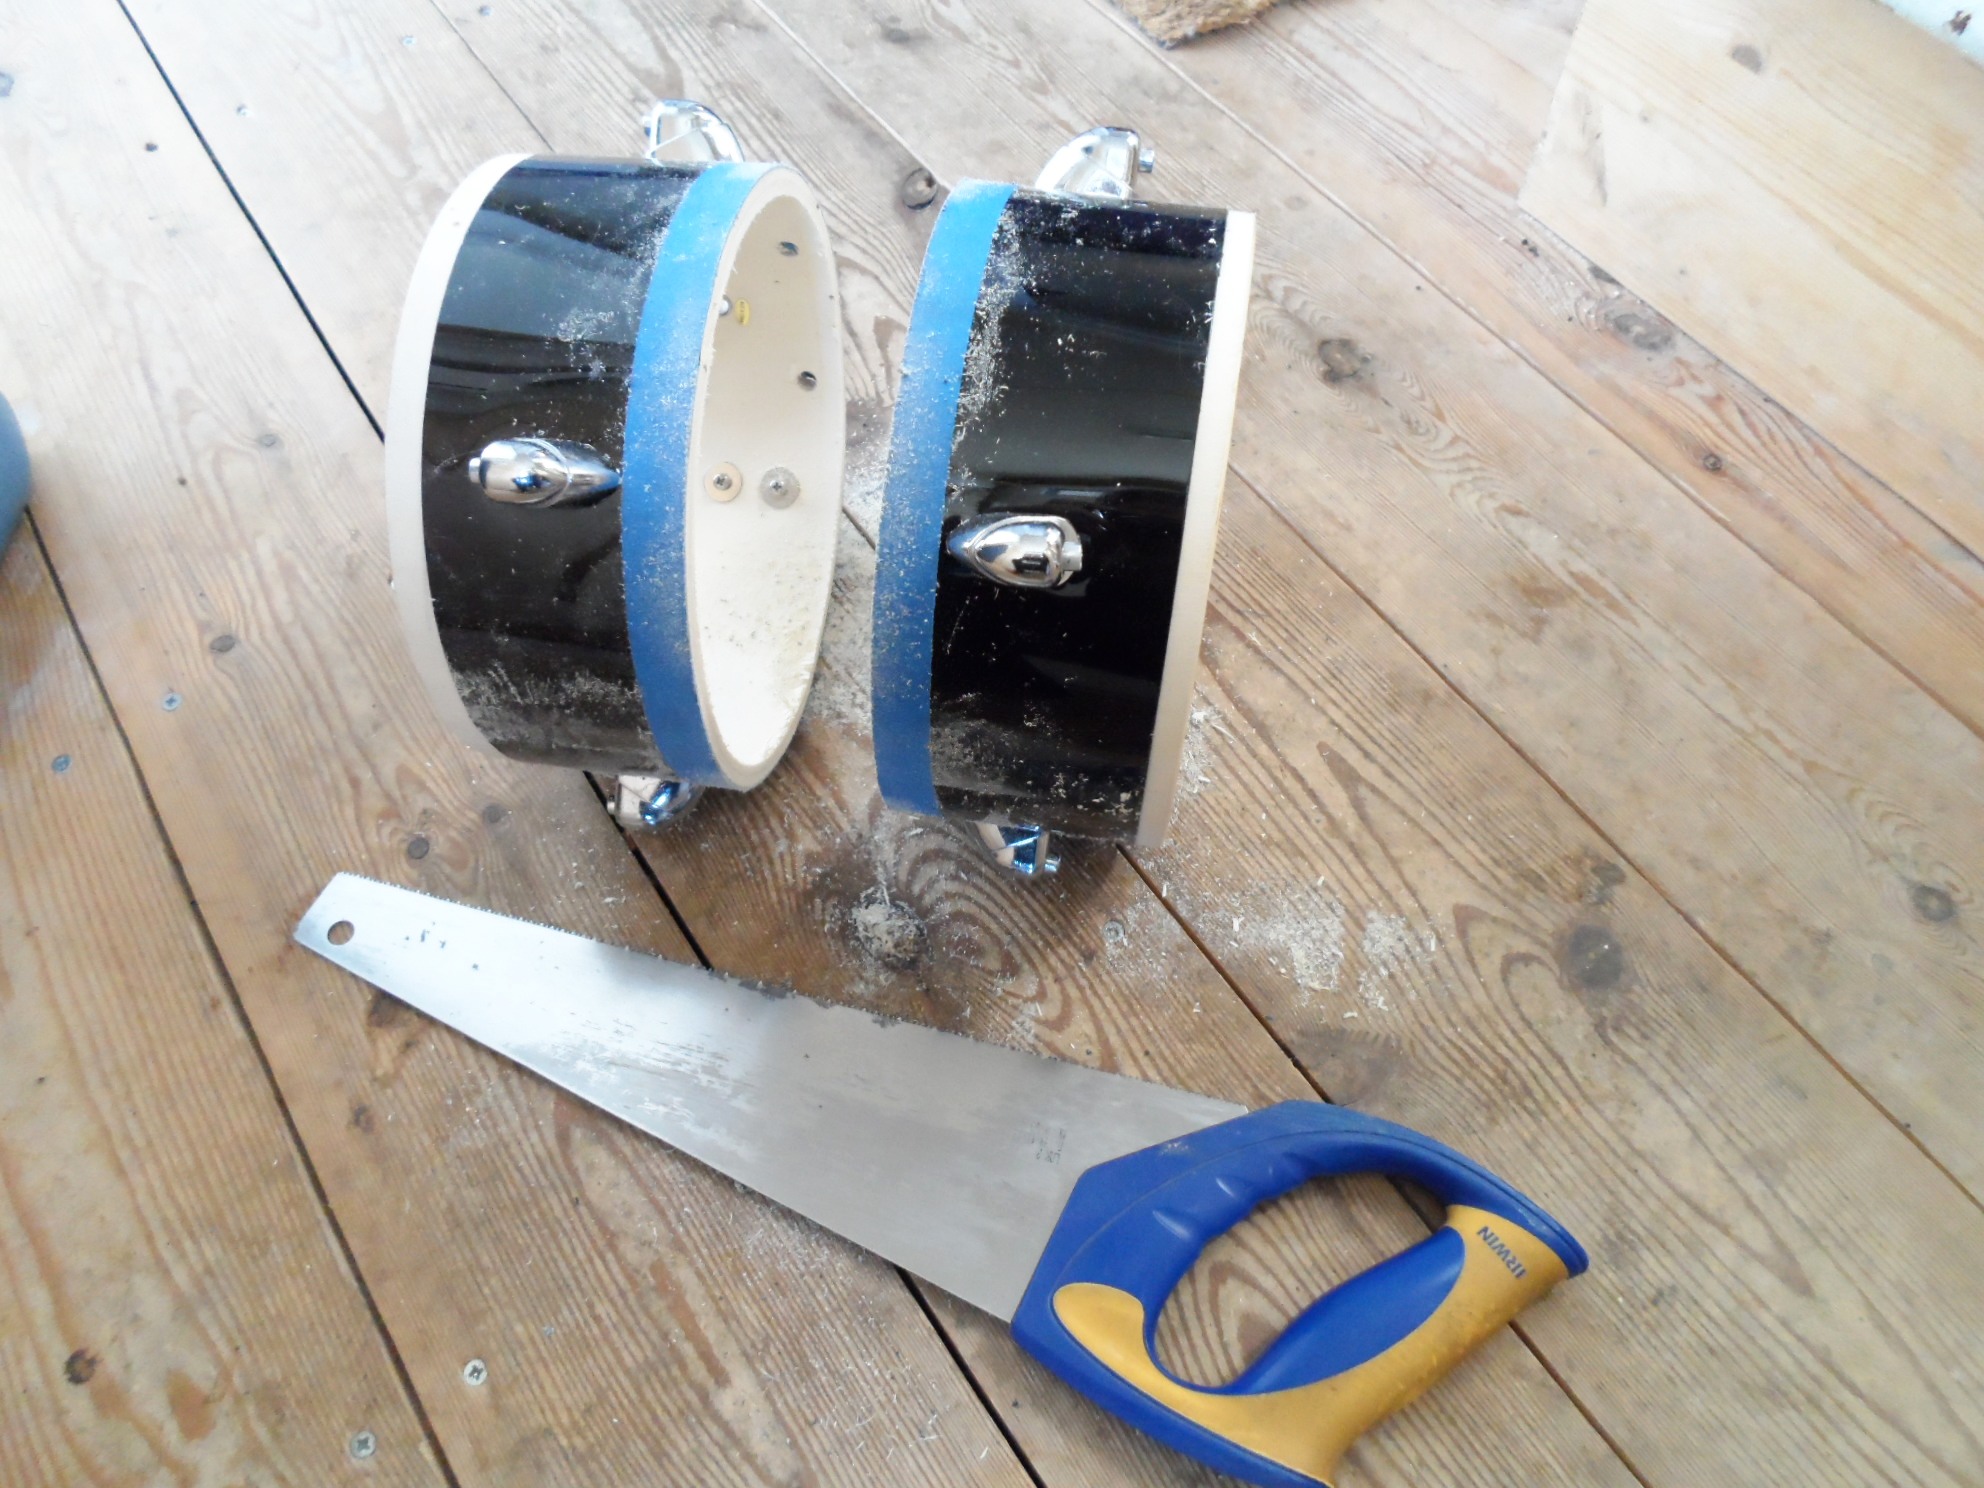
-
- Cleaned Up
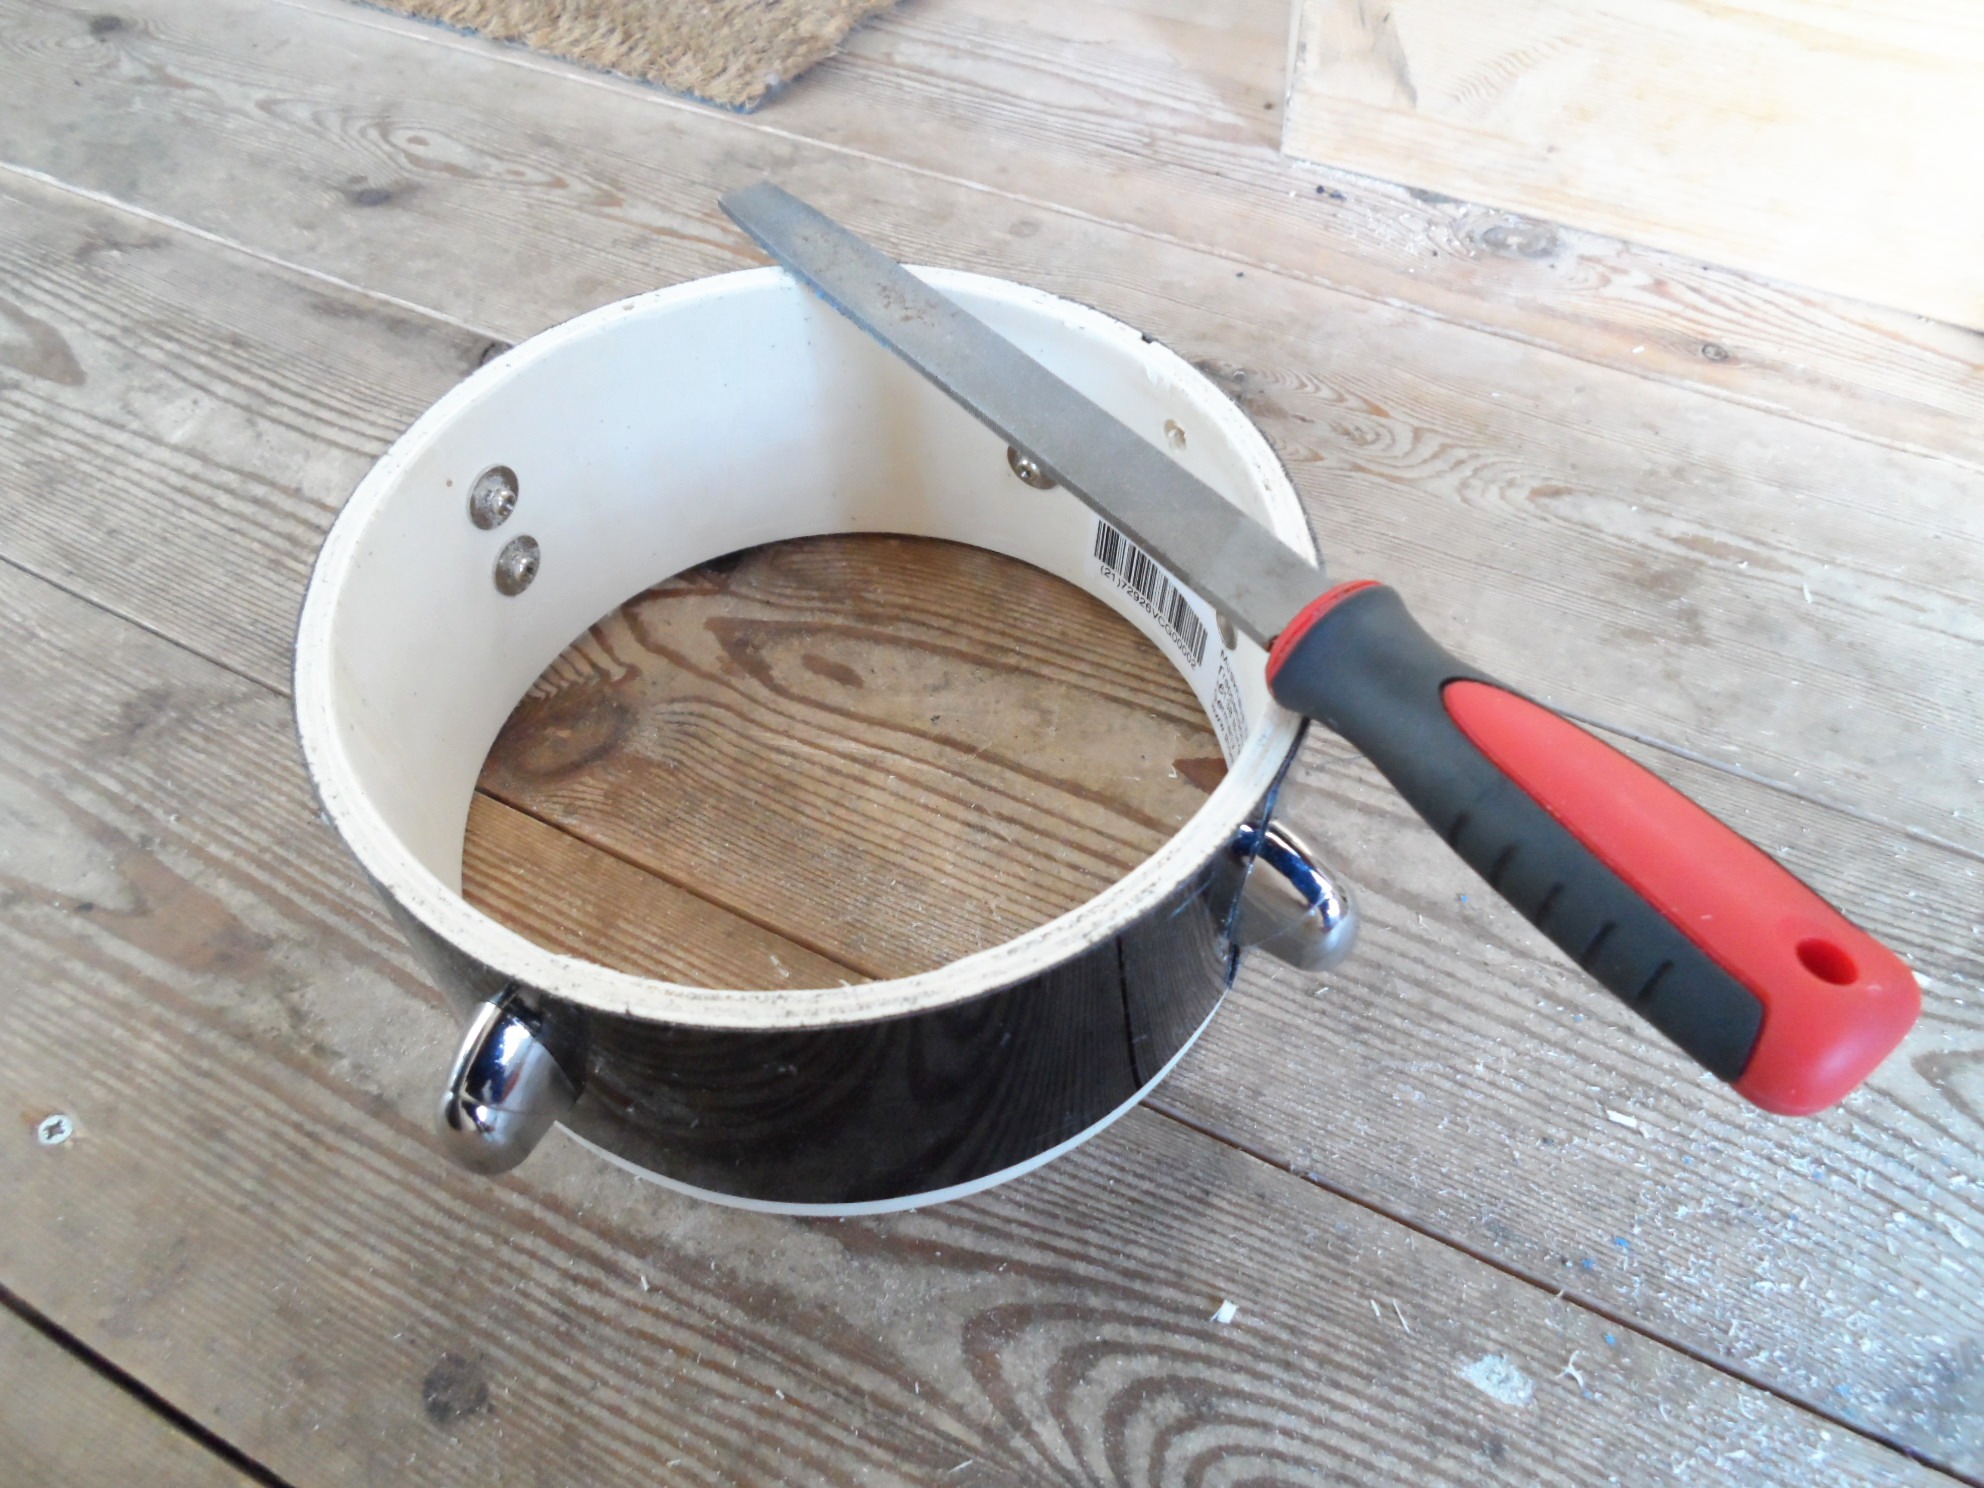
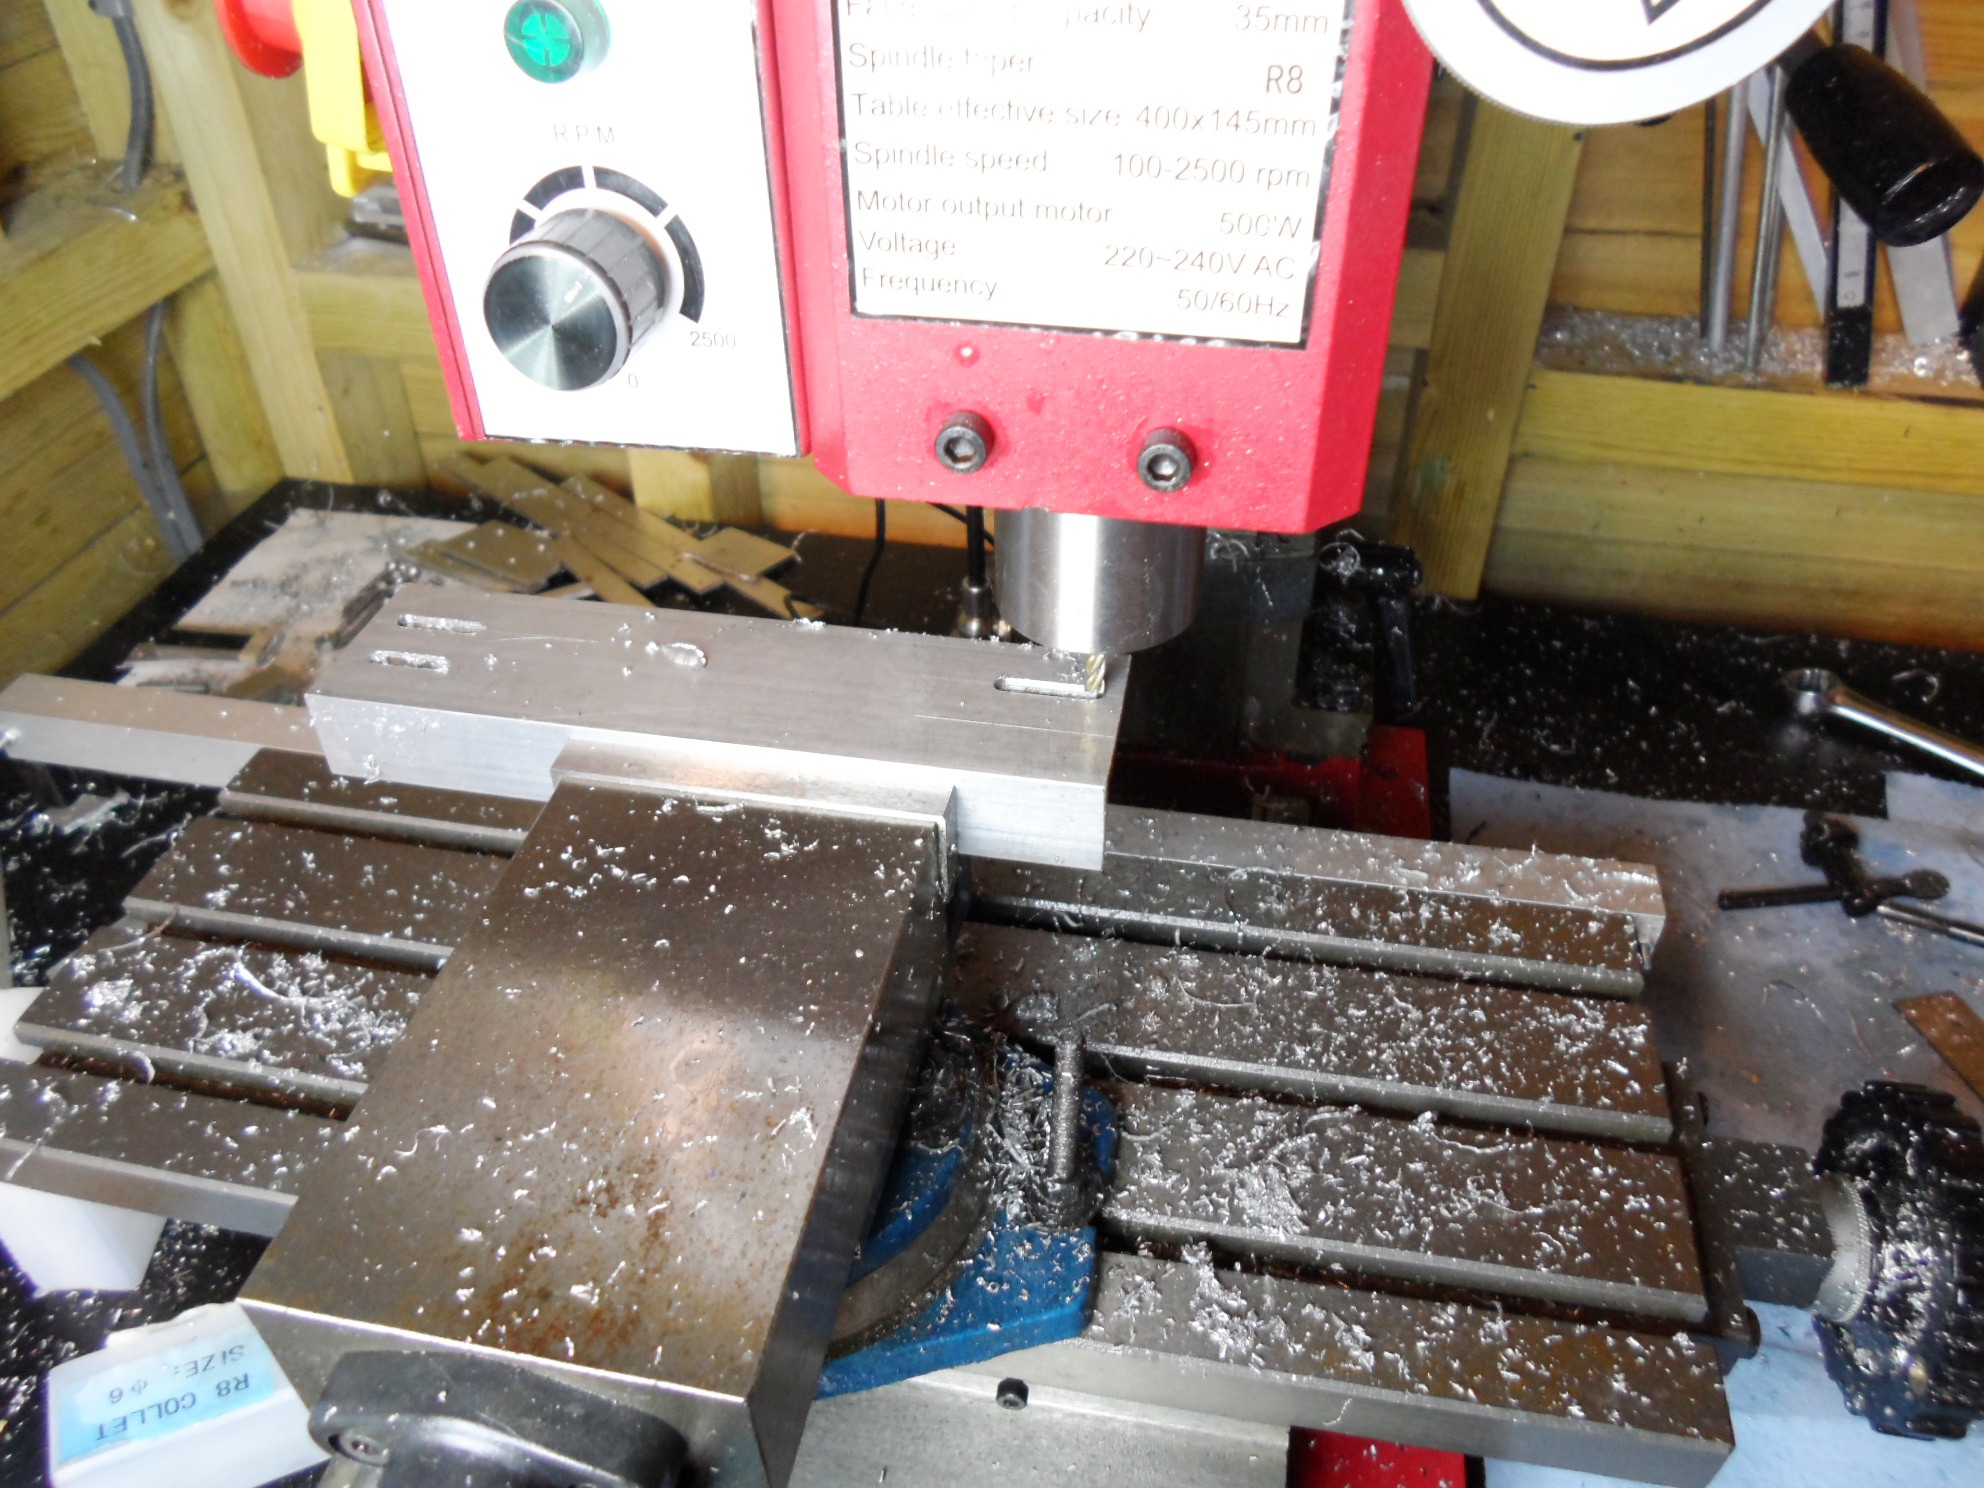
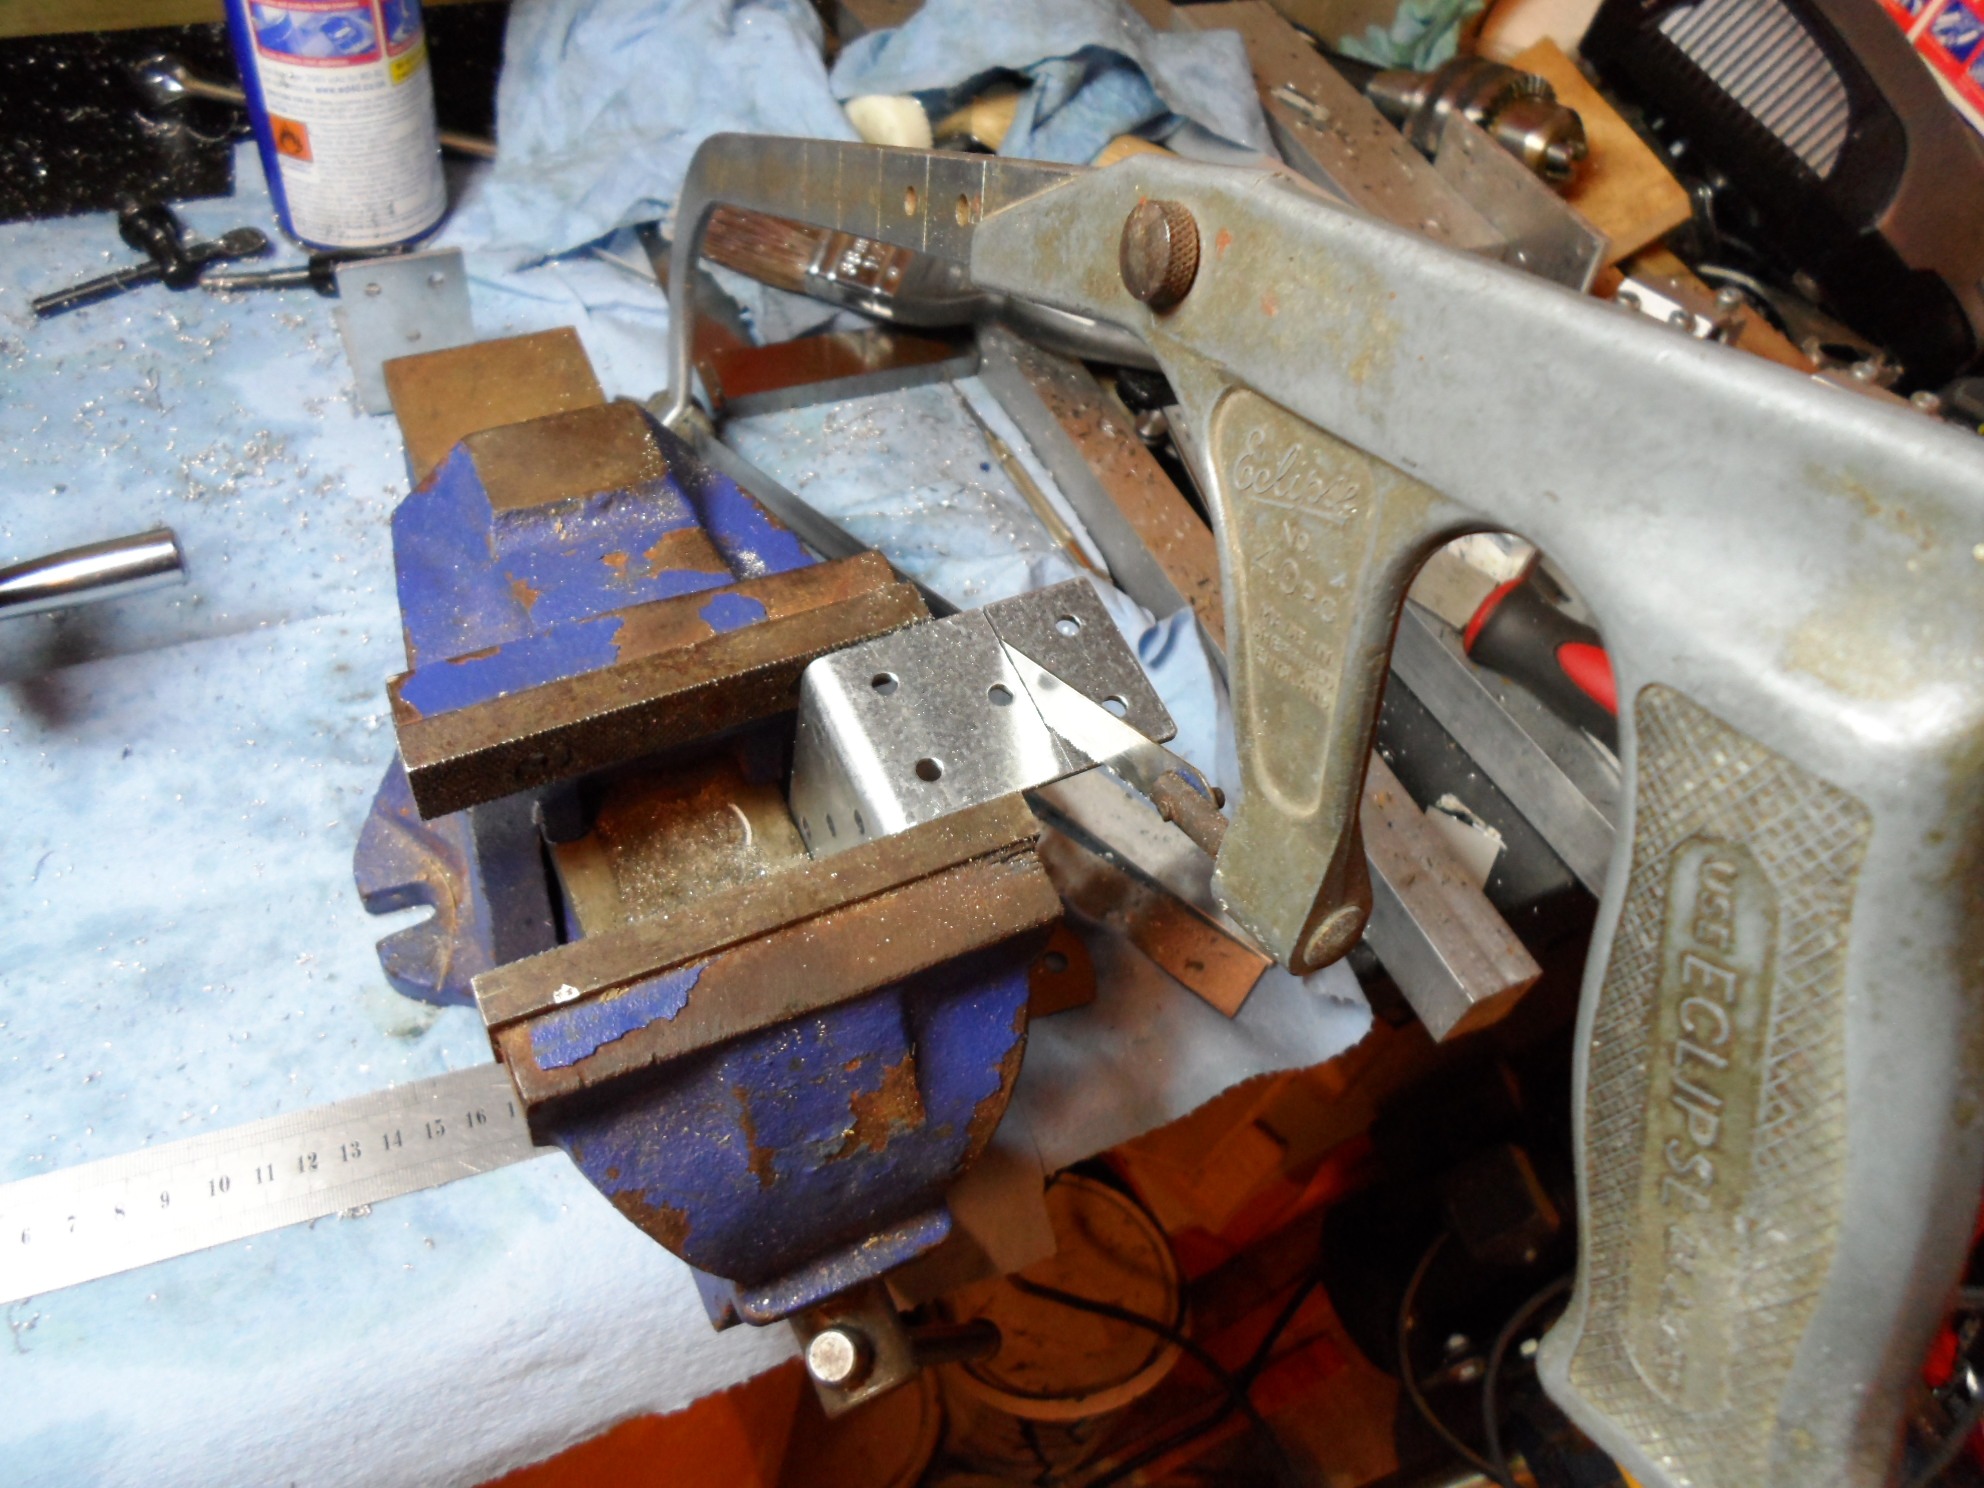
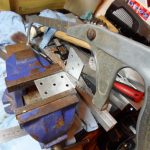
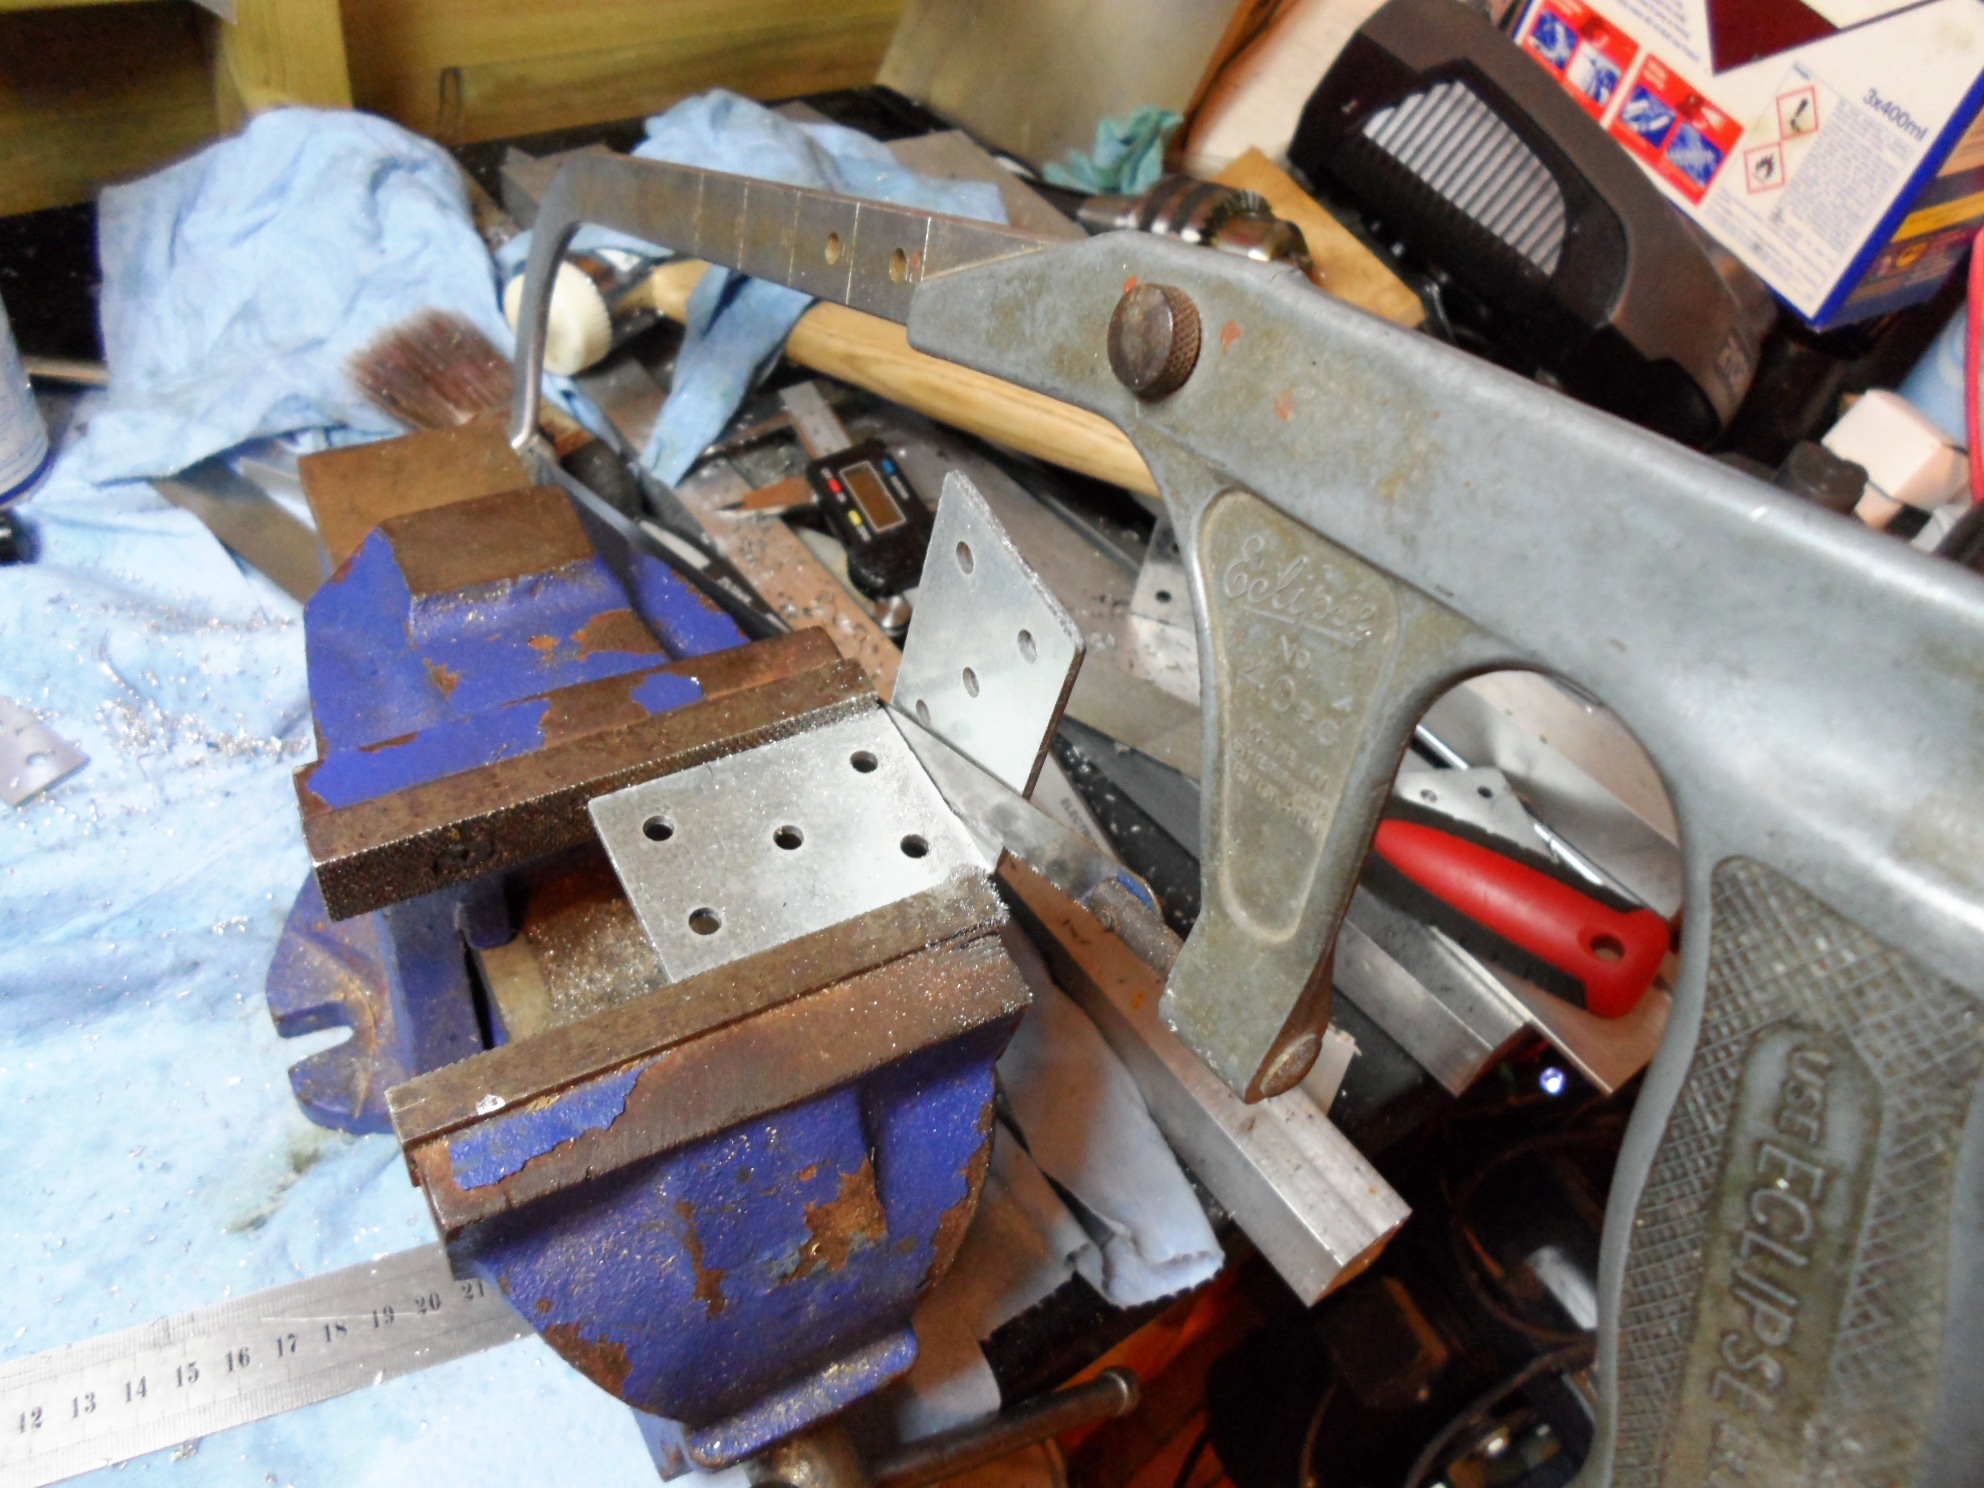
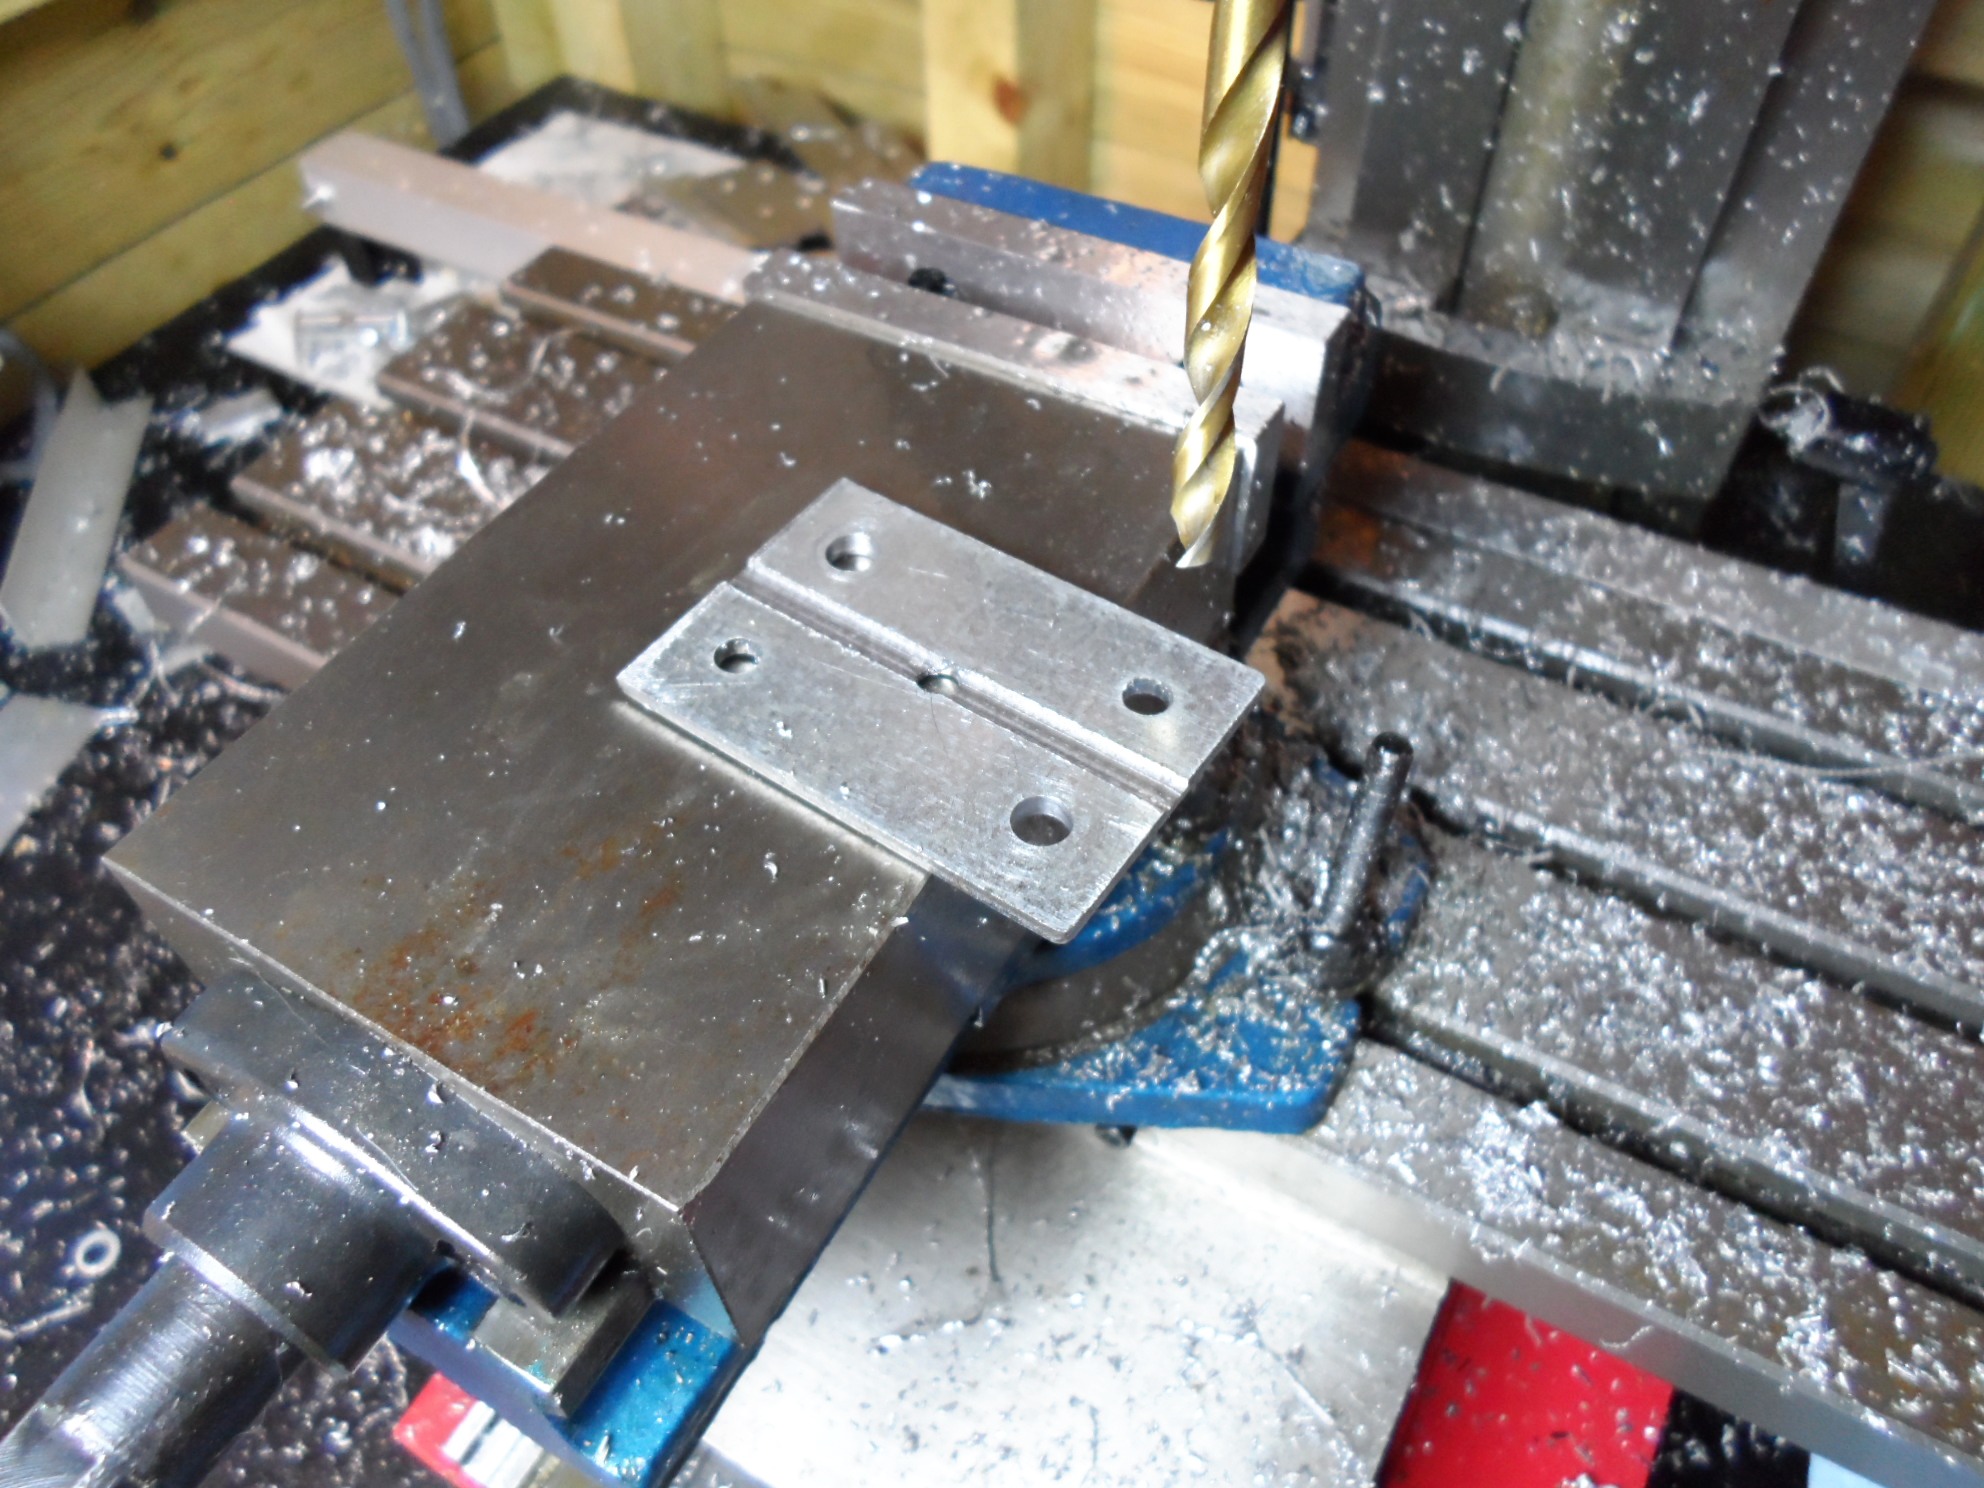
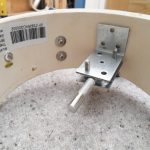
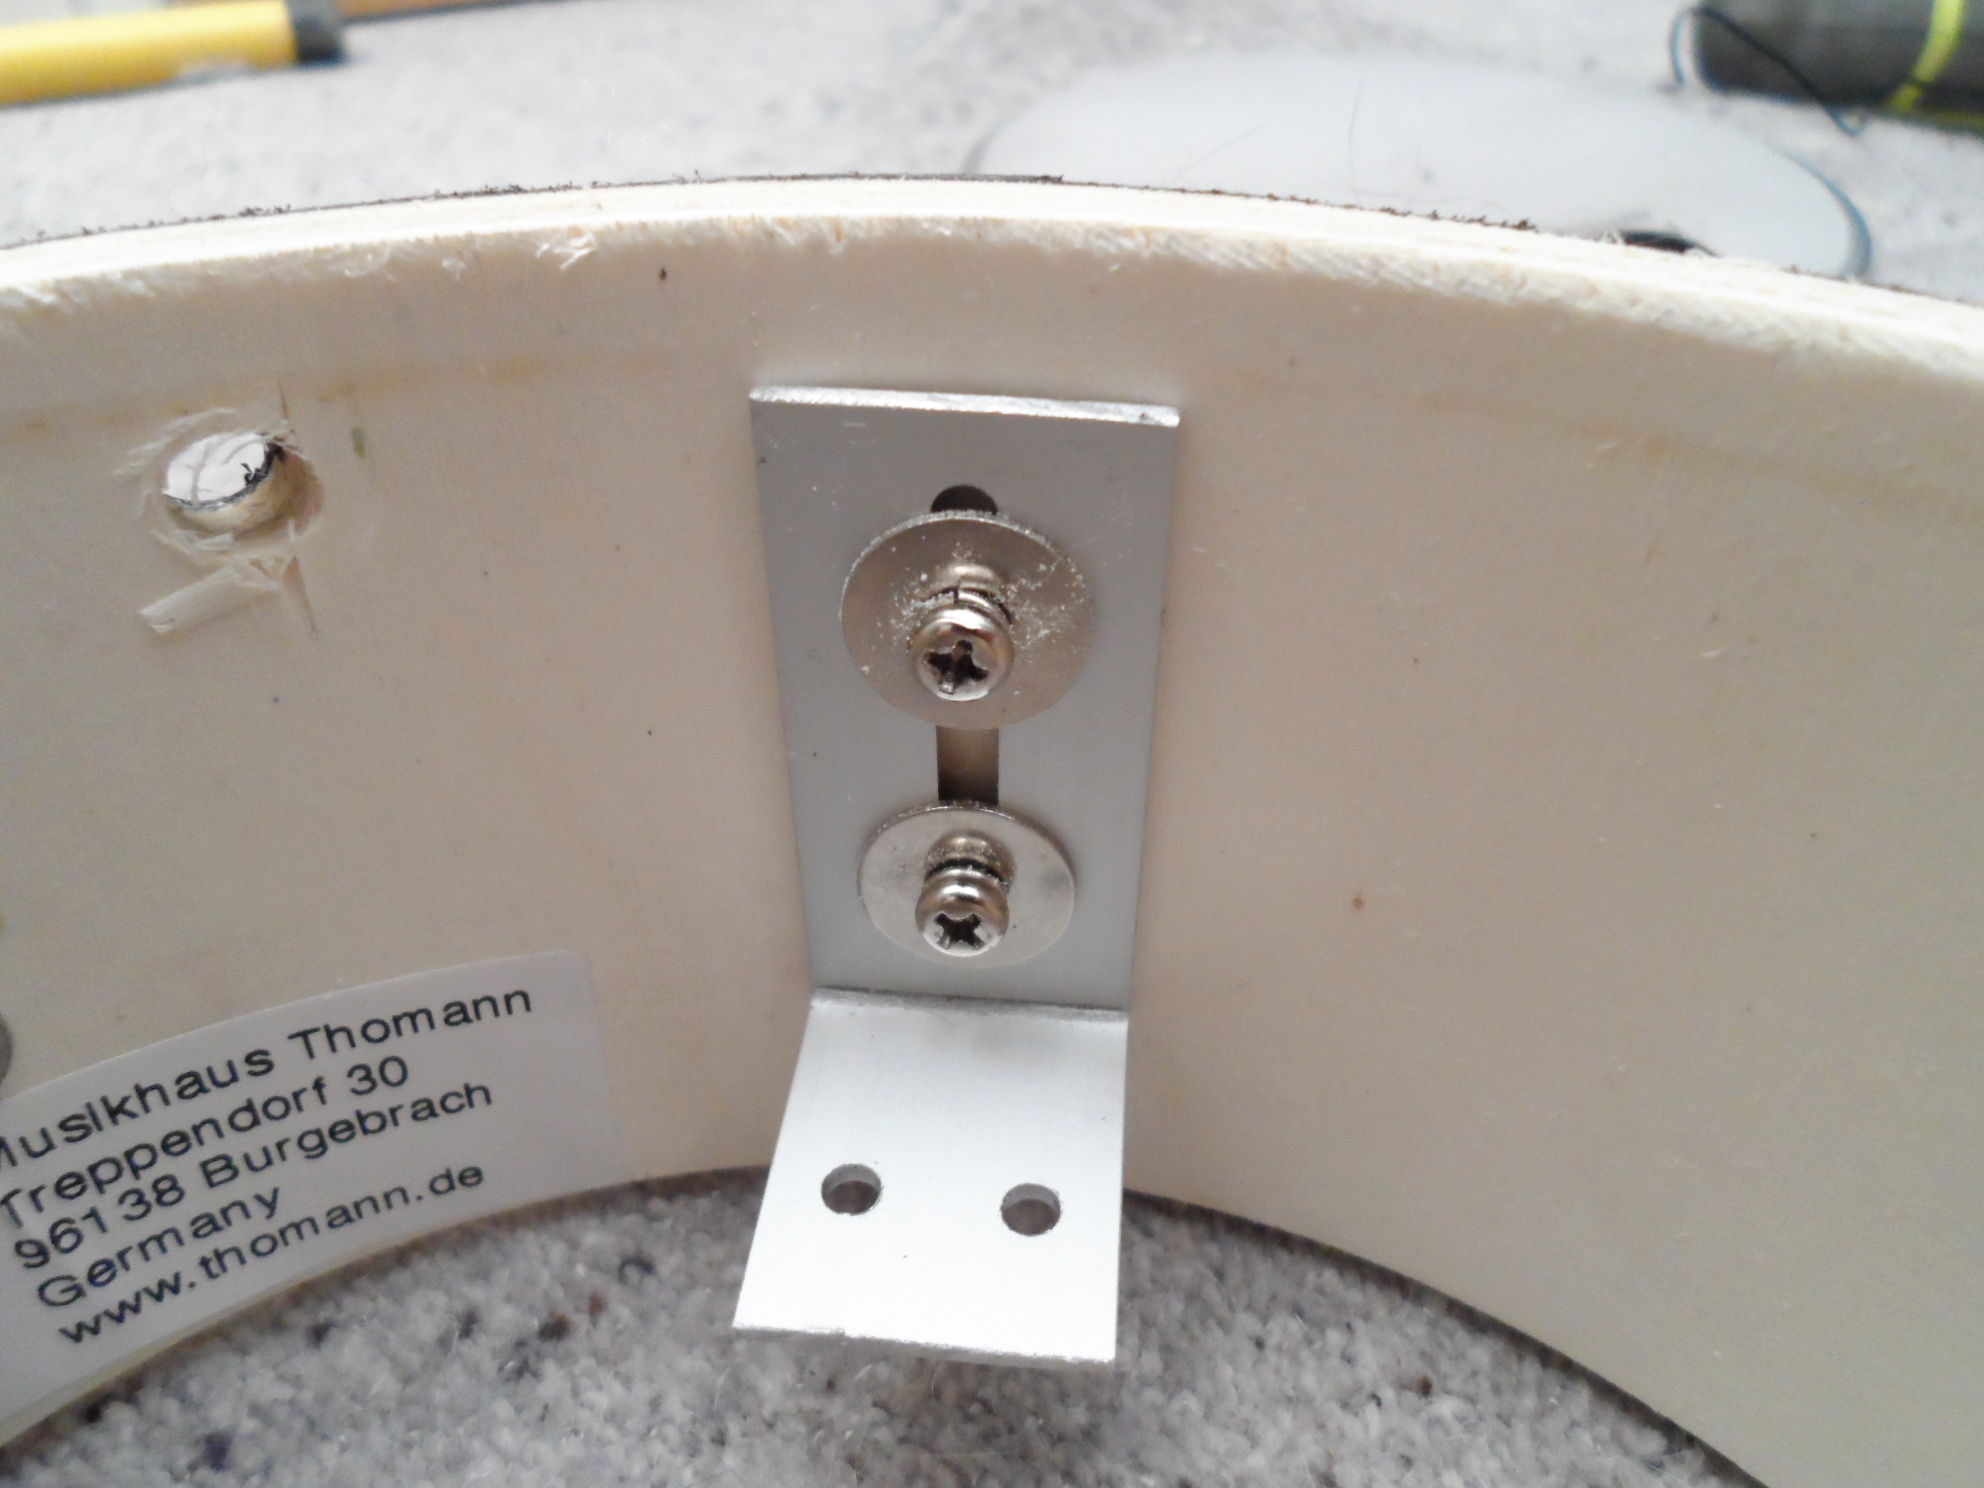
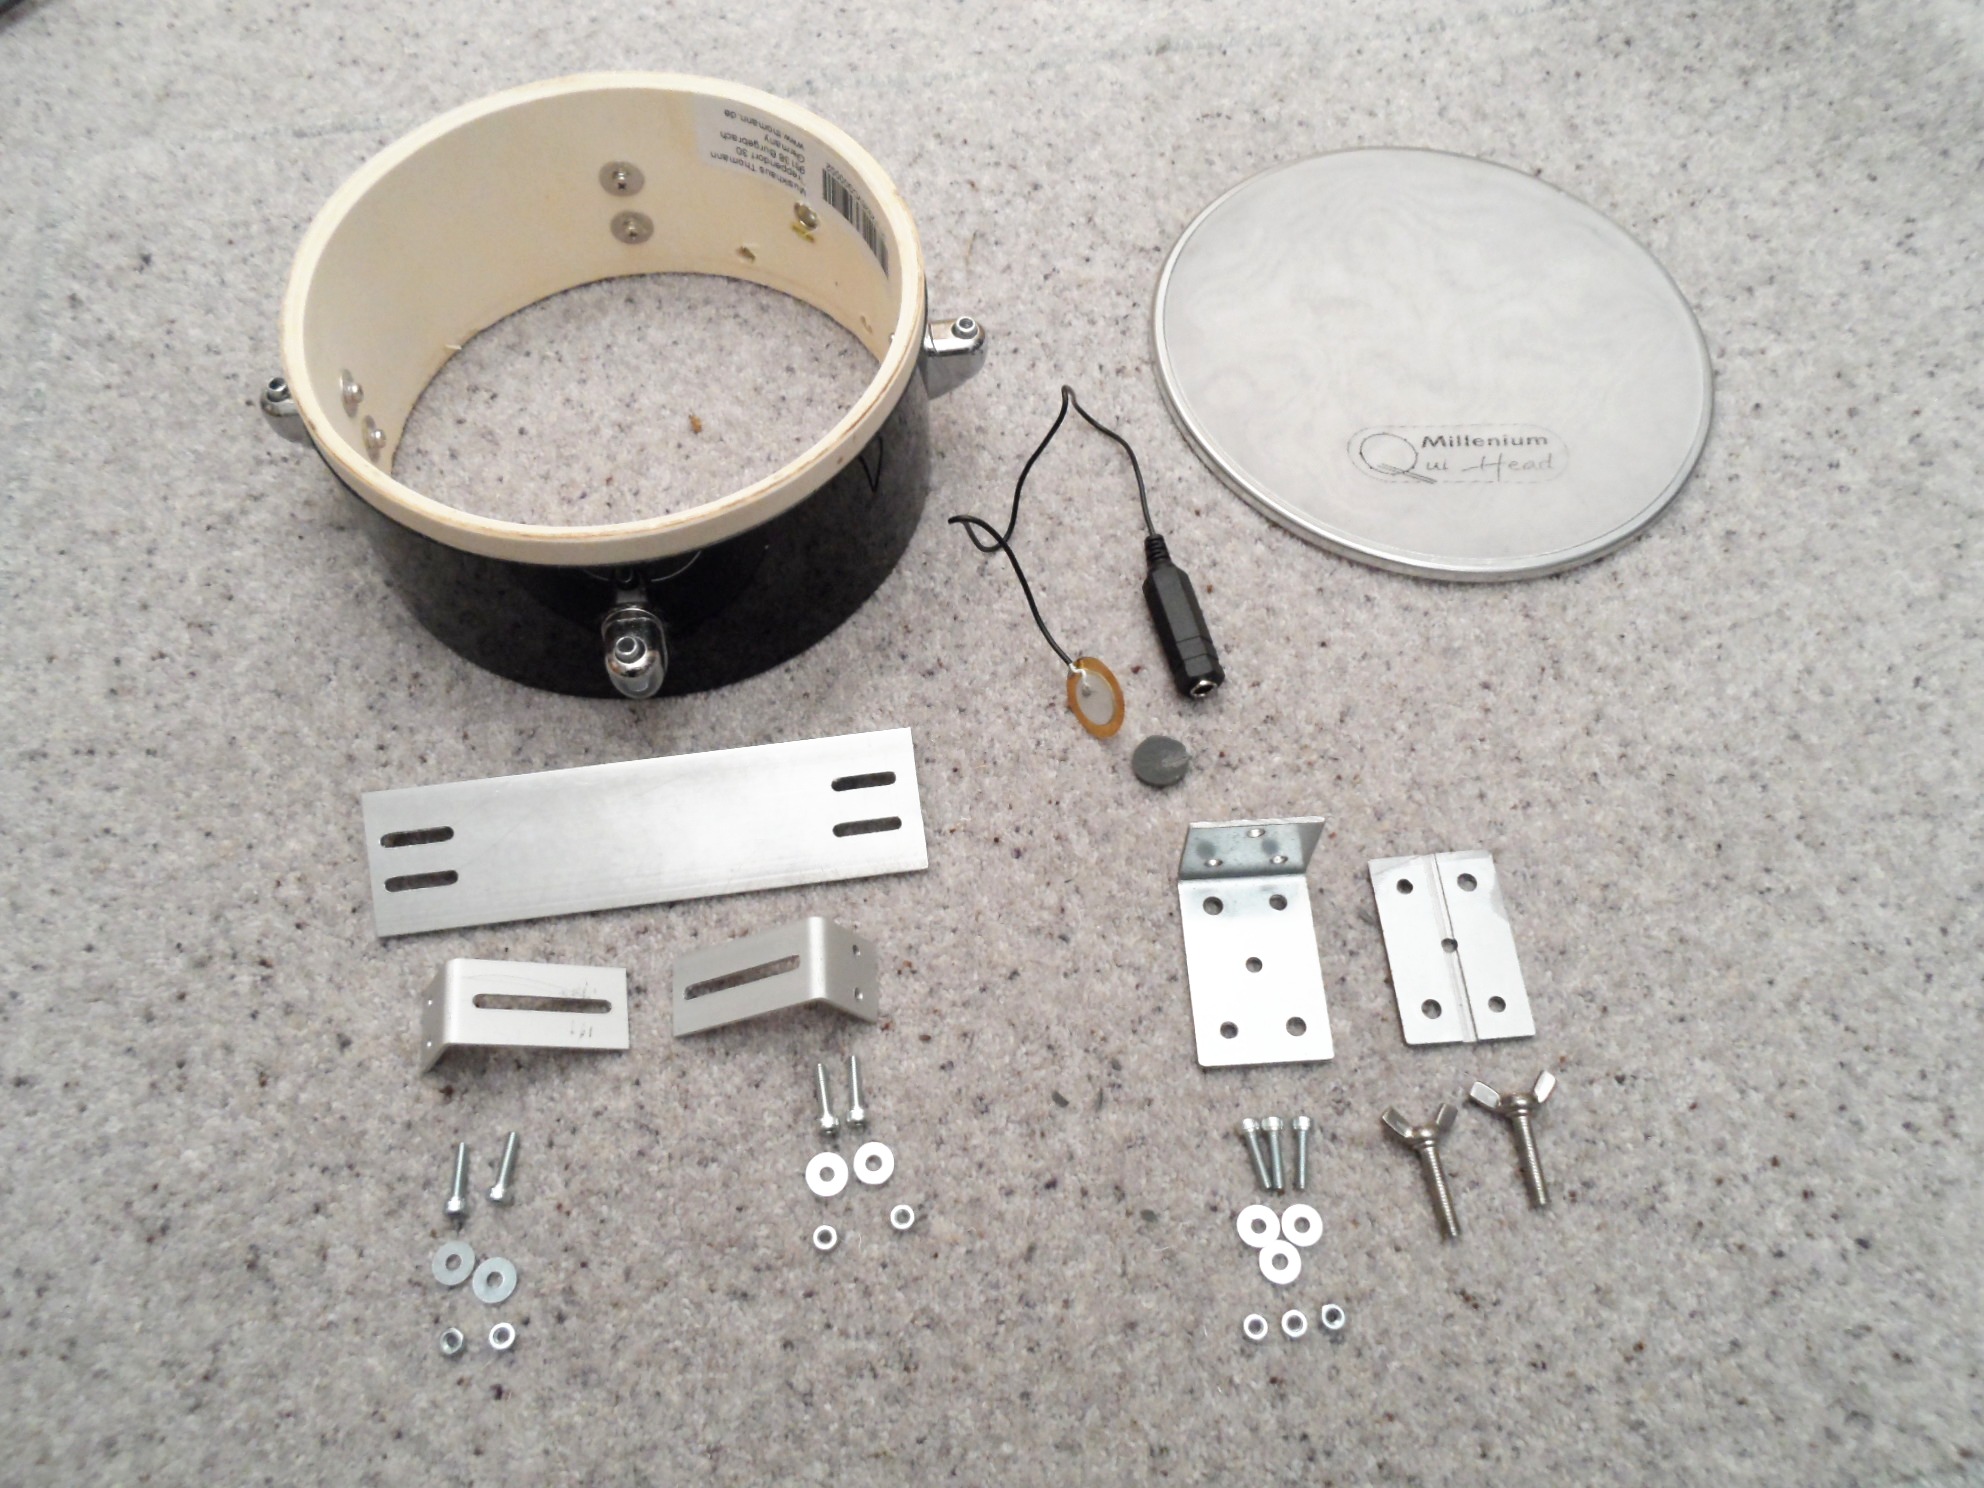
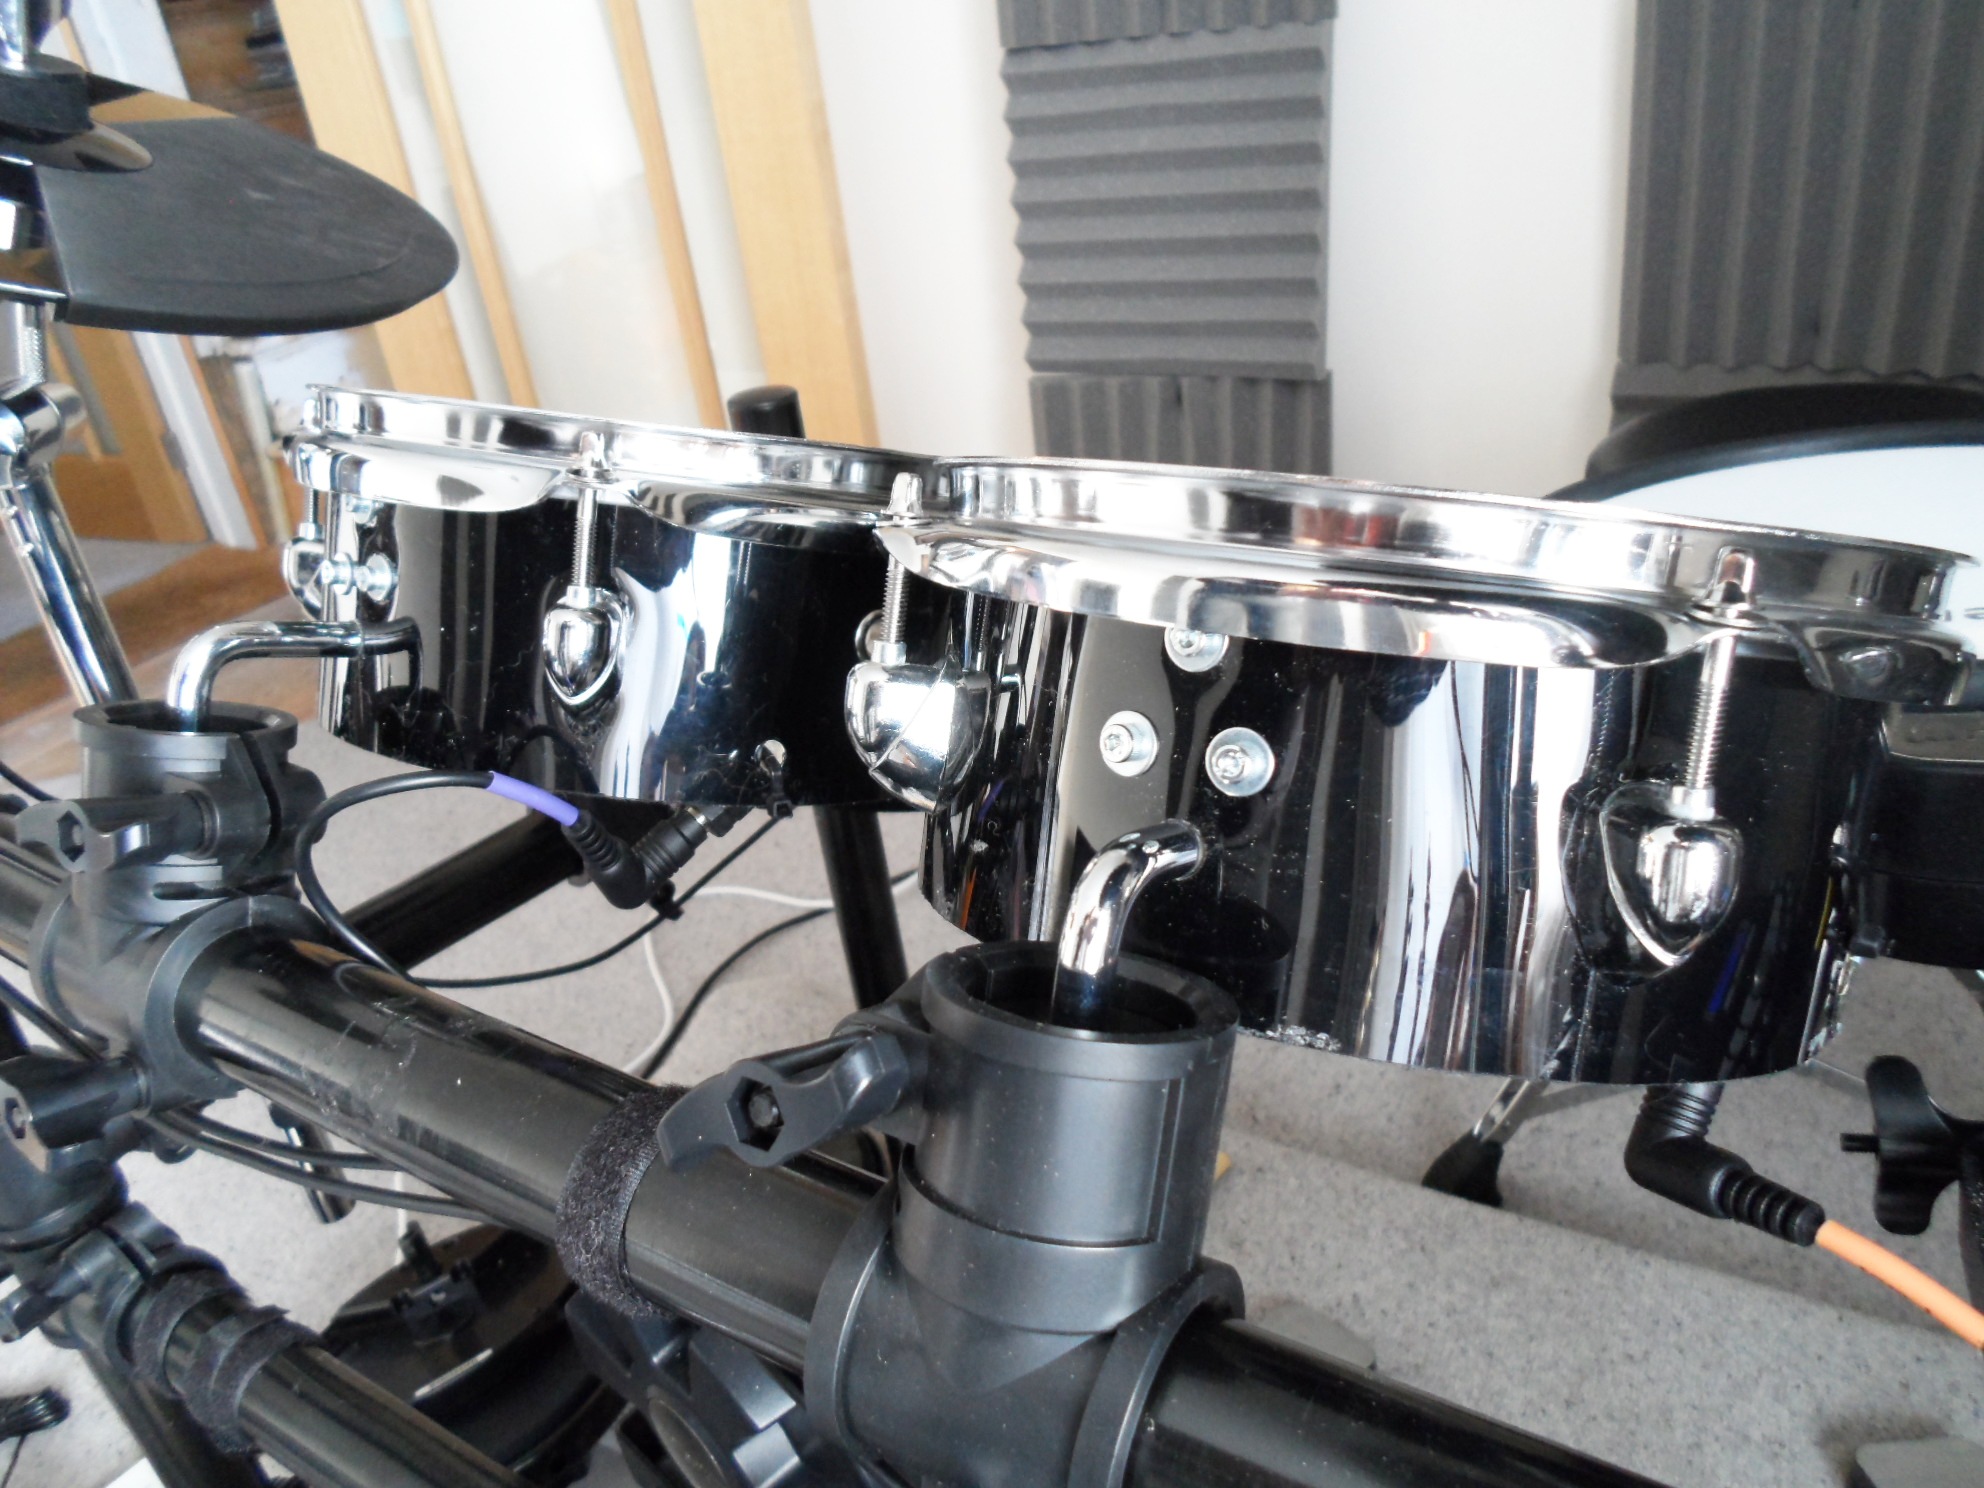
Bridge Mounting Brackets
-
- Aluminium Strips
-
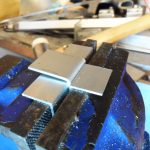
- Bent 90 Degrees

-
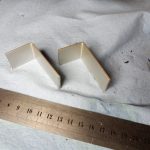
- Twice

-
- Slotted
-
- Drilled
-
- Finished Brackets
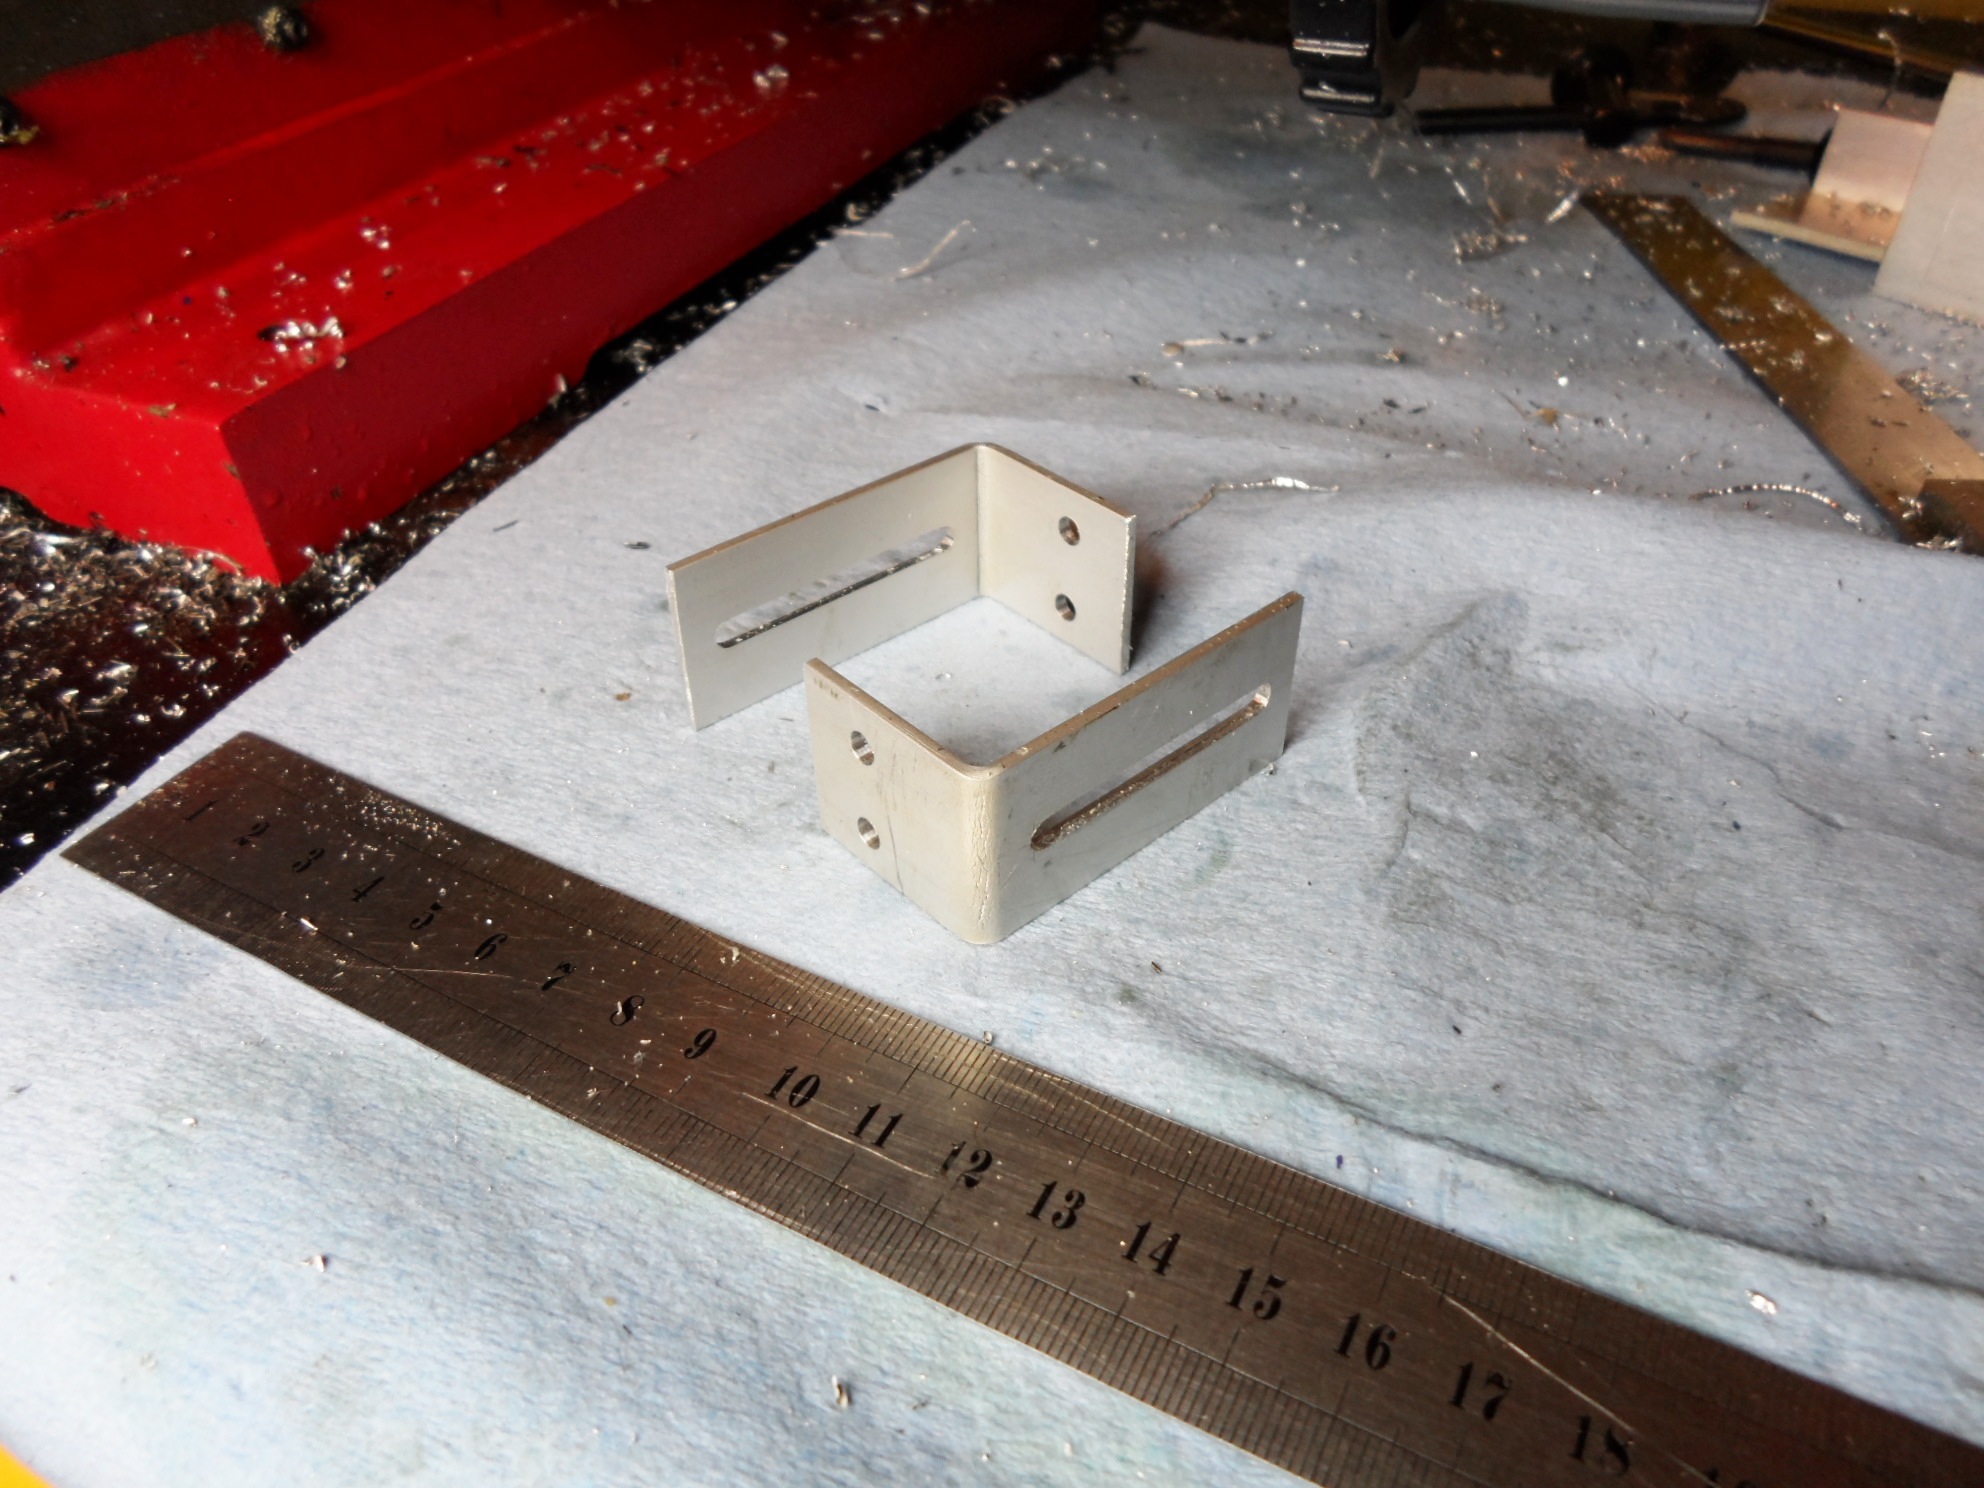
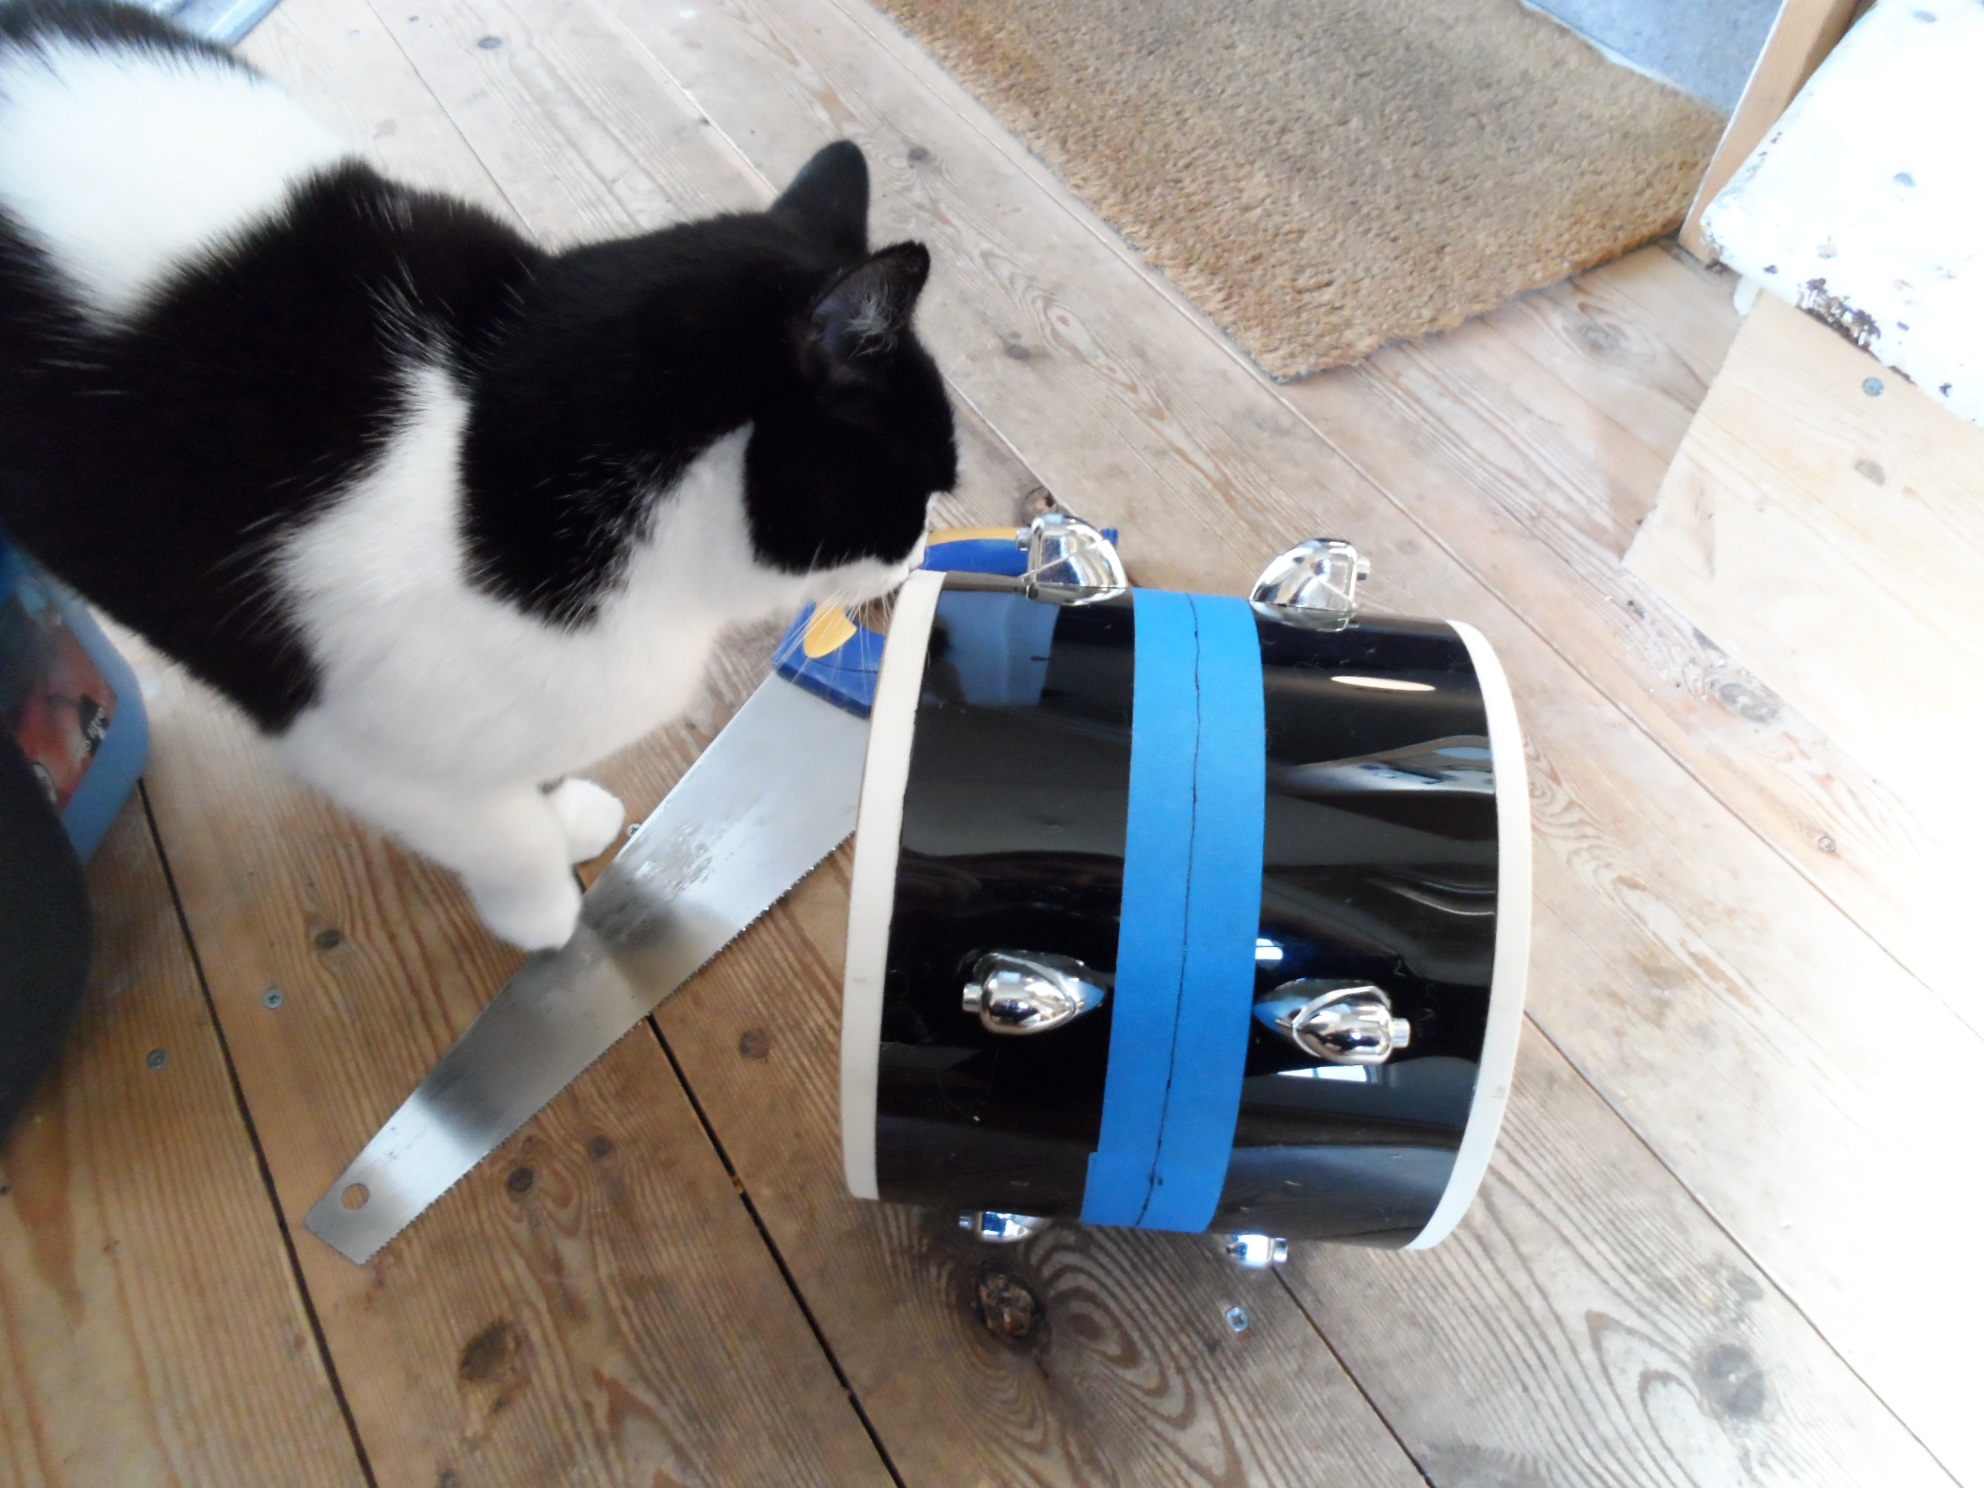
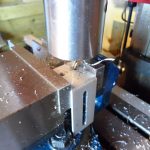
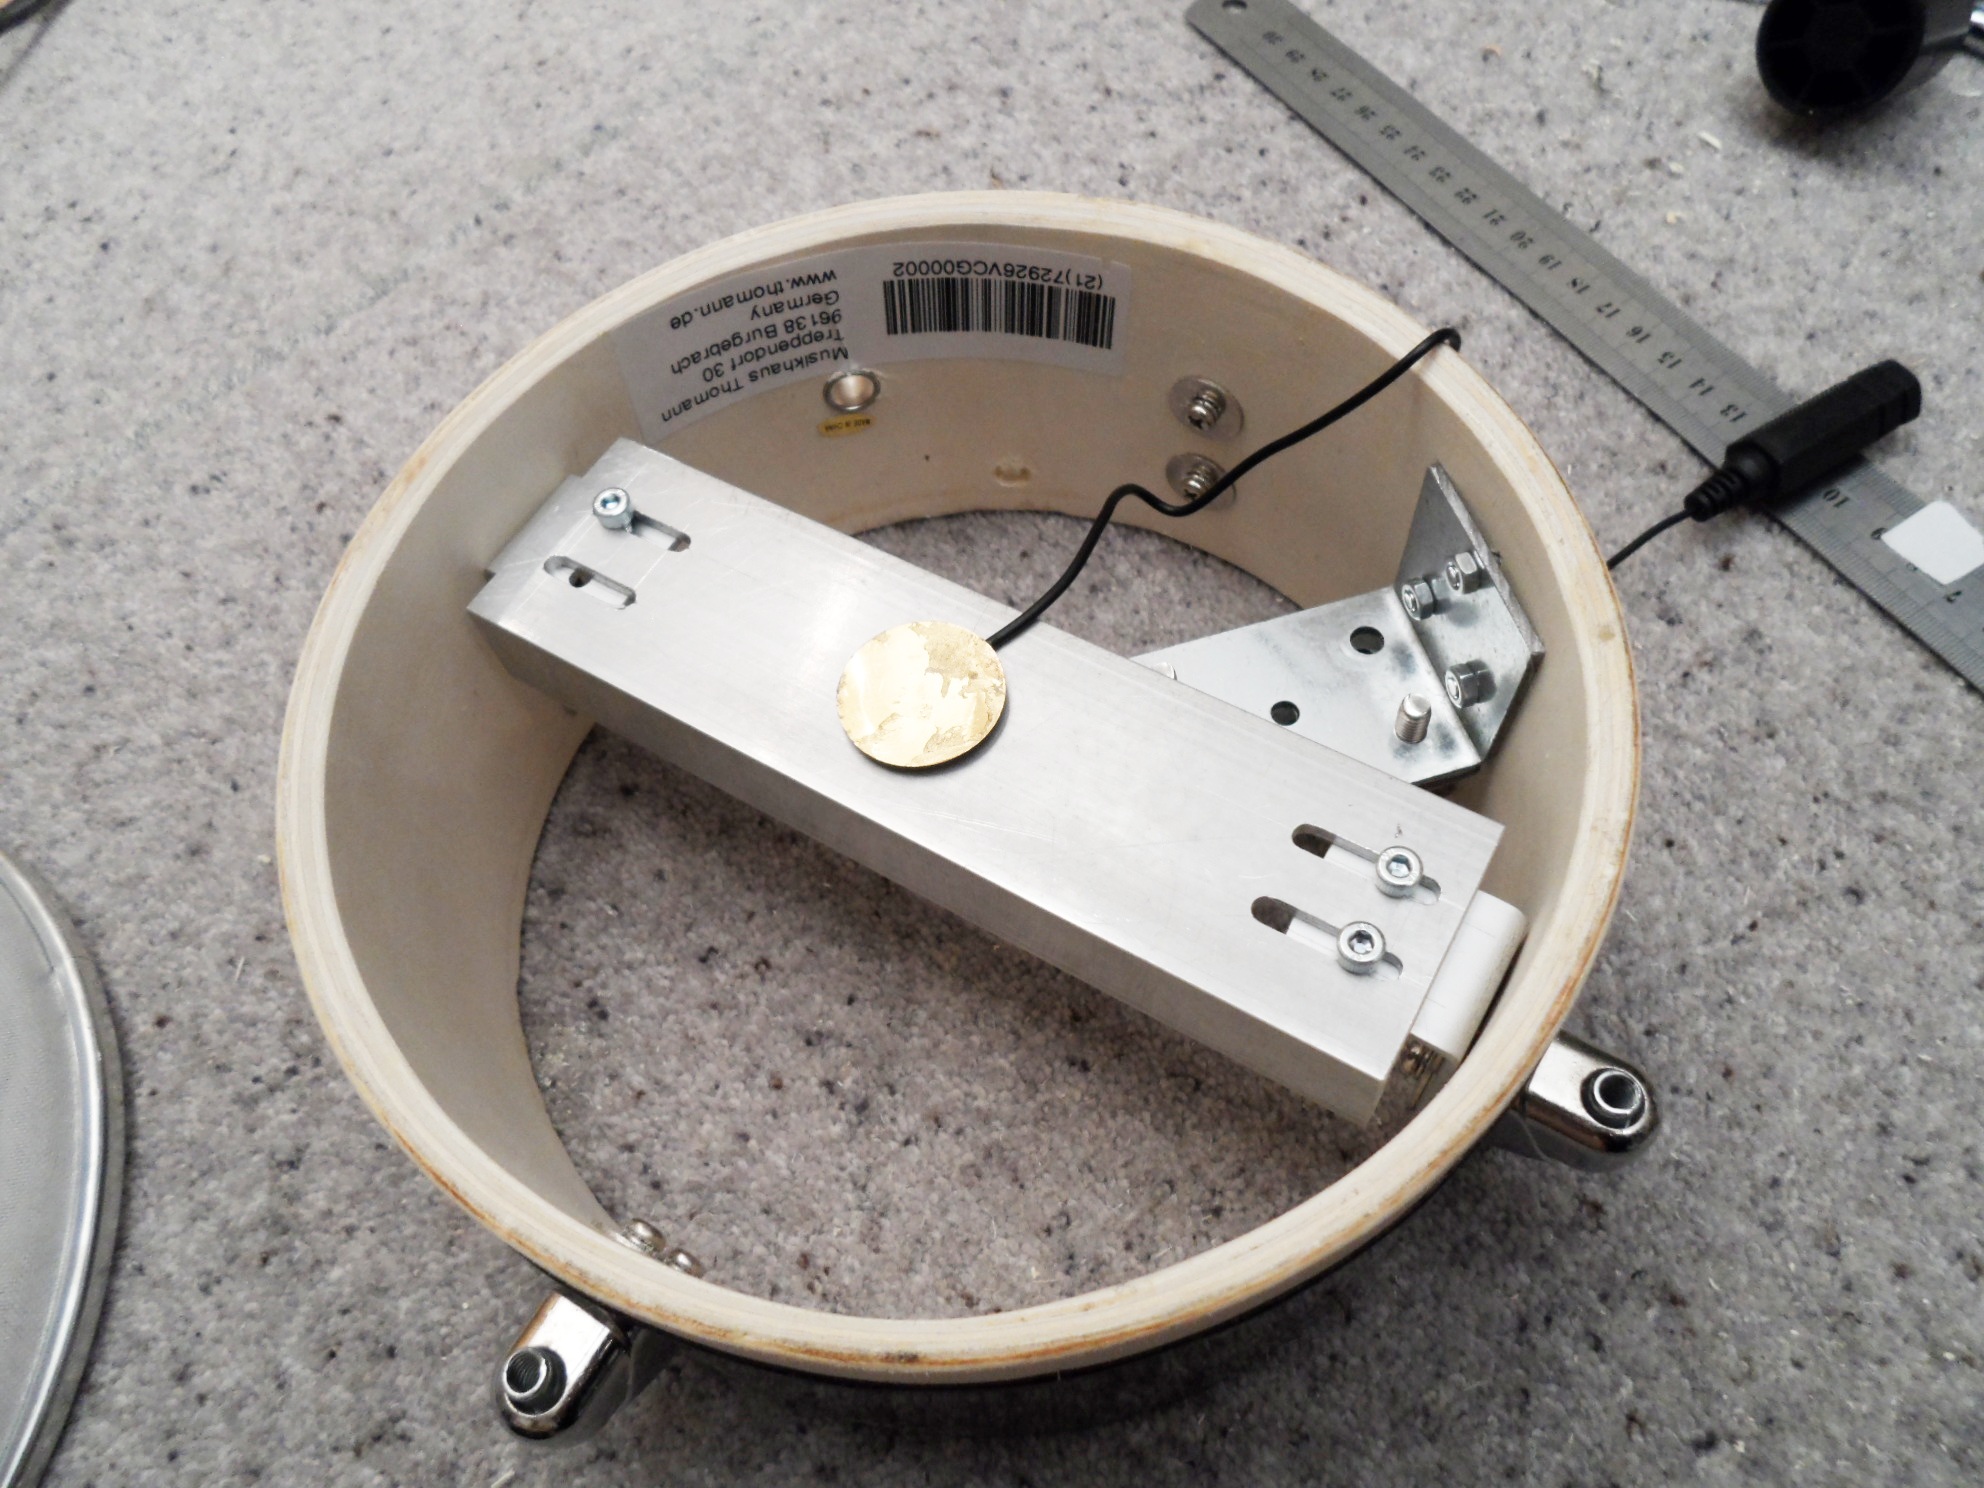
The pictures above illustrate the construction of those brackets. They’re made from 80x20x2mm strips of aluminium, which are bent 50mm along their length. The long edge then has a 4mm wide slot cut to allow the bracket to be moved up and down to adjust the distance of the sensor from the mesh. Two 4mm holes are drilled in the short edge to attach the bridge.
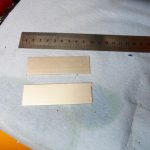
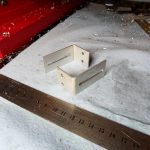
Bridge
-

- Bridge Cut…
-
- …And Slotted
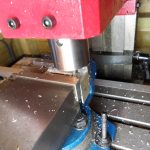
Mounting Clamp
-
- 1st Clamp Piece Cut
-
- 2nd Clamp Piece Cut
-
- Clamp Pieces And Offcuts

-
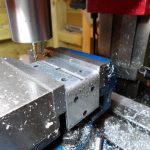
- 1st Piece Milled

-
- 2nd Piece Milled & Drilled
-
- 1st Piece Tapped

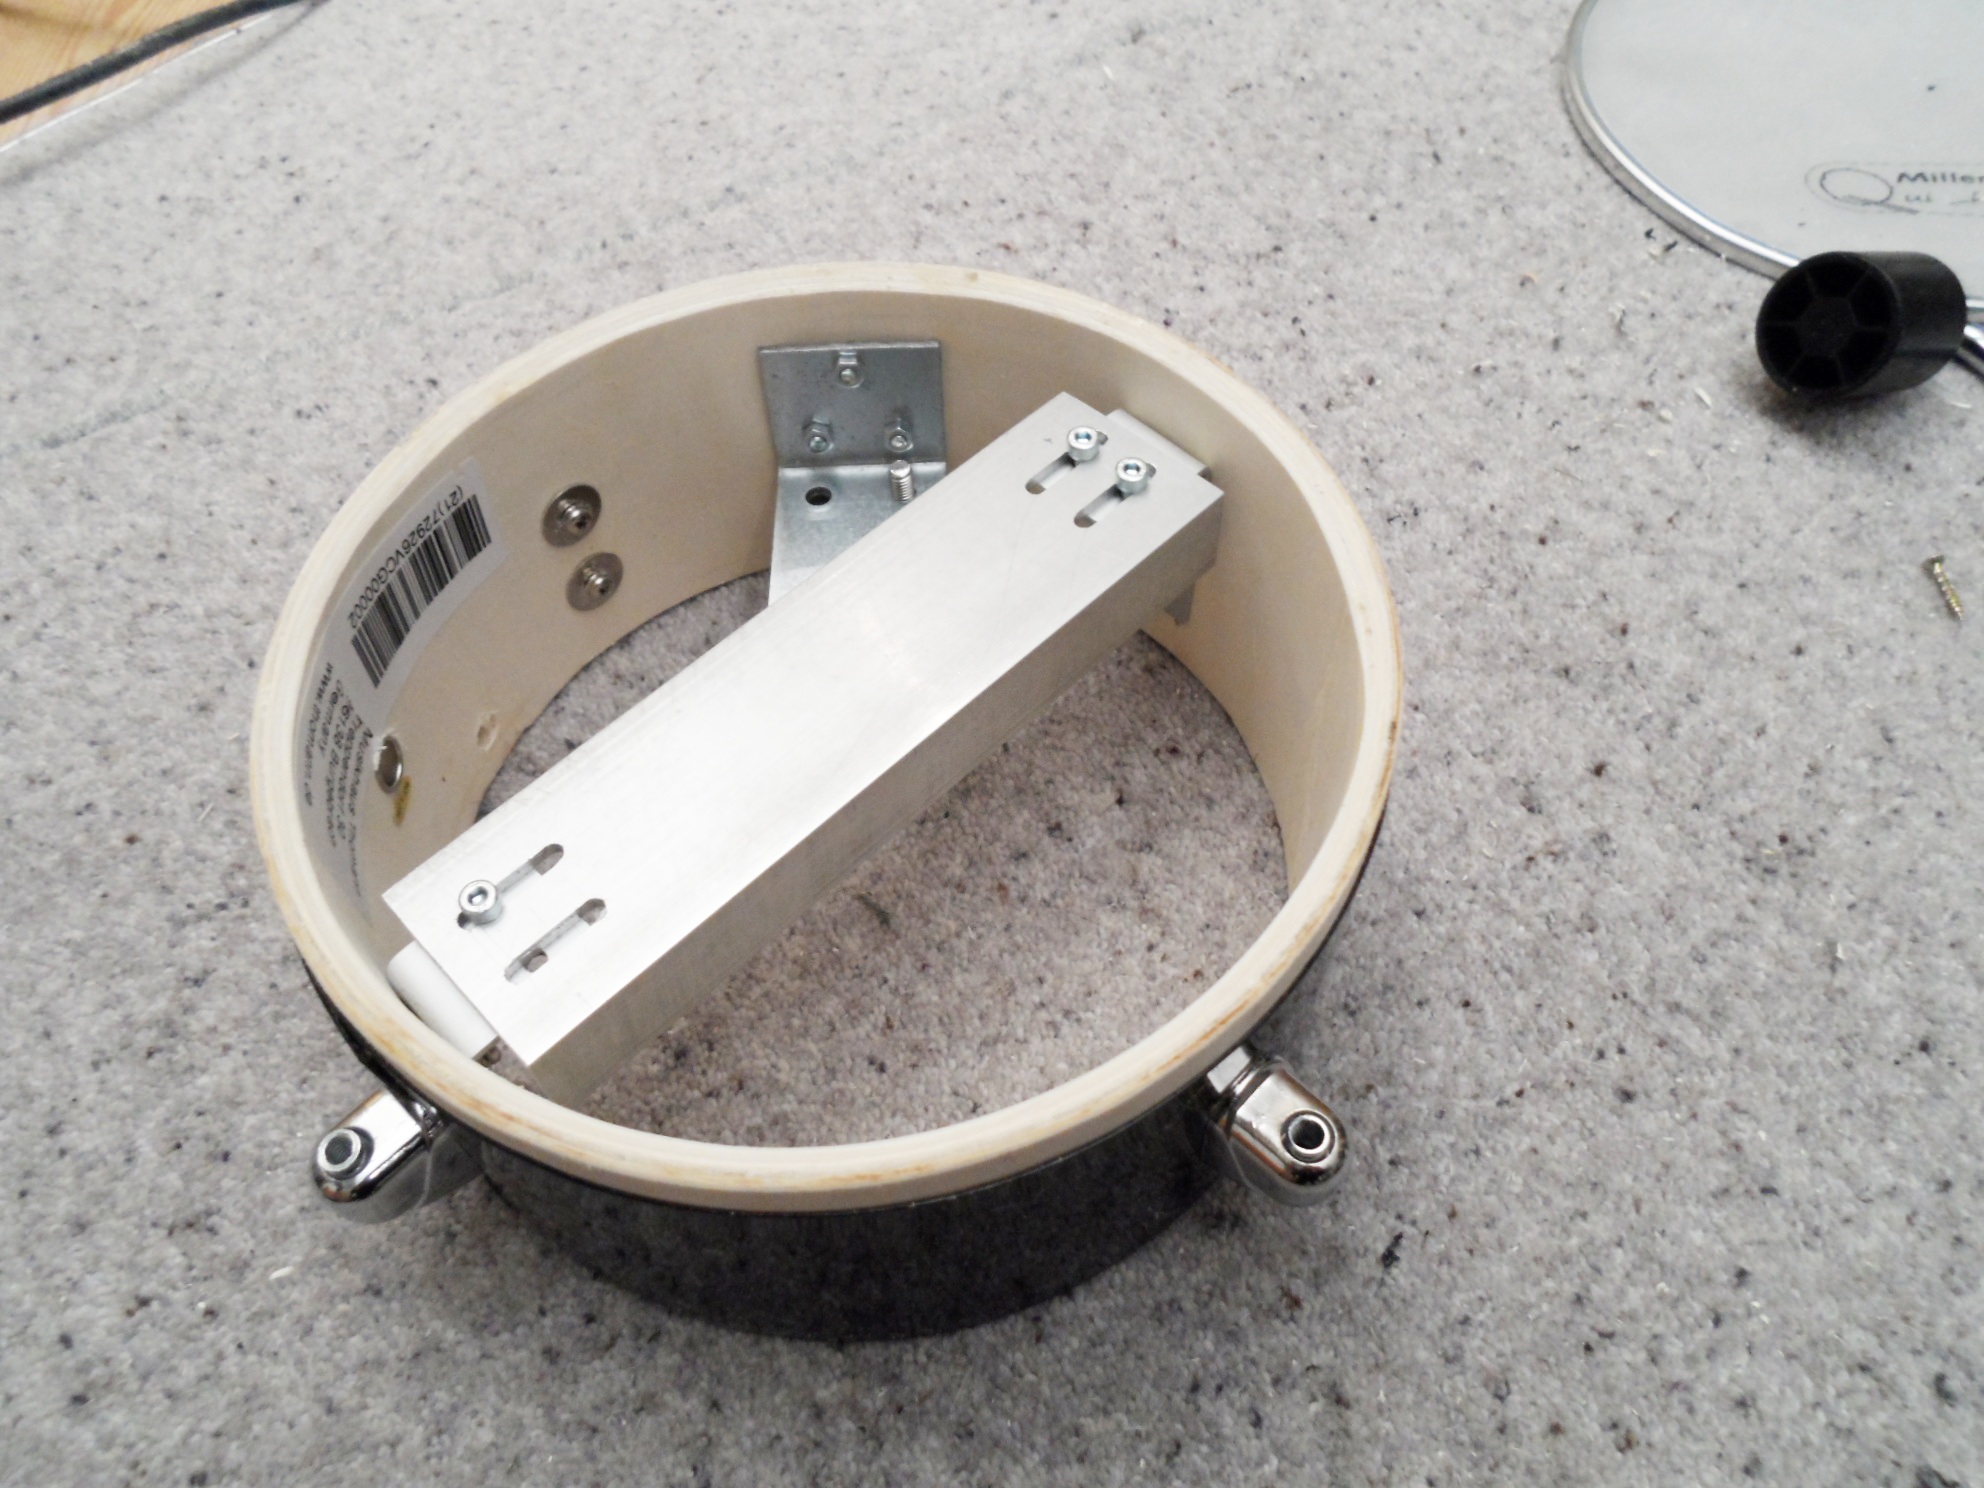
First one of the angle brackets has the length of one end reduced so that it fits in the drum better. Then a second bracket is cut in half so that we just have a flat sheet left with holes that match the first. 4mm wide grooves are milled into the faces of the brackets. Then two diagonally opposite holes in the flat piece are widened to 6mm to allow the wing nuts to pass through, and the matching holes in the angle piece are tapped with a 6mm thread.
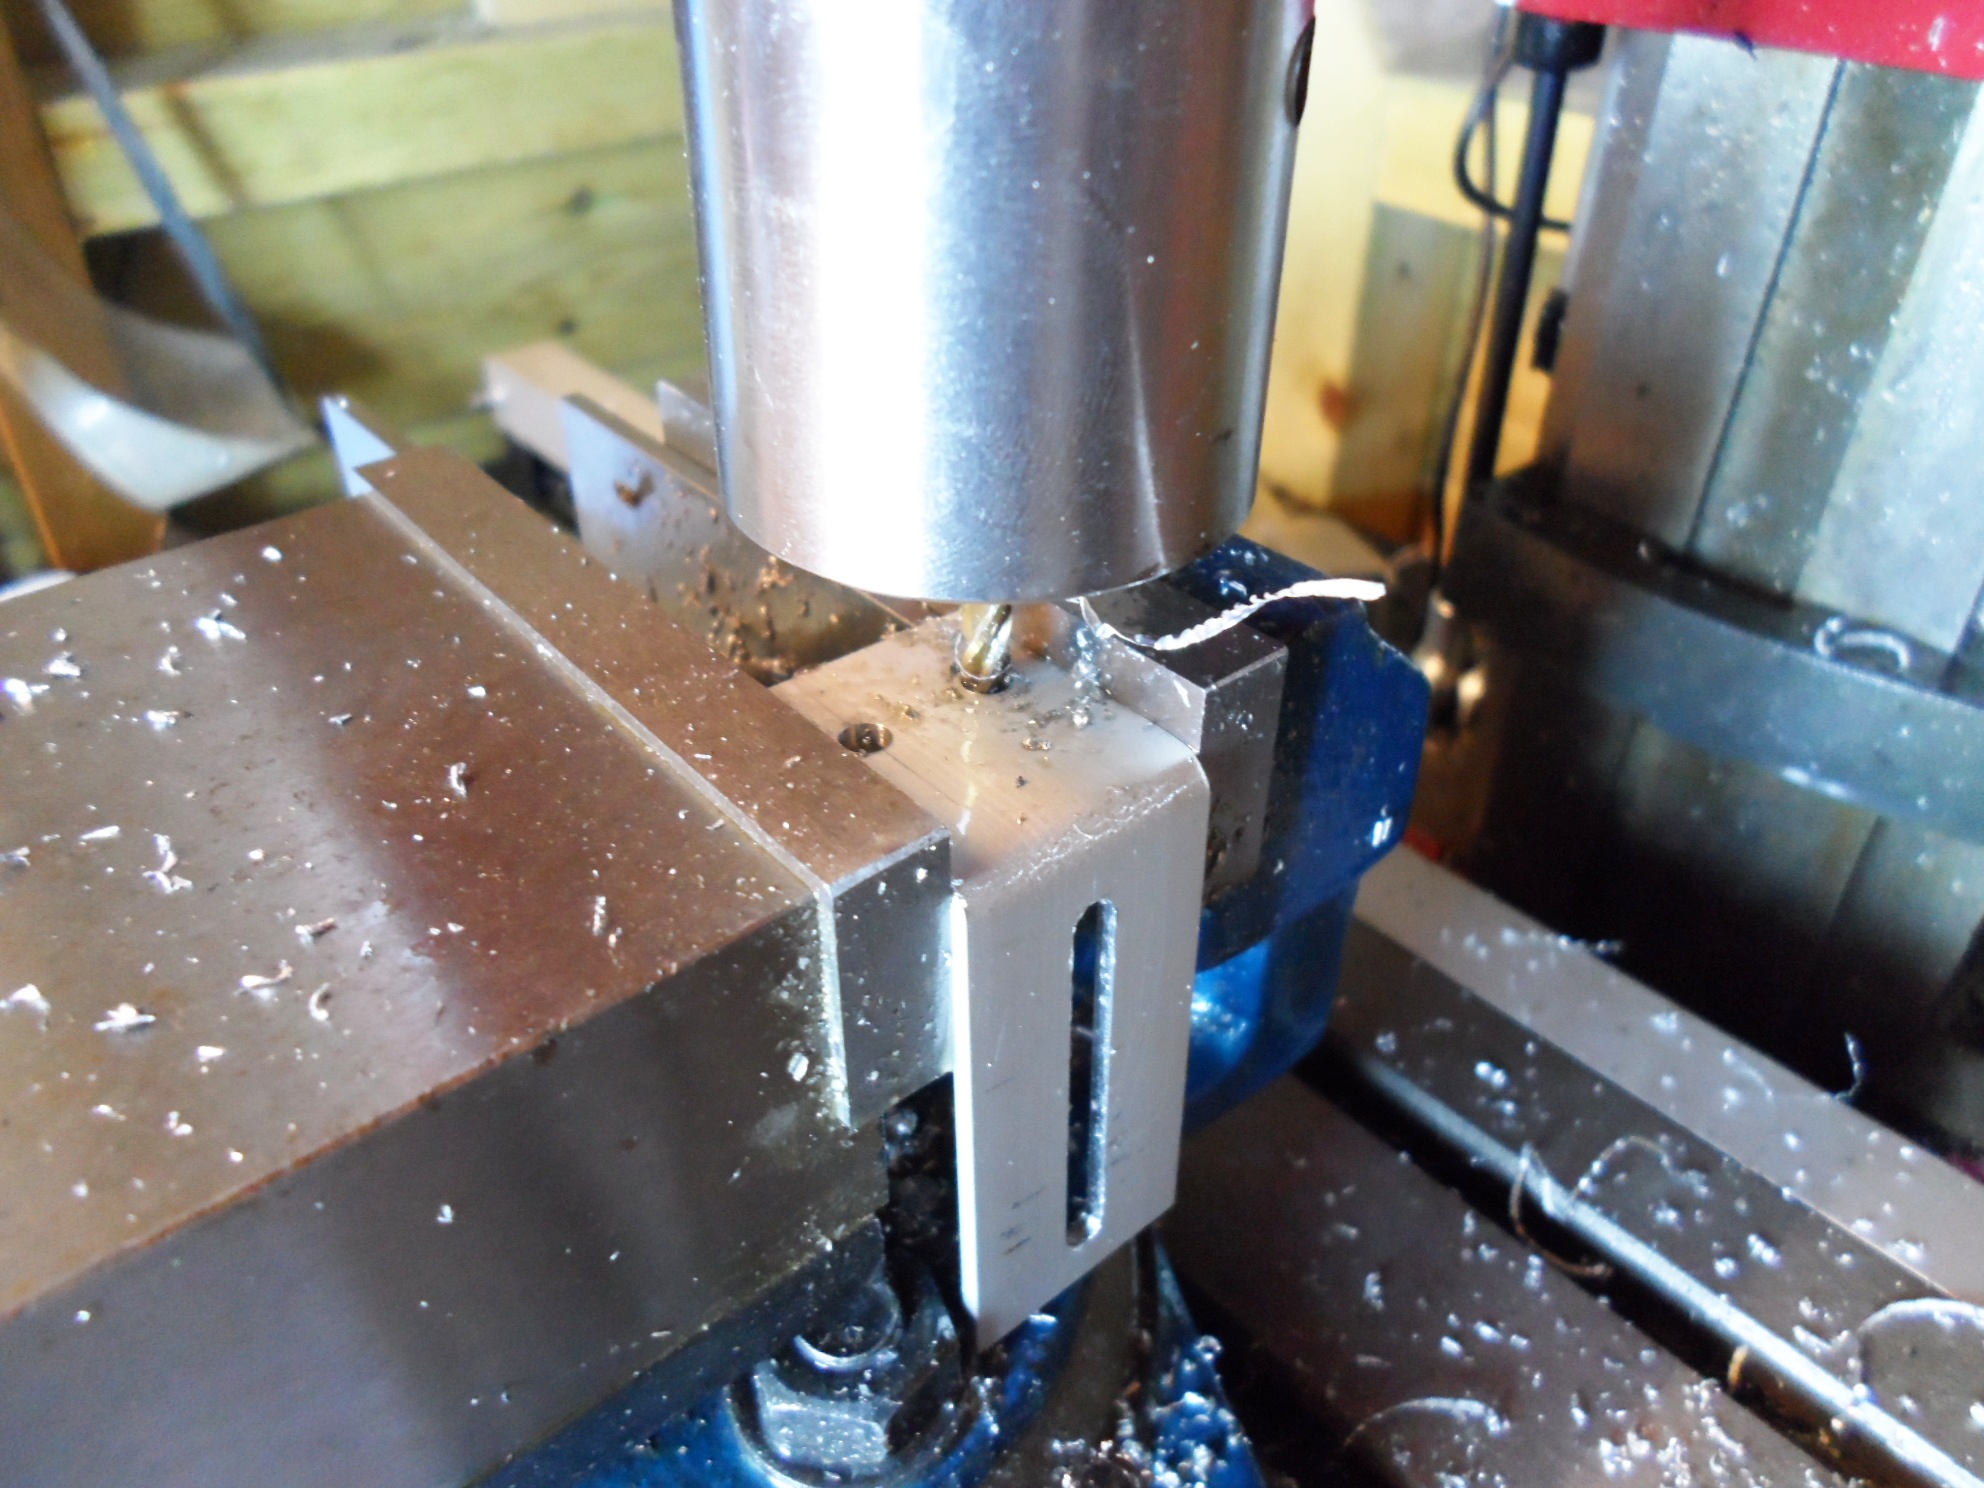
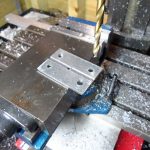
Mounting Clamp Fitting
-
- Mount Hole Drilled
-
- Mount Position Marked

-
- Mount Fitted
Bridge
-

- Bridge Bracket Fitted
-
- Bridge Fitted
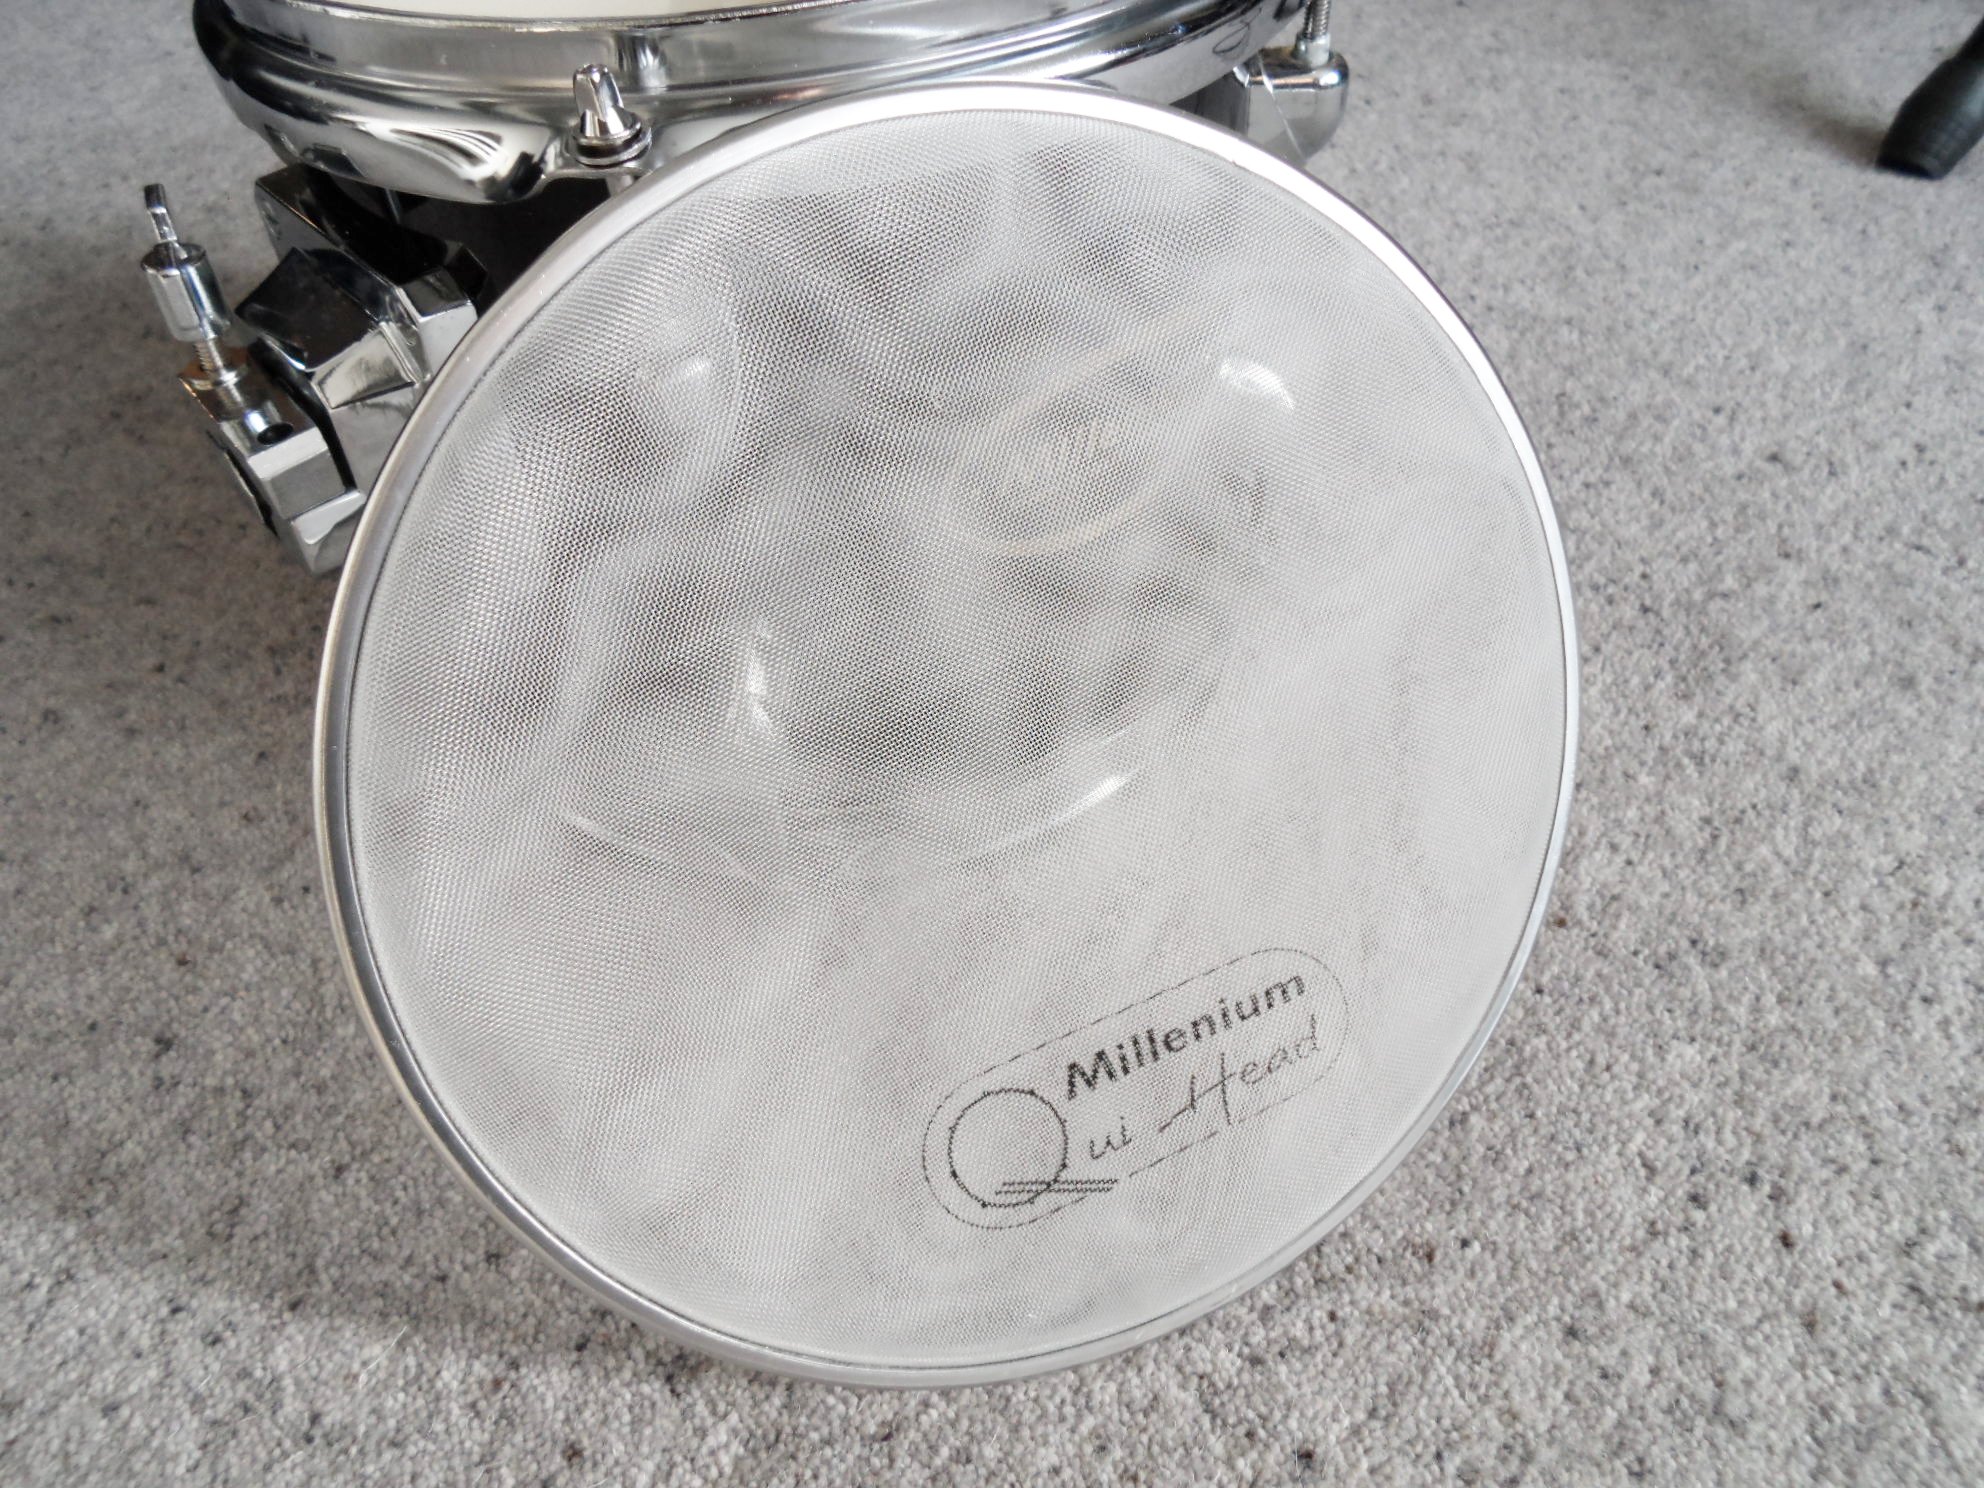
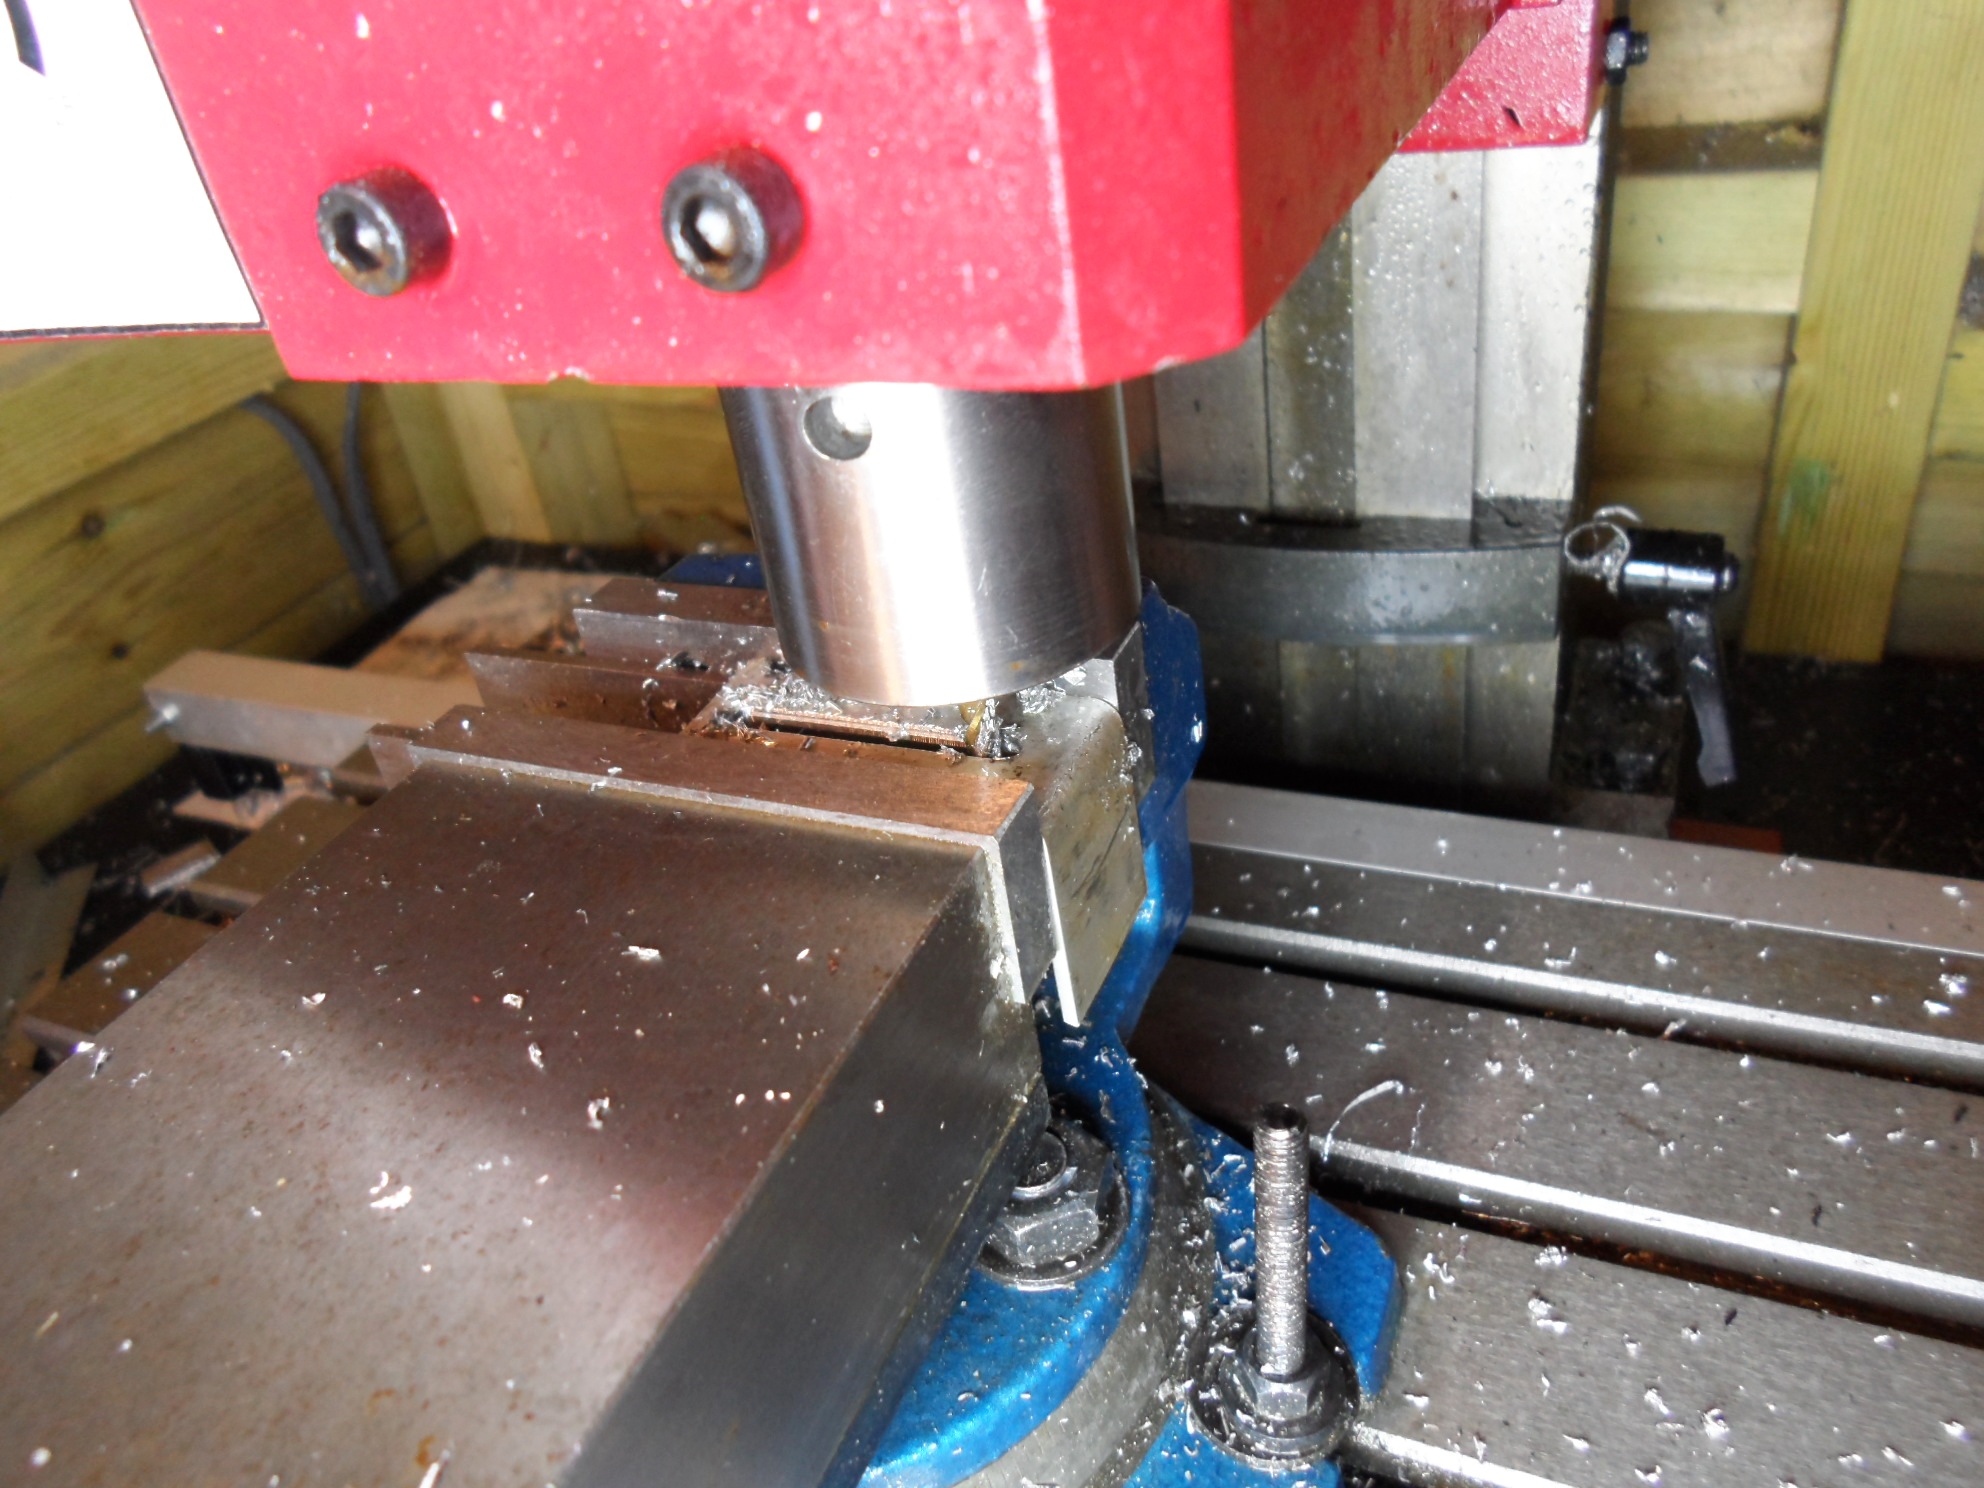
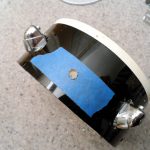
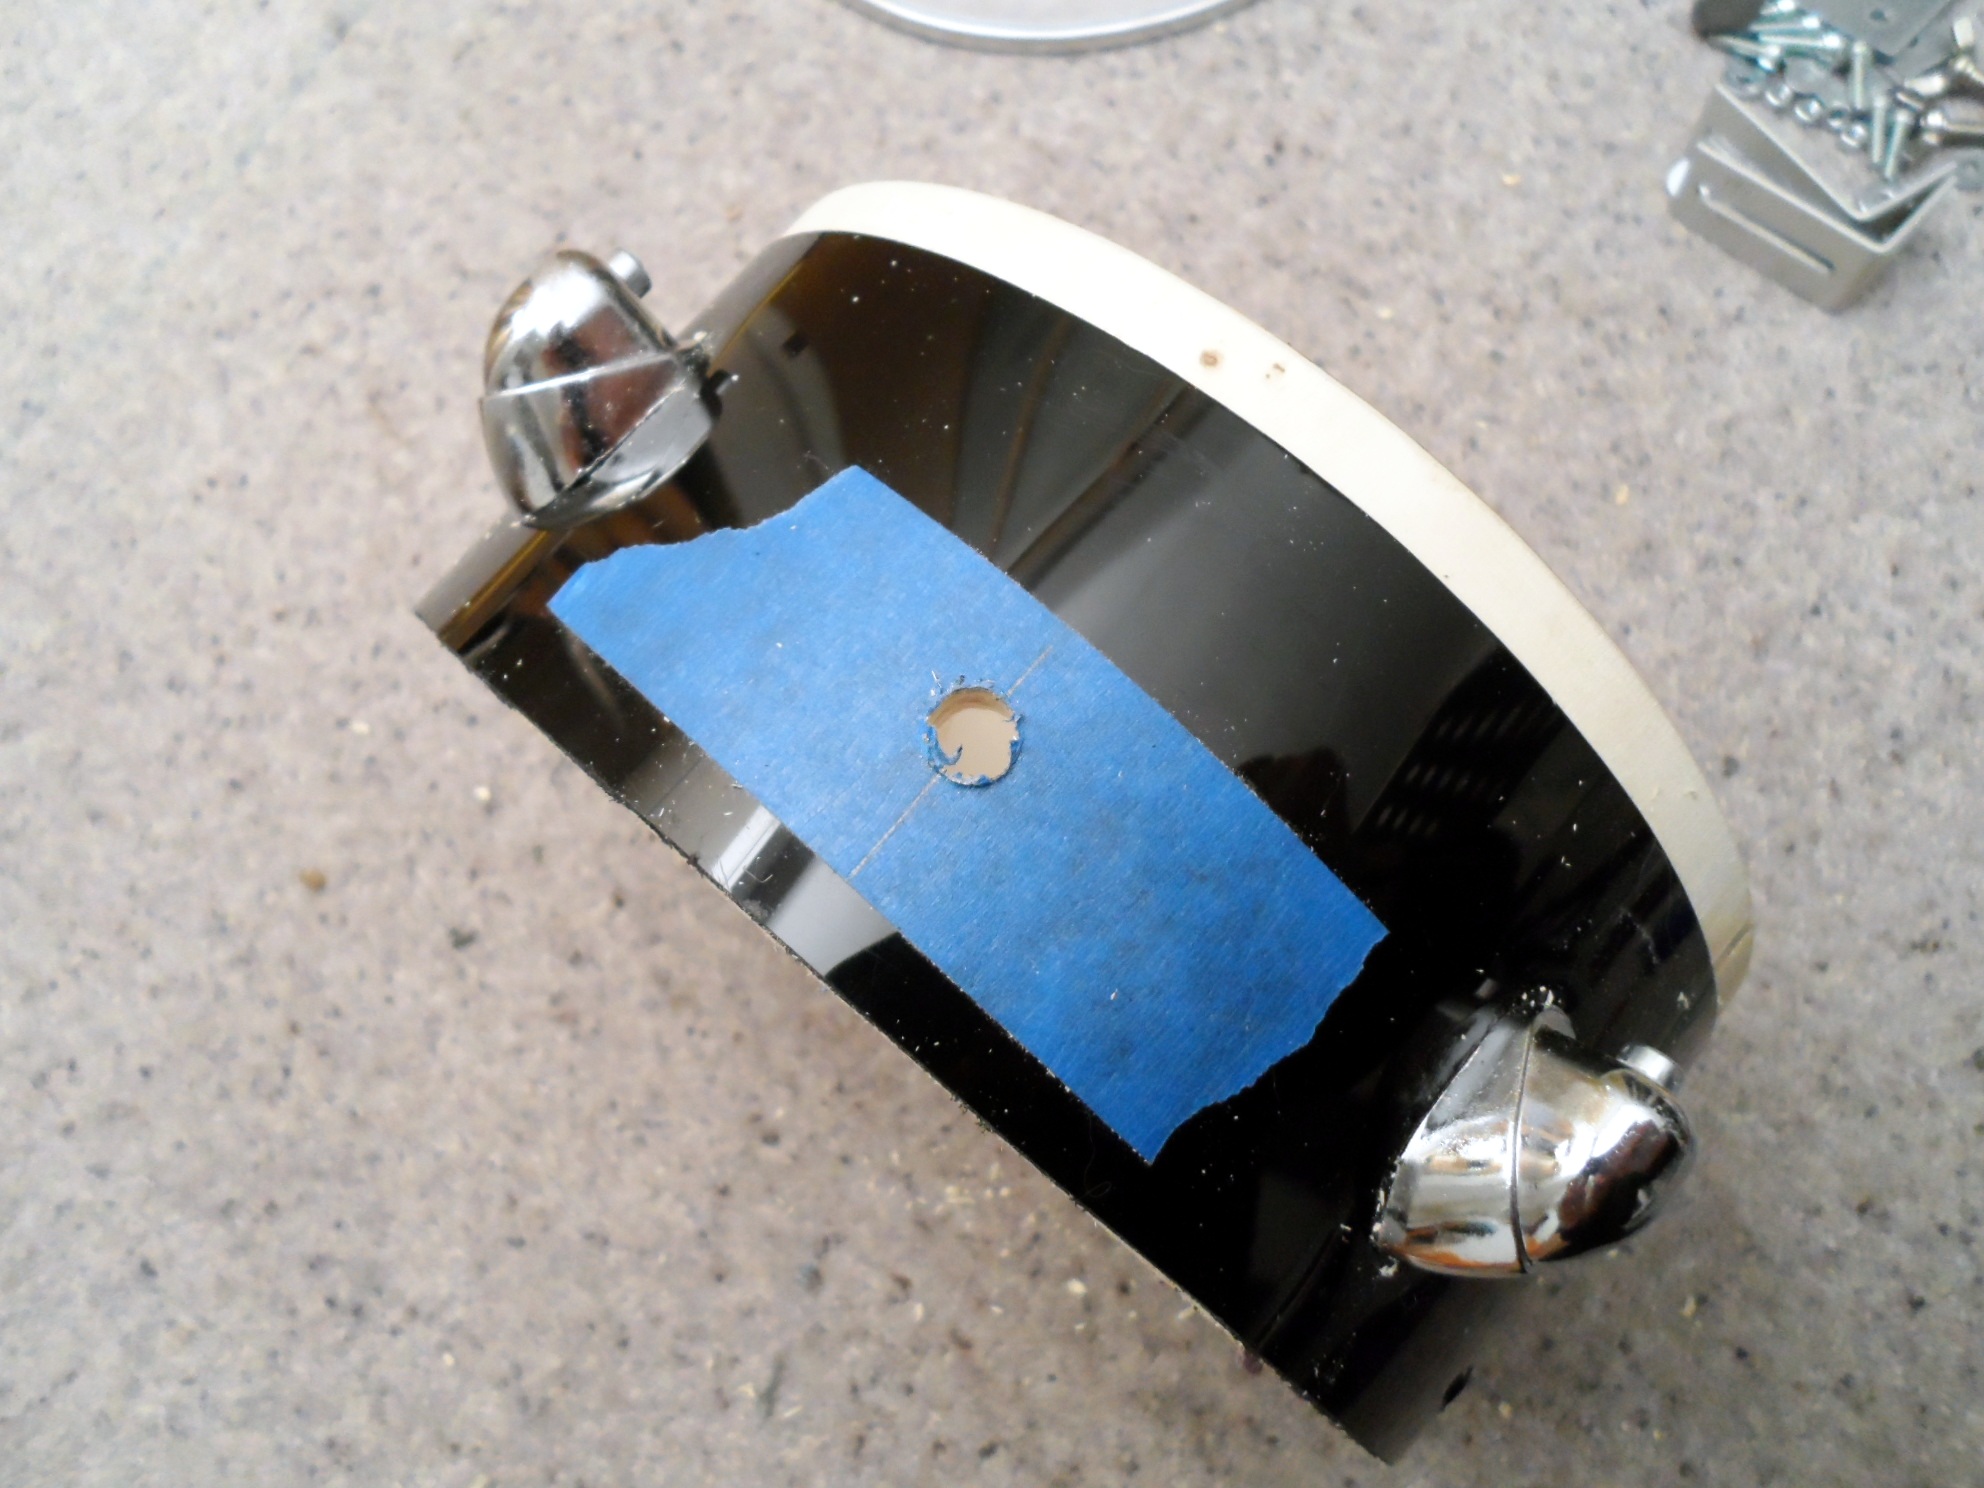
Piezo Pickup
-
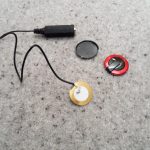
- Pickup Stripped
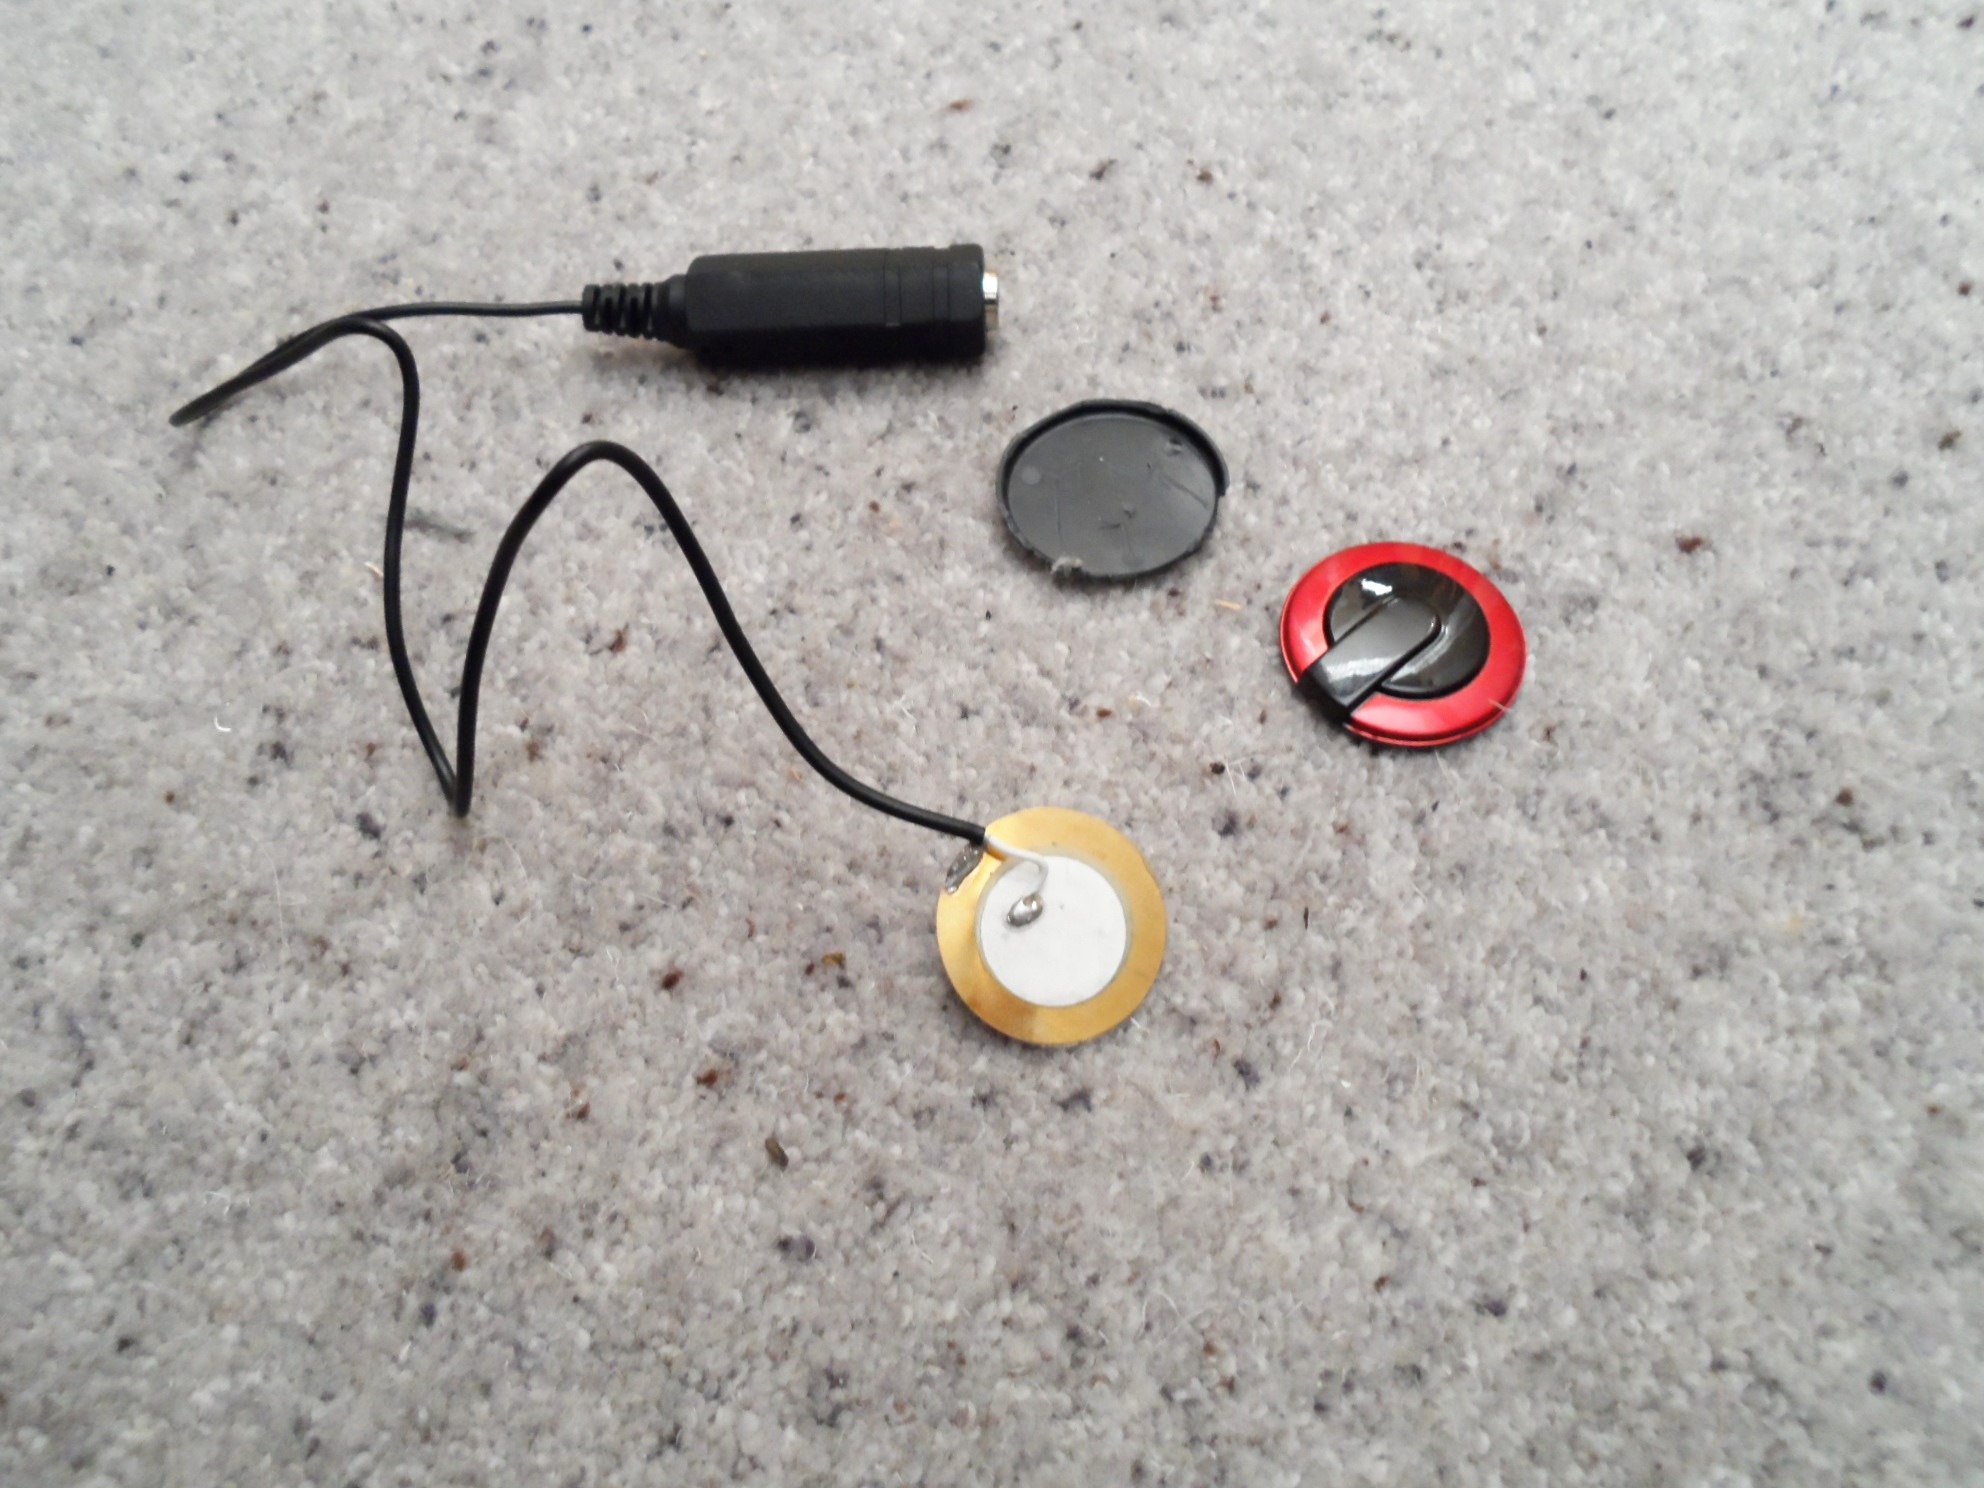
-
- Rubber Mount Cut
-
- Rubber Mount Stuck
-
- Piezo Stuck
-
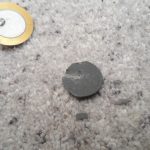
- Acoustic Foam Tile

-
- Foam Stuck
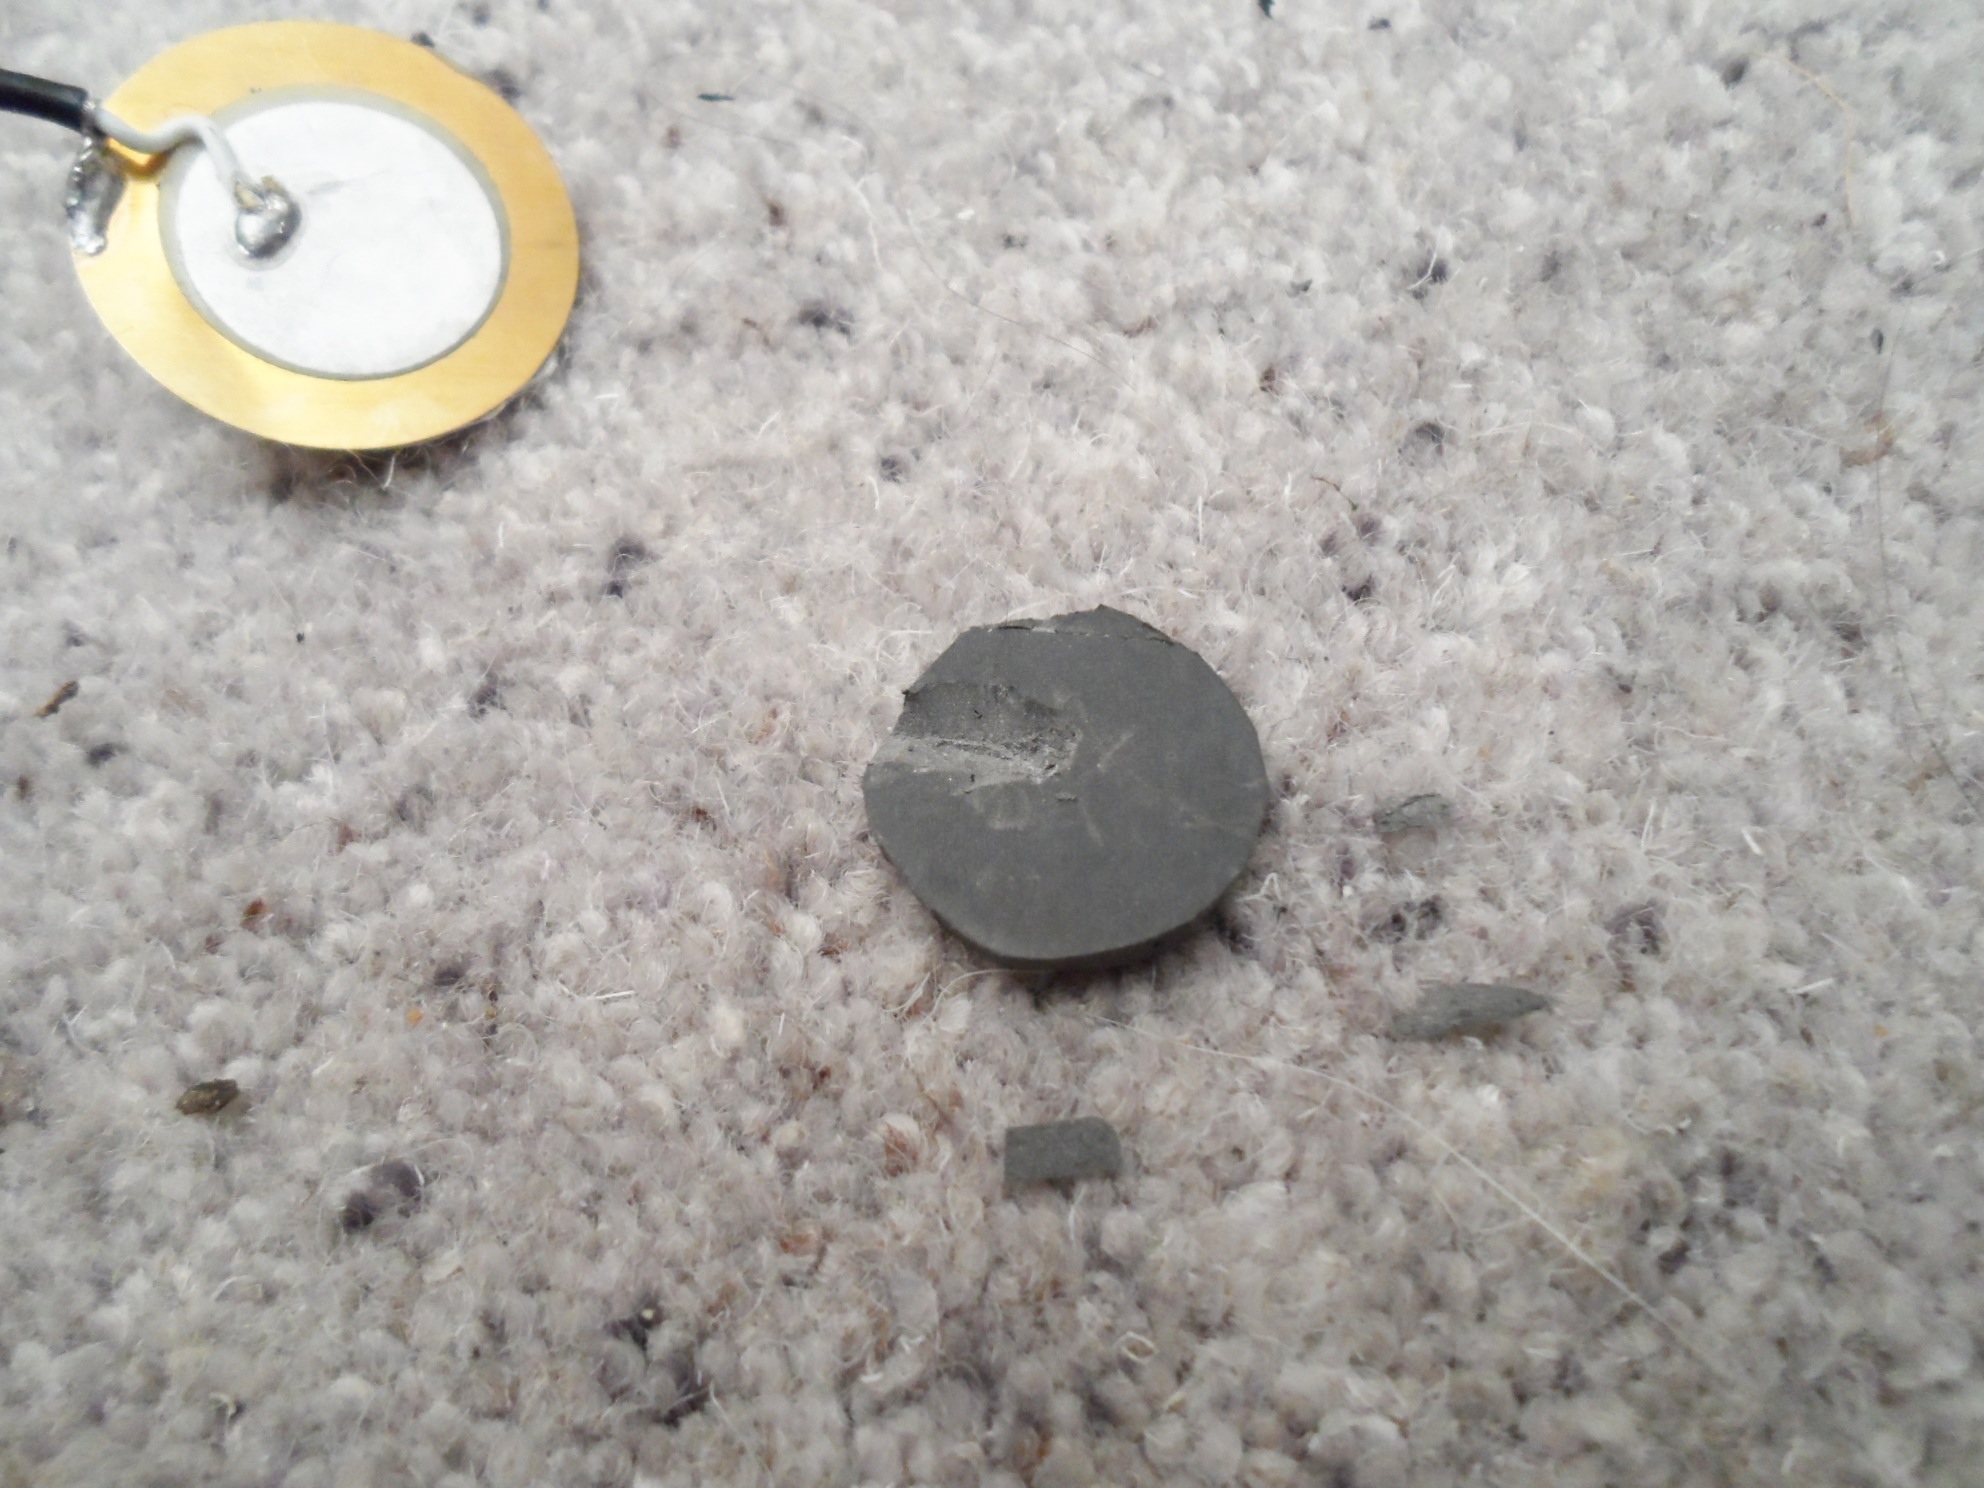
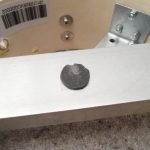
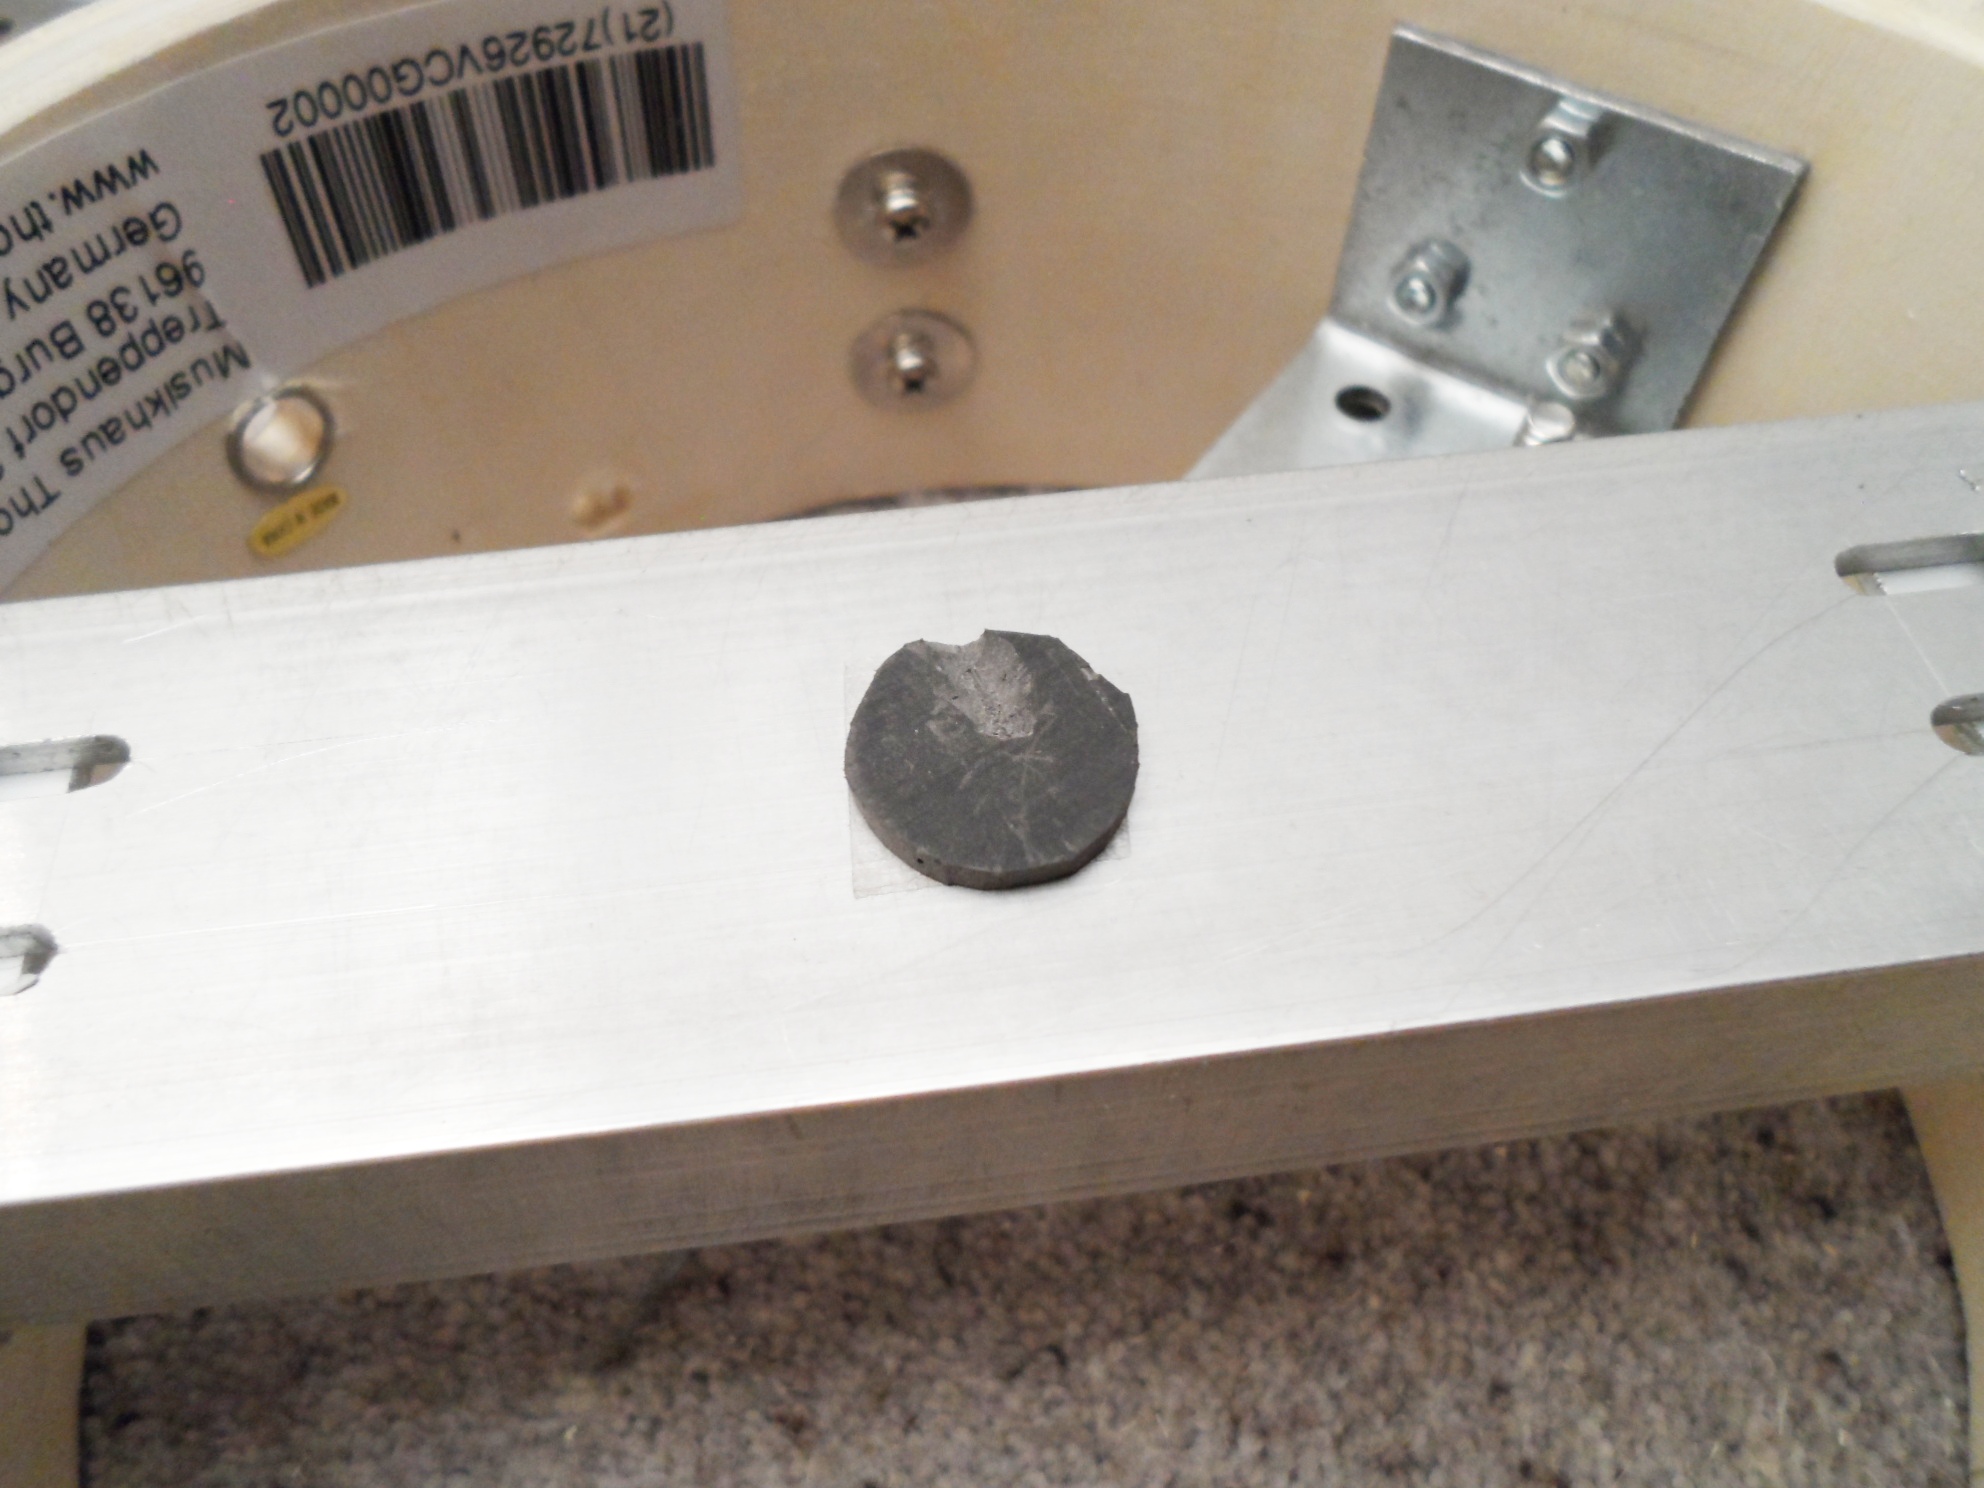
The pickup casing was discarded so that I was just left with the bare piezo element. The element then sits on a small circle of rubber pad that has a groove carved out of it for the wire and solder joint to sit in, so that it can sit perfectly flat on the bridge. It also provides some isolation so that a 2nd piezo could be fitted for rim shot detection, though I’ve not done that. The rubber I used was left over scraps of 2mm thick mass-loaded rubber sheet that I used when constructing the isolation platform that the drum kit sits on, but I’ve read of others having success using hard rubber mouse pads.
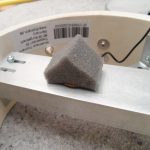
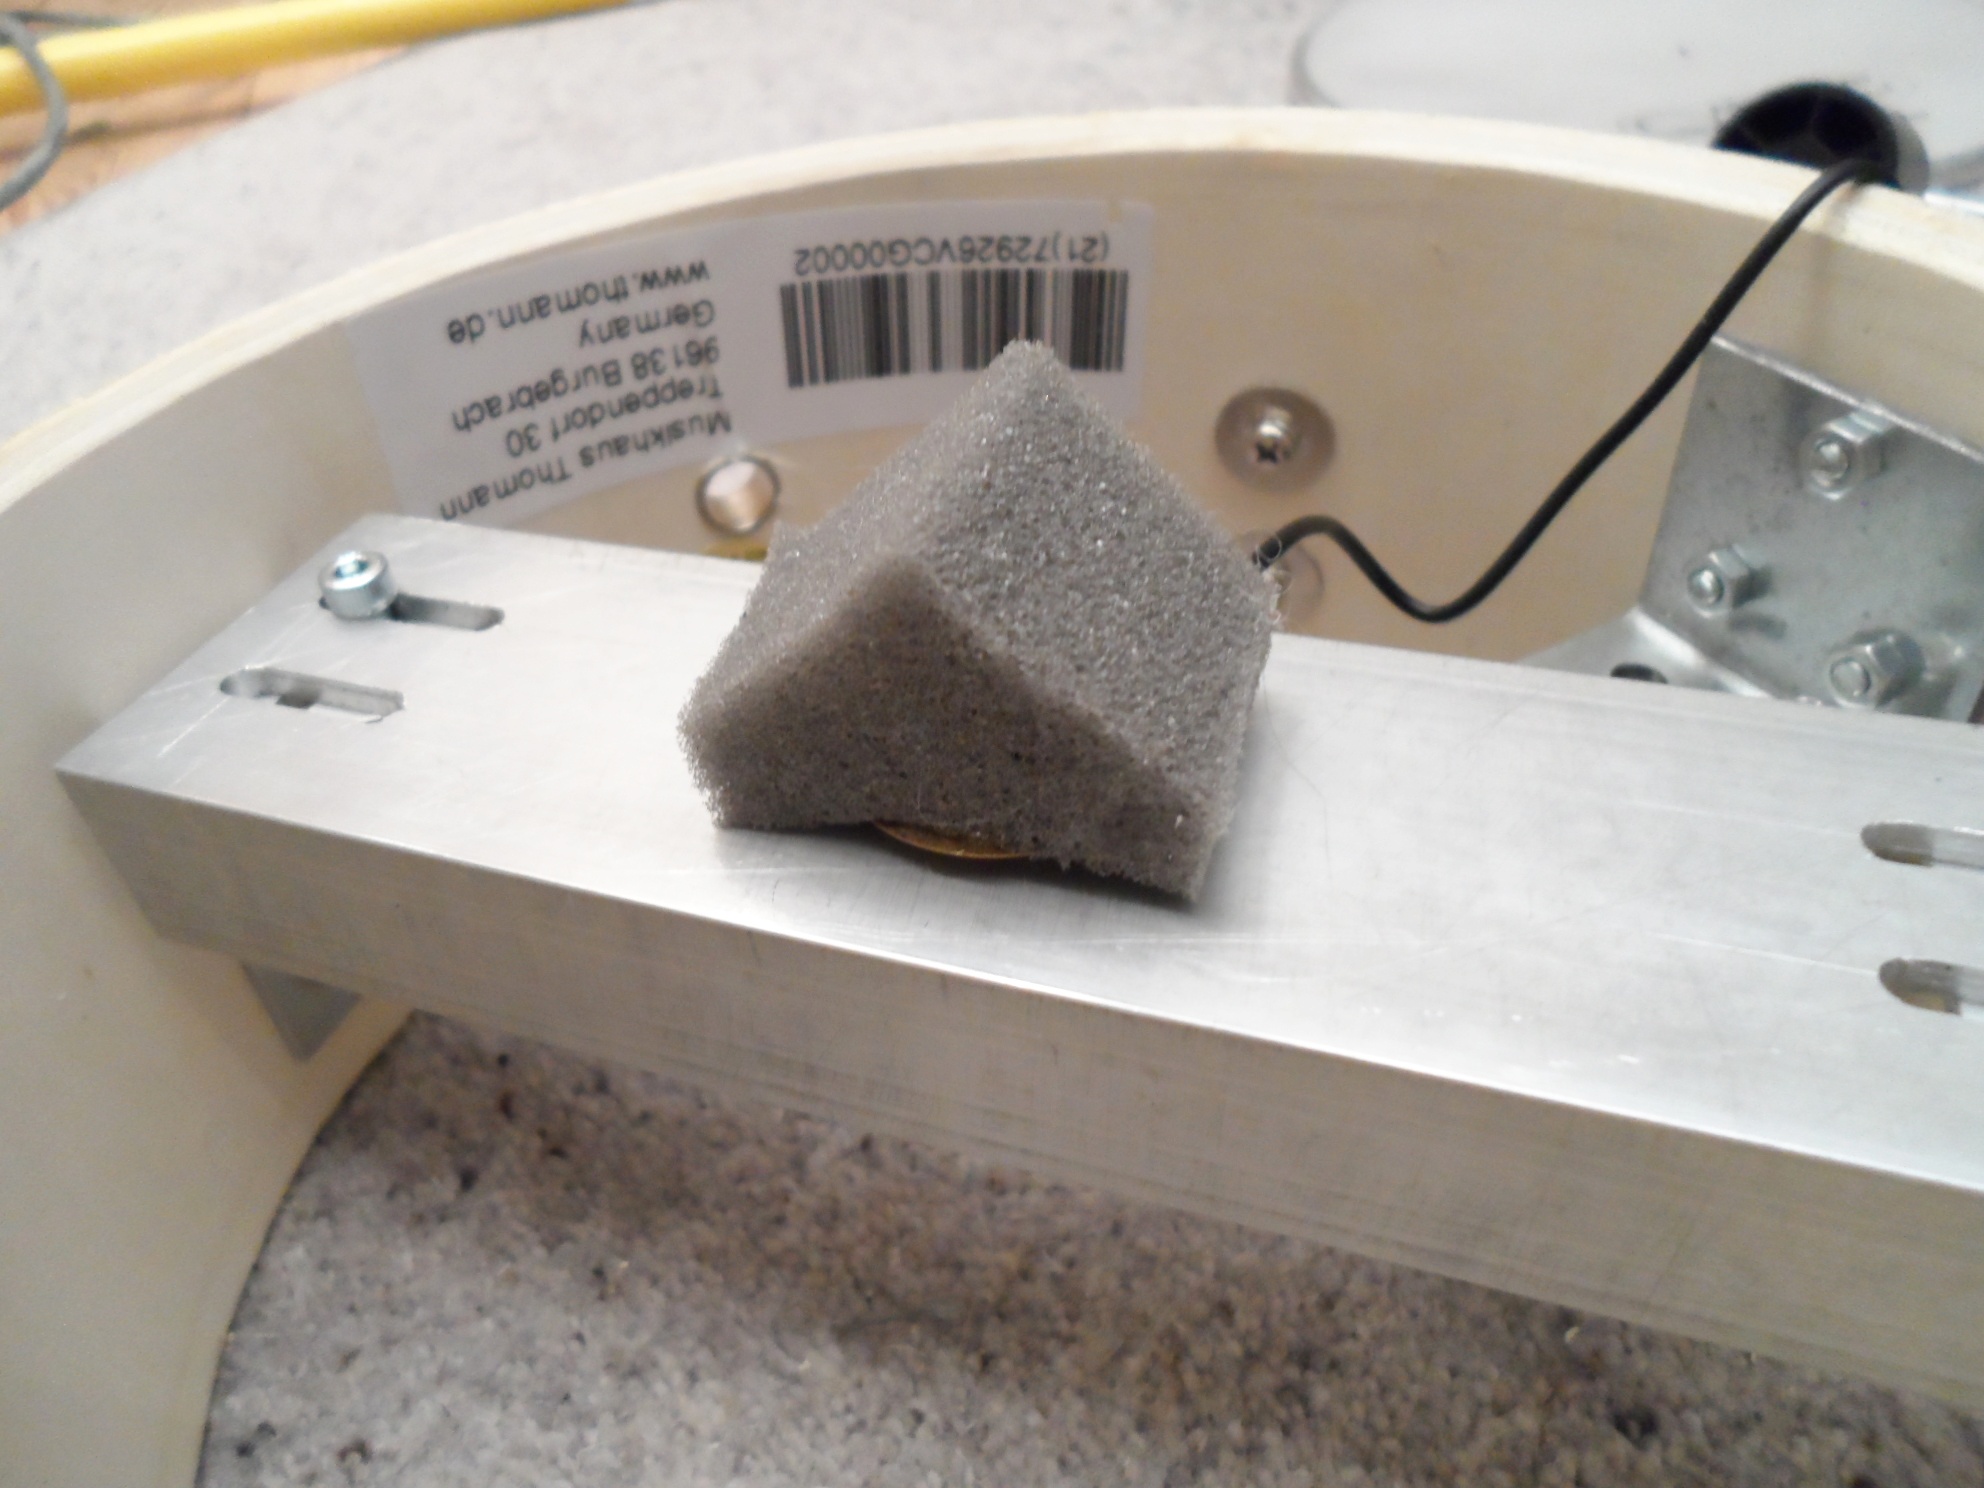
The vibrations are carried from the mesh to the piezo through a piece of foam. I first tried a fairly stiff foam golf ball, but that didn’t work very well. I then tried a piece of acoustic foam tile, which much to my surprise, worked perfectly. I would have thought that as it’s designed to absorb sound that it wouldn’t transmit it very well, but it does.
The rubber pad, the piezo element and the foam triangle are all held to each other and to the bridge by double sided sticky tape.
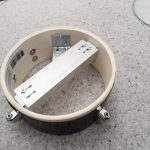
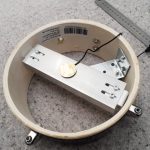
Done
-
- The Parts…
-
- …Assembled…
-
- …And Mounted
The bit about acoustic foam actually *does* make sense.
“Hi! I’m acoustic foam. You can shoot sound in my general direction and not hear it back. Why? Because I absorb/transmit it!” <–see what I did there? It's not repelling the sound, it's 'transmitting' it internally, absorbing it. I don't know the NRC rating of the foam you used, but you might want to experiment with other foam's NRCs to see how they differ – interesting thing you stumbled onto there!