Category Archives: Home Automation

bathroom-touch-switch-installed-2
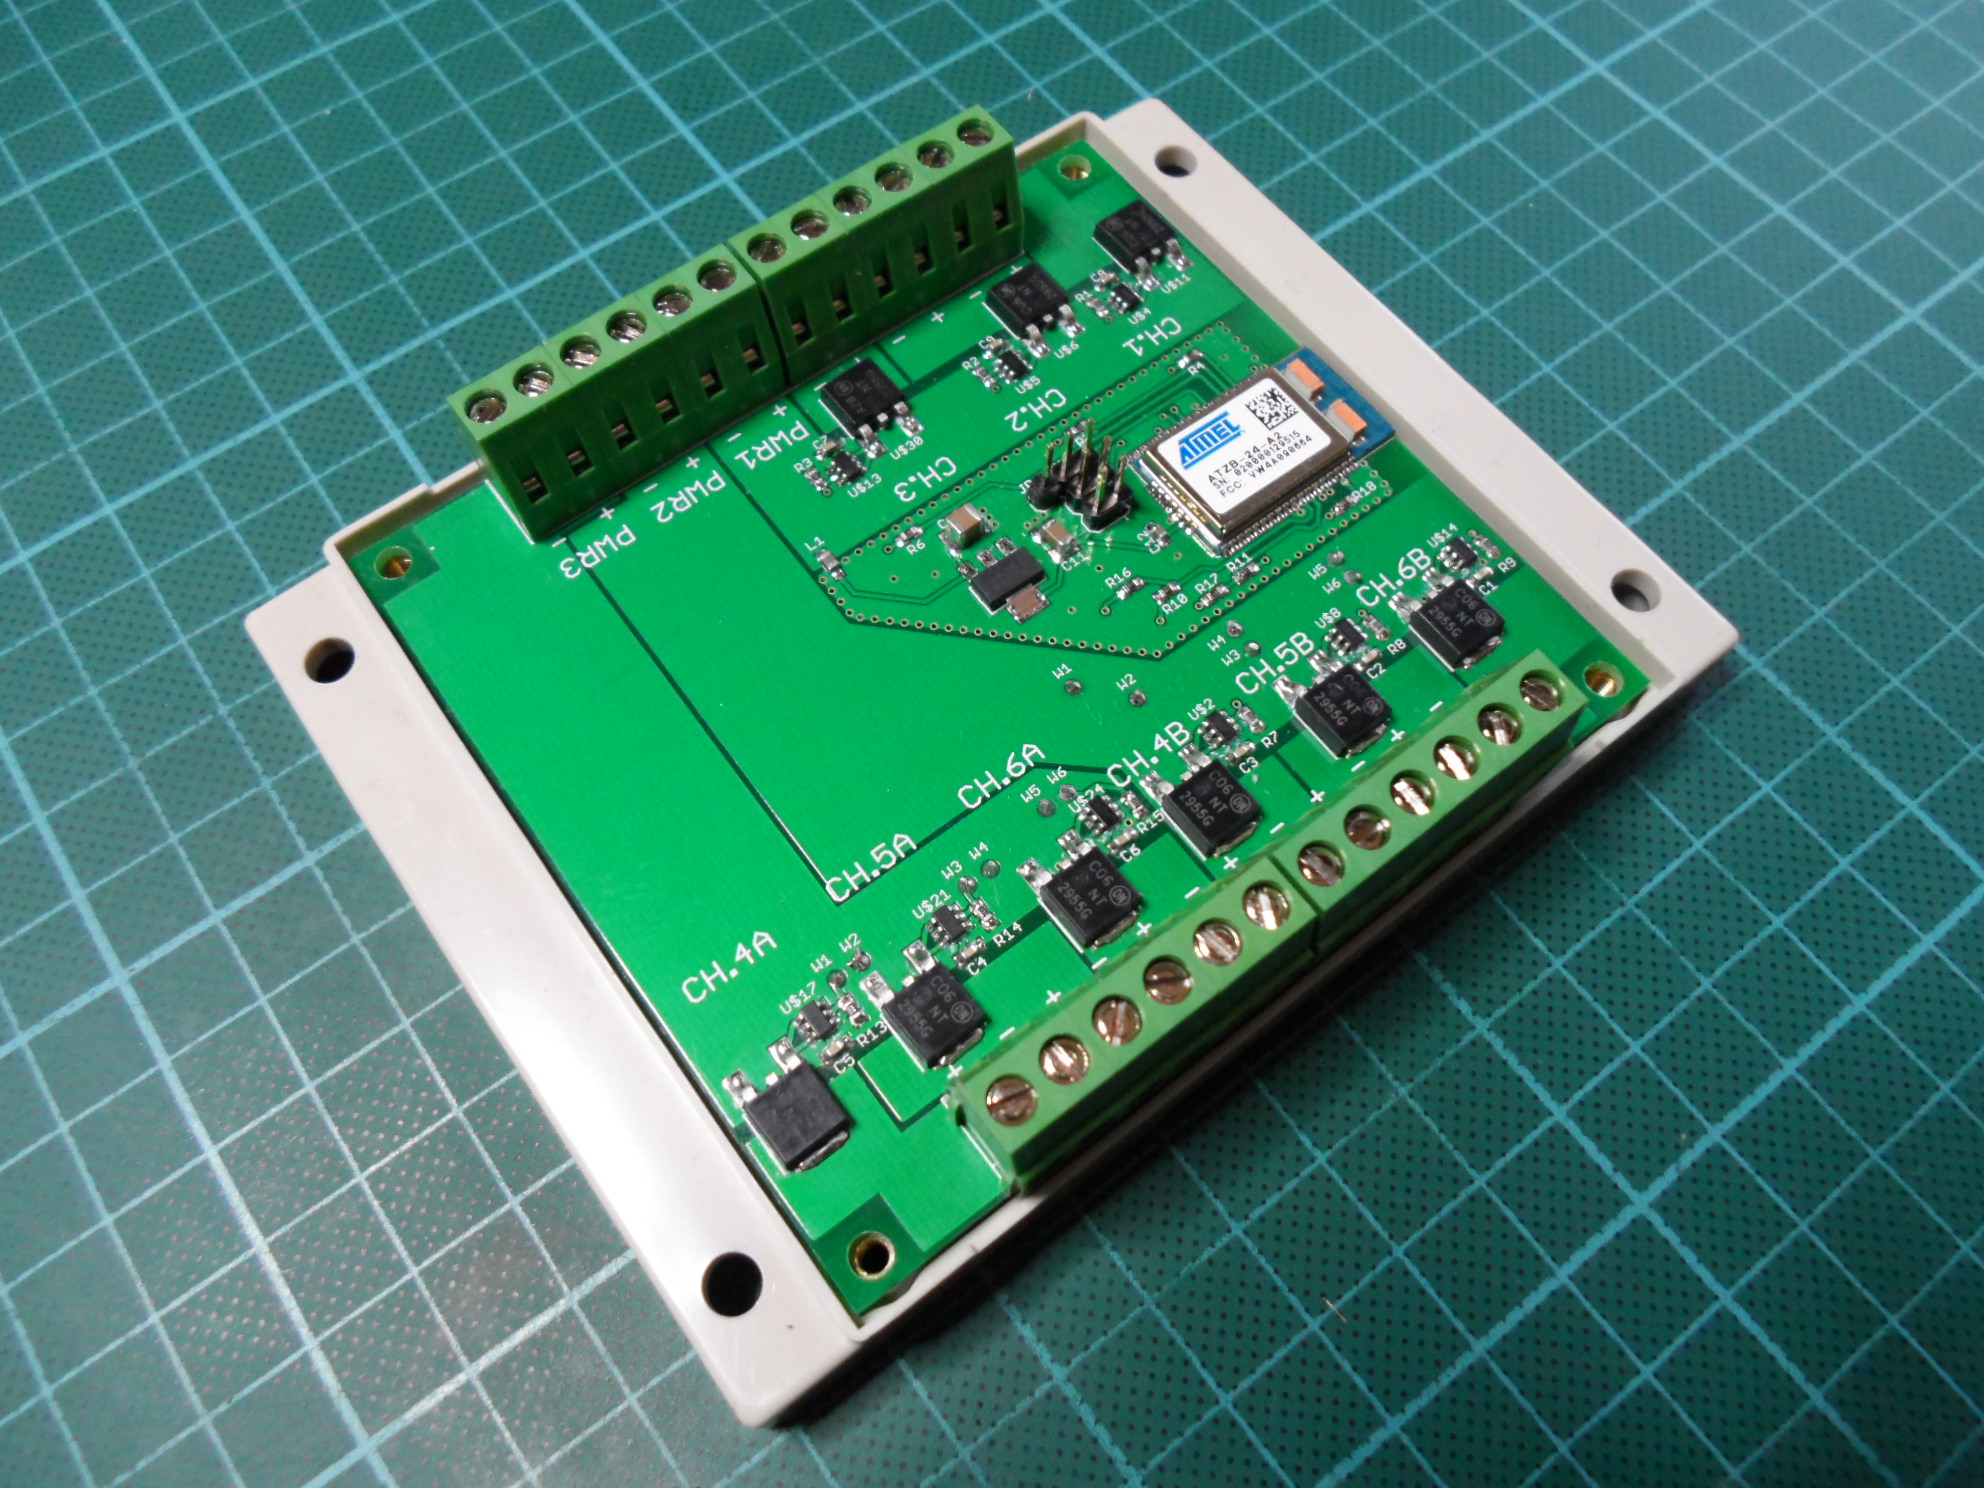
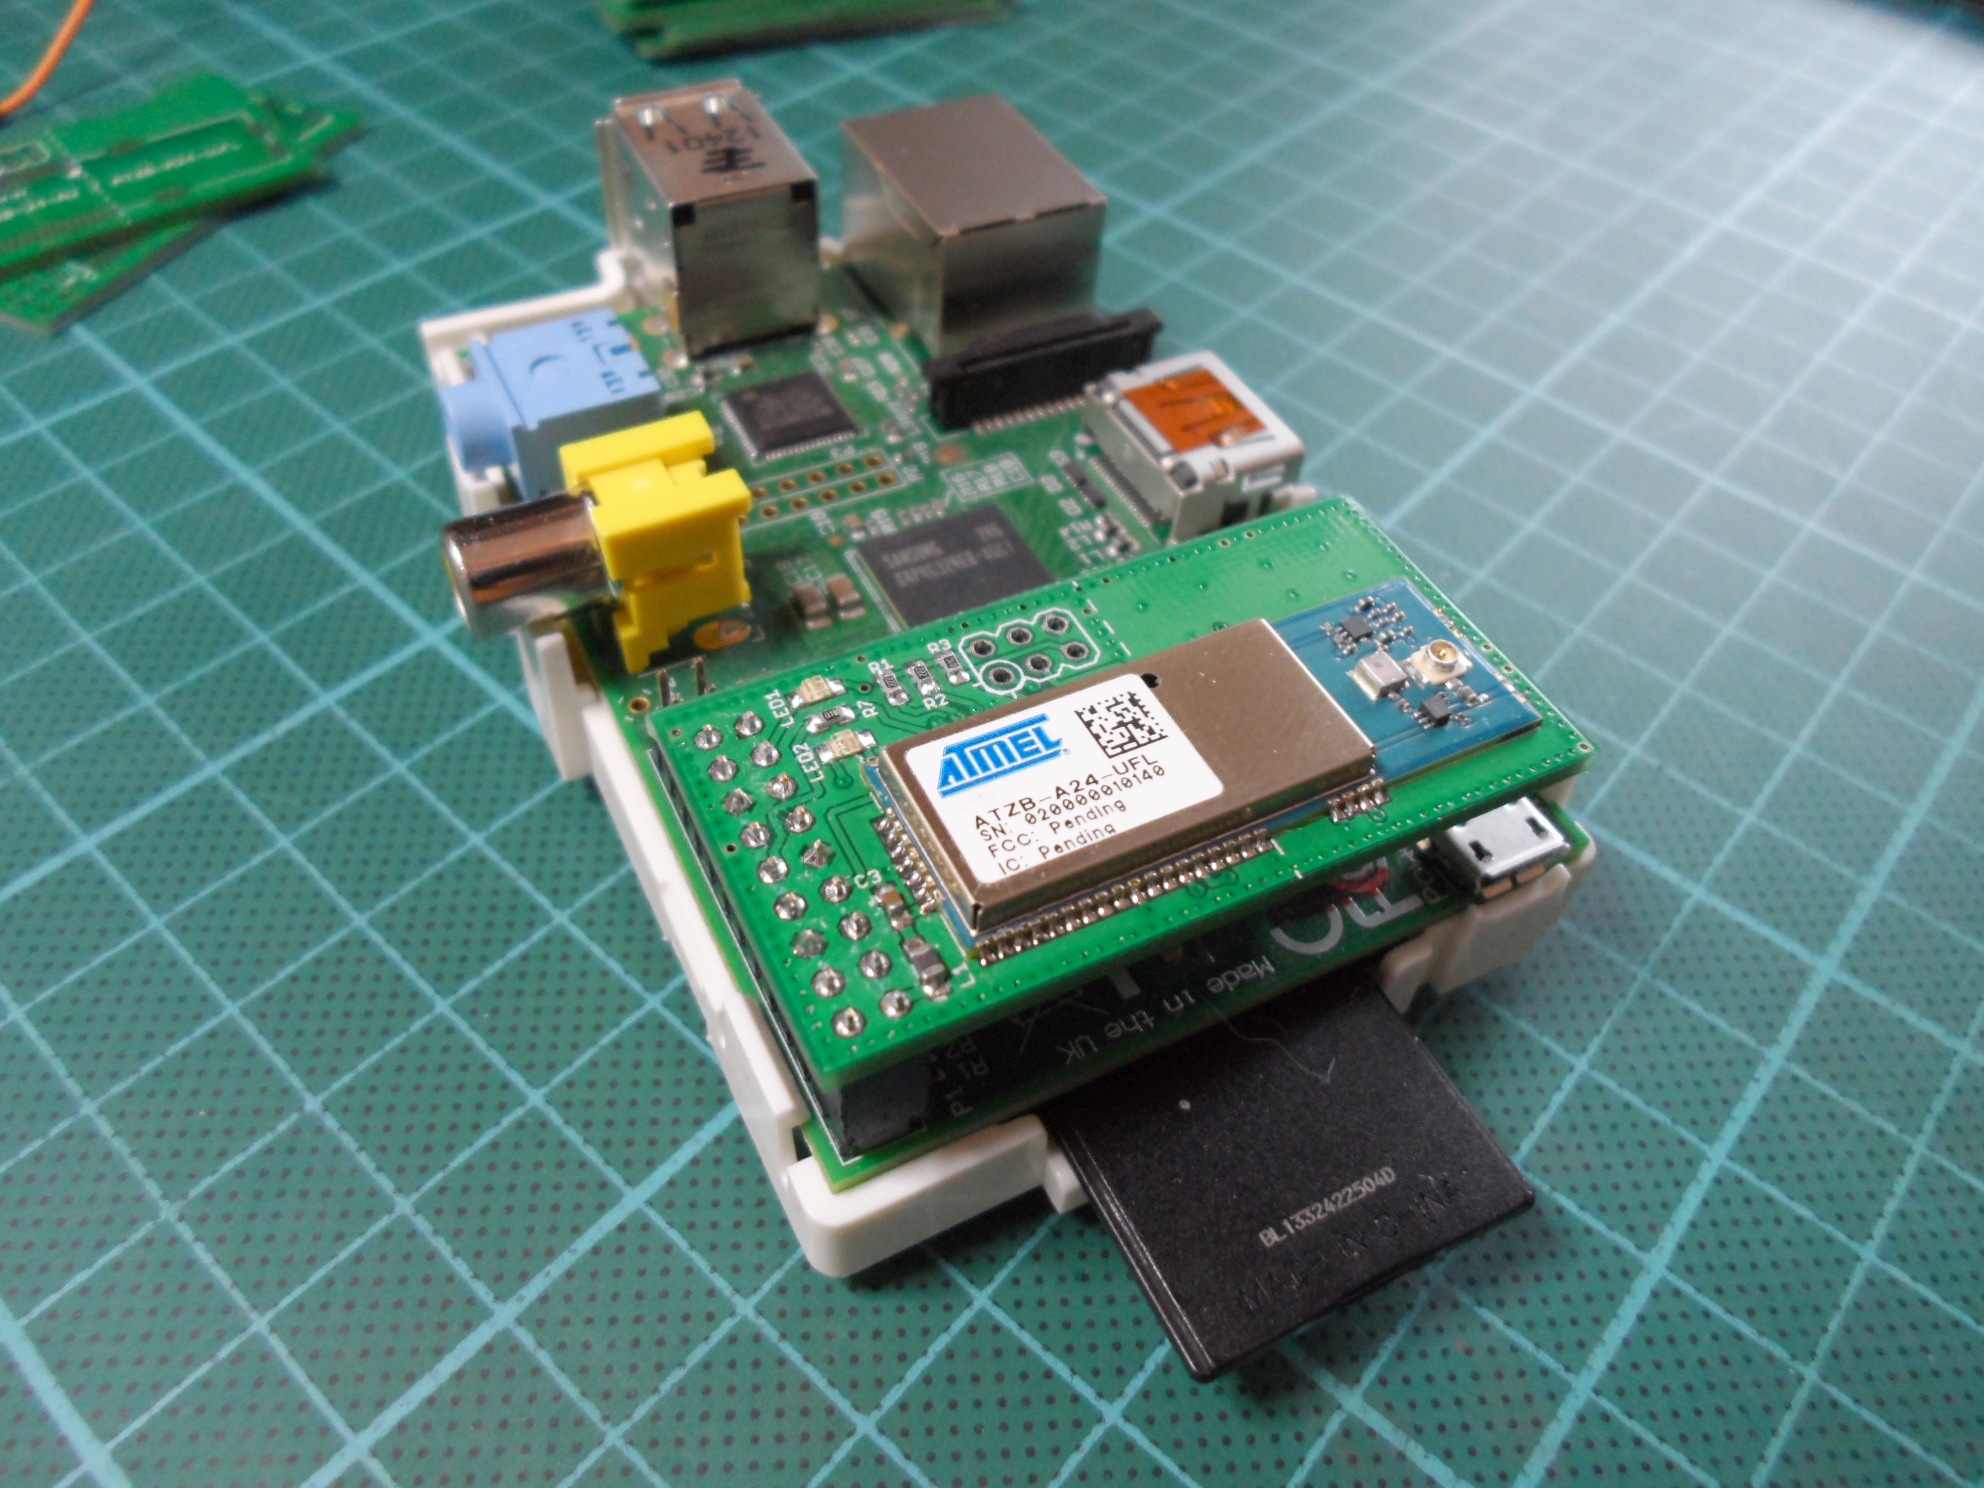
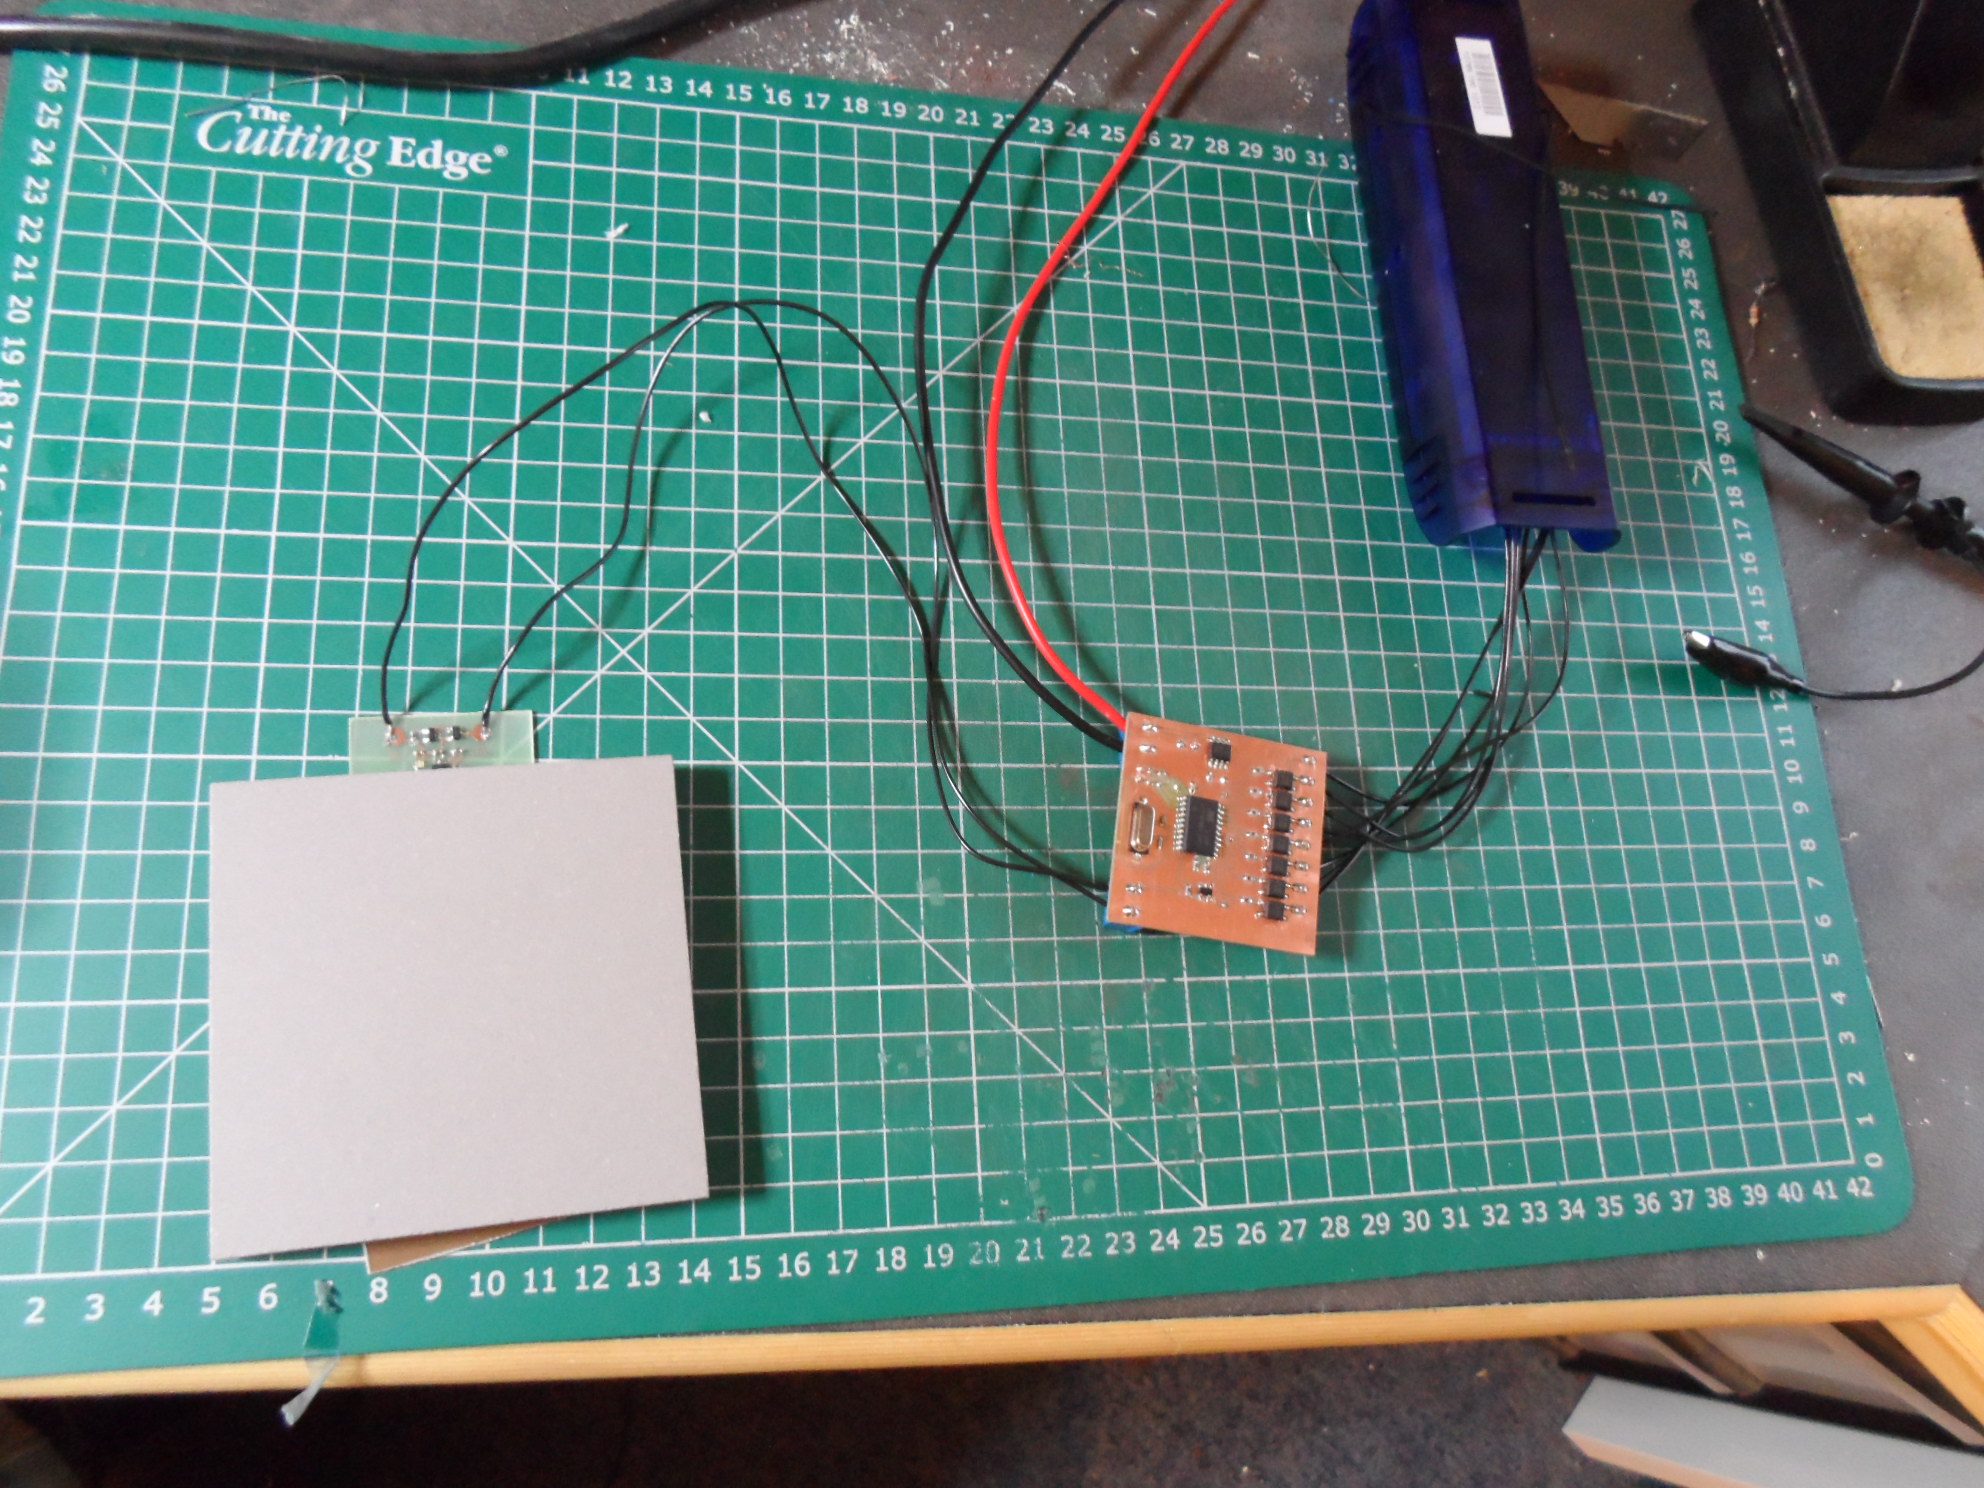
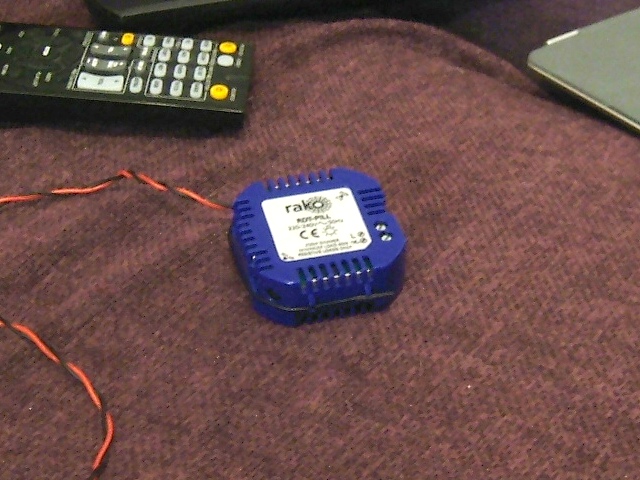
Having previously created a Border Router and a Six Channel LED Dimmer for my custom Myha home automation system, the next item on the list was to create a Myha version of the touch switch that I’d previously made for the Rako system. This was actually the third version of the touch switch as I’d made two Rako versions, the first using an official Rako switch contact module and the second communicating directly over the air after I’d reverse engineered the RAKO protocol.

As this was version three, the bulk of the hardware design was already fairly well proven and little had to change, mostly it was just a case of changing the radio and firmware. However, this was the first version to be installed in a wall, and this is where a few surprises were to be found.
Read More →

ha-6ch-dimmer-assembled-front
At the beginning of the year, when I sent off the Raspberry Pi 802.15.4 Radio design to Smart Prototyping to have the PCBs manufactured, I also sent off the design for the second Myha home automation device, a six channel LED dimmer that’s intended to control my bathroom light. Unfortunately this design wasn’t quite as successful as the radio interface. It works well enough that I can still use it, but more through luck than anything else.
Read More →

ha-raspi-radio-installed-1
Shortly after creating the Contiki/Zigbit home automation proof of concept over Christmas, I laid out a 802.15.4 radio interface PCB for the Raspberry Pi and sent it off to Smart Prototyping for manufacture. With this interface and the 6lbr router software I can turn a Raspberry Pi into a nice small, self contained Ethernet to 802.15.4 border router, which will form the heart of my new home automation system.
Read More →


As I’ve been making more custom automation devices, I’ve come to the realisation that I don’t actually have to be restricted by the limitations of the Rako protocol. I could start again from scratch with my own custom protocol and have no restrictions at all.
Read More →

bathroom-touch-switch-controller-v1-and-v2
Now that I’ve reversed engineered the Rako protocol, I decided to redesign my touch switch controller so that it transmits Rako commands directly, rather than going via a bank of relays and an official Rako radio module. As the picture above shows, this results in a much smaller and simpler device, and also gives me a lot more flexibility in how the controller can interact with the lights.
Read More →

arduino-rako-sniffer

RAKO Protocol Sniffer Wiring


Following on from the previous post where I described the RAKO wireless protocol, I’ve created a sniffer that listens for RAKO messages and dumps them to a serial terminal. The sniffer was created simply by connecting an RRFQ1 receiver module to an Arduino as shown in the image above and uploading the sketch which can be downloaded from here.
Read More →

rako-controller-probed

Sniffing RAKO Traffic


The more RAKO devices I add to my house, the more I’ve been running into annoying limitations and strange design decisions. Previously I’ve had to create a duplicate command filter for the RAKO DALI bridge due to its assumption that it will be the only controller on the DALI bus. Most recently I was amazed to discover that their three channel LED controller (RLED90-3DCV) doesn’t support dim-up and dim-down commands, instead it reuses these command to go into a colour cycling mode. This makes it useless for controlling my bathroom light and I’d need to use six single channel controllers at £100 each instead.

So, I thought I’d have a go at reverse engineering their protocol. Then I can create my own compatible devices that do exactly what I want and cost a whole lot less.
Read More →

bathroom-touch-switch-controller
Instead of having a normal light switch in my new bathroom I wanted to have a touch switch hidden behind the wall tiles so that the light could be turned on and off by simply touching a tile, and as with all the other lights in the house, I wanted it to integrate with the Rako home automation system I’m using.
Read More →

RAKO PILL Dimmer
Most of the lights in my house are incandescent bulbs controlled by RAKO PILL dimmers. These dimmers fit into the back-box behind the light switch and have the advantage of keeping a normal looking light switch in addition to adding dimming and wireless control, which makes for a very invisible system, which I like. The actual light switch is swapped out for a momentary switch instead of the traditional rocker and becomes press once for on, press again for off, press and hold to dim up, press and hold again to dim down.

My kitchen light however is a flourescent tube. I wanted to be able to control this in exactly the same way as the other lights in the house, including keeping the normal looking light switch. After a bit of research I found that this is possible by using a DALI electronic ballast in combination with a controller from Tridonic (DALI GC-A) that fits in the light switch back-box in exactly the same way as the DALI PILL does for the incandescent lights, and also has exactly the same press on, press off, press and hold to dim control method.

The DALI control system operates on a shared bus and can have multiple lights and multiple controllers on the same bus and RAKO make a RAKO wireless to DALI bridge, so it looked like I could combine a DALI balast and switch controller from Tridonic with the RAKO DALI bridge and get seamless and invisible control of my flourescent light. I was almost right, but once I’d bought all the components and set it all up on the bench for a test there was one small flaw…
Read More →